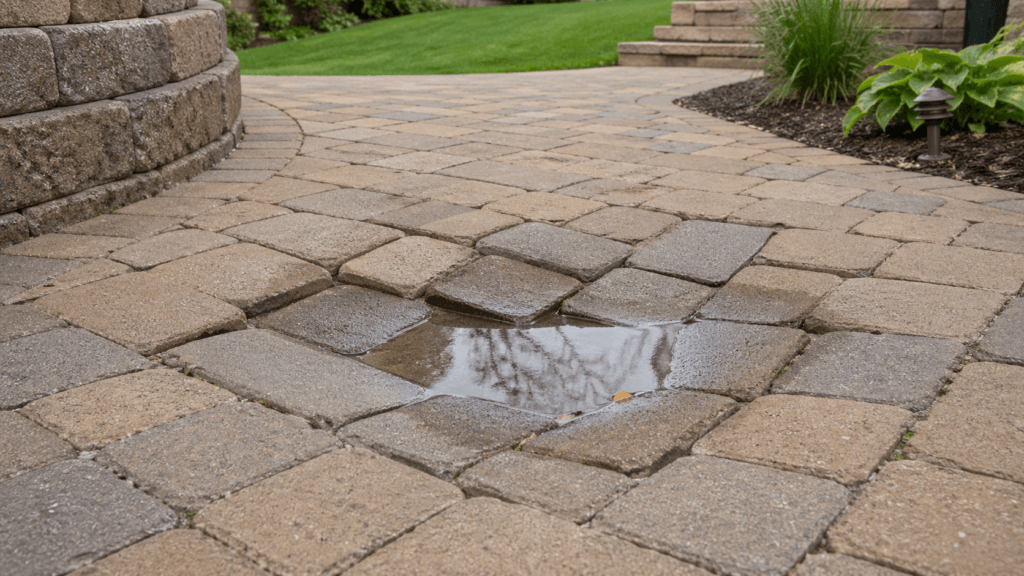
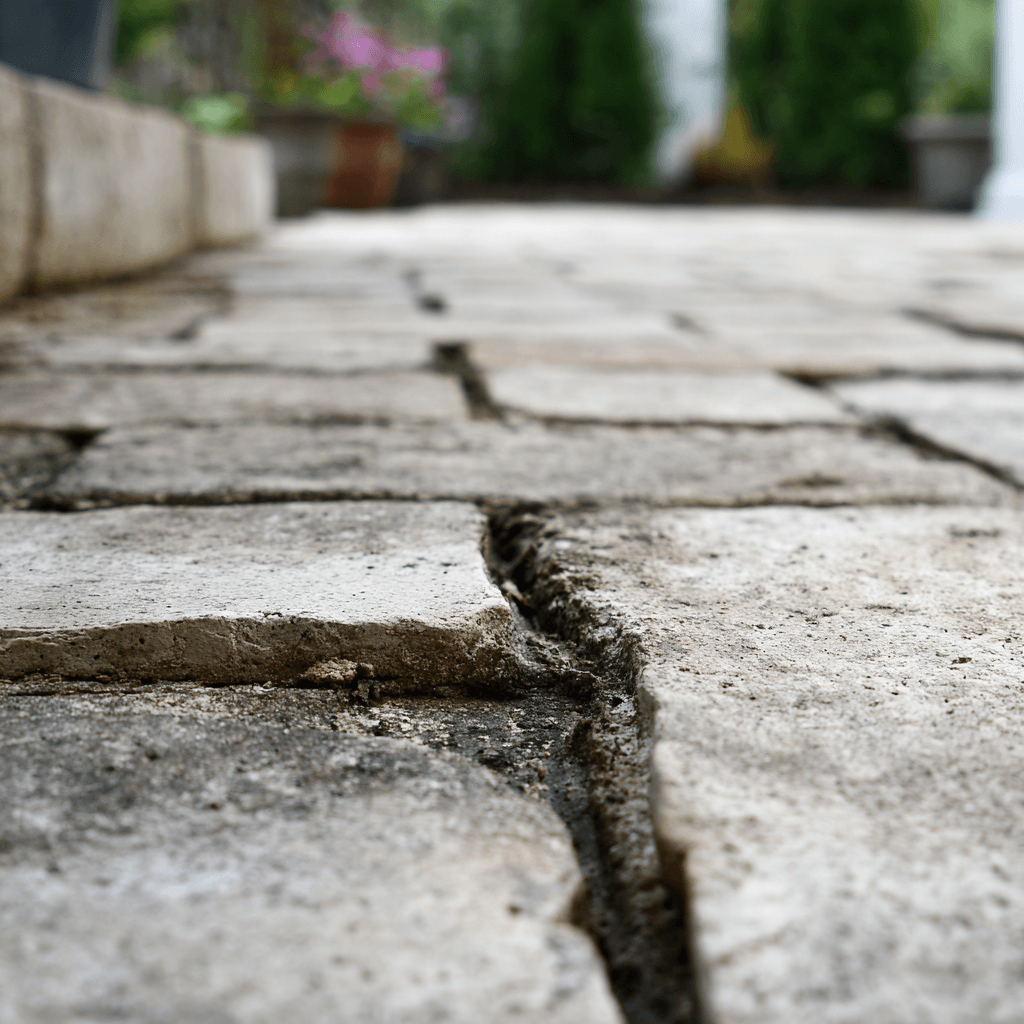
When we talk about how to repair sunken pavers, we are really talking about solving two problems at once. The first is the visible one: the low spots that collect water, create trip hazards, and make a patio, walkway, or driveway look tired before its time. The second is the hidden one: the reason the pavers settled in the first place.
If that root cause is ignored, the repair may look great for a few weeks and then quietly sink again, which is about as satisfying as fixing a leak with a paper towel.
A proper repair is rarely about simply adding sand on top and tapping the pavers down. In most cases, repairing sunken pavers correctly means doing much more than most people realise.
And we are going to discuss all these elements in depth in this article, so you can completely understand how the process is done.
You may also like: What’s the cost to reset pavers? Save your time and money
Jump to:
How to repair sunken pavers: why do they sink in the first place?
Before we get into the repair of sunken pavers, we always like to explain the possible reasons it happened in the first place. That in itself can help understand how to fix the problem.
Drainage
Water is the troublemaker that keeps showing up in paver failures. If runoff flows toward the paved area, if downspouts discharge nearby, or if the surface slope is wrong, moisture can wash out fine particles and weaken the support below the pavers.
That is why one low area can be a symptom of a larger site problem. In plain English, when water keeps hanging around, the base stops acting like a firm foundation and starts acting like a sponge with commitment issues.
Edge restraints
Another issue we see is failed edging. When edge restraints loosen or shift, pavers can migrate outward, the joints open up, and the field starts to move. Over time, that movement contributes to unevenness, especially along borders and transitions.
That is why a sinking area should never be treated as a cosmetic flaw alone. It is a structural warning, just a polite one at first.
Base
This is the part homeowners often underestimate. If the issue is isolated and the base is still solid, the repair may be limited to resetting a small section. If there is washout, soft soil, or repeated ponding, the repair needs to go deeper.
We always recommend assessing the surrounding grade, nearby irrigation, roof drainage, and the condition of the base before resetting anything. The surface can only stay level when the support system below it is corrected first. That is the real logic behind repairing sunken pavers, and it is what separates a lasting repair from a temporary patch.
How to repair sunken pavers, once and for all
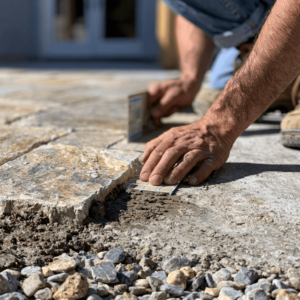
1. Remove the sunken pavers
The first step is removing the affected section carefully so the repair can tie into the surrounding surface.
- Identify the full area that has settled, including the edges around the visible dip
- Extend the repair area slightly beyond the lowest point to avoid an uneven transition
- Use a flathead screwdriver or paver extractor to lift the first paver
- Remove the surrounding pavers one by one without damaging the edges
- Set the pavers aside in order, so the original pattern is easier to recreate
2. Inspect the bedding sand
Once the pavers are removed, the bedding layer needs to be evaluated before anything is reset.
- Check whether the sand is level or visibly uneven
- Look for contamination from soil, mud, or organic material
- Identify any areas where the bedding sand appears washed out
- Remove compromised sand rather than trying to reuse it
- Keep only clean and stable material if it is still suitable for the repair
3. Evaluate the base
A repair will not last if the base underneath is weak, so this stage is essential in how to repair sunken pavers correctly.
- Press into the exposed base to see whether it feels firm or soft
- Look for signs of settlement, erosion, or gaps beneath the bedding layer
- Check whether the base thickness seems adequate for the type of paved area
- Remove unstable material if the base has clearly failed
- Rebuild the section with proper aggregate if more support is needed
4. Correct drainage issues
If water caused the pavers to sink, the drainage problem should be addressed before resetting the surface.
- Check whether water flows toward the repaired section instead of away from it
- Look for downspouts, irrigation, or runoff reaching the low area
- Identify any signs of standing water after rain
- Adjust the grade if the slope is directing water incorrectly
- Make sure the repaired section will drain consistently with the surrounding surface
5. Rebuild and compact the base
If the base is unstable, it needs to be rebuilt in a controlled way so the pavers have proper support.
- Add fresh crushed stone base where material was removed
- Spread the base evenly across the repair area
- Compact the material in layers instead of adding it all at once
- Check the height as you go, so there is still room for bedding sand and pavers
- Stop once the repaired base is dense, even, and properly positioned
6. Bedding sand
The bedding layer creates the final setting surface for the pavers, so it must be even and consistent.
- Spread a thin layer of bedding sand over the compacted base
- Use a screed board to level the sand across the repair area
- Avoid making the bedding layer too thick
- Do not walk repeatedly over the levelled surface
- Check that the final height will allow the pavers to sit flush with the existing surface
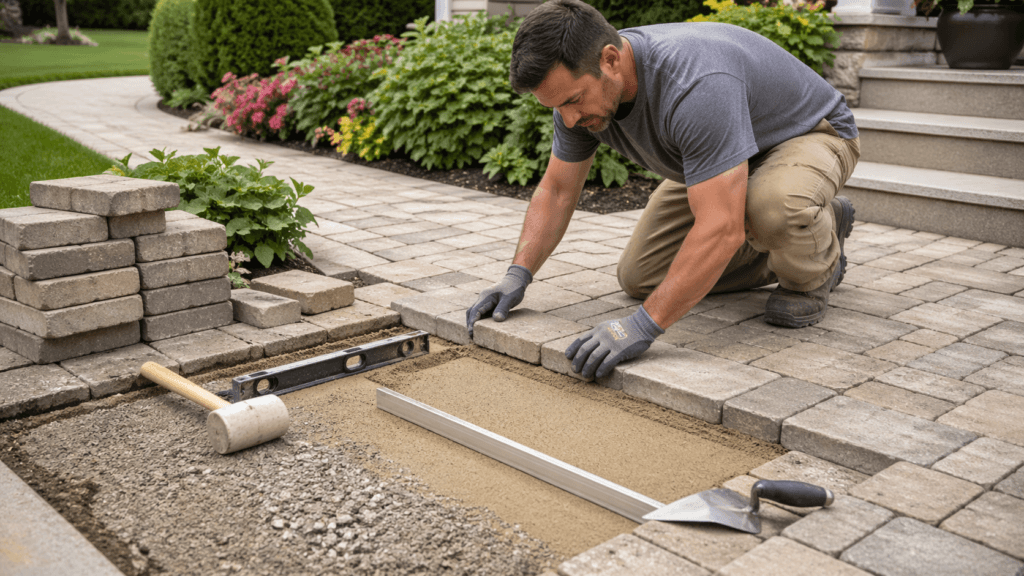
7. Reset the pavers
With the base and bedding corrected, the pavers can now be reinstalled in their original layout.
- Place the pavers back in the same pattern they were removed from
- Keep the spacing between units consistent
- Check alignment as each row is reinstalled
- Tap individual pavers gently with a rubber mallet if adjustment is needed
- Make sure the repaired area sits level with the surrounding pavers
8. Compact the section
Compaction helps seat the pavers into the bedding layer and improves overall stability.
- Run a plate compactor over the repaired section after the pavers are reset
- Move evenly across the area so the pavers settle consistently
- Watch for any units that shift or sit too high during compaction
- Make small adjustments where necessary
- Confirm that the final surface feels stable and even underfoot
9. Fill and secure the joints
The final step locks the repaired section together and helps prevent future movement.
- Sweep joint sand or polymeric sand into all joints
- Work the sand into the gaps until the joints are completely filled
- Compact the surface again if needed to settle the sand
- Add more sand where the joints drop after compaction
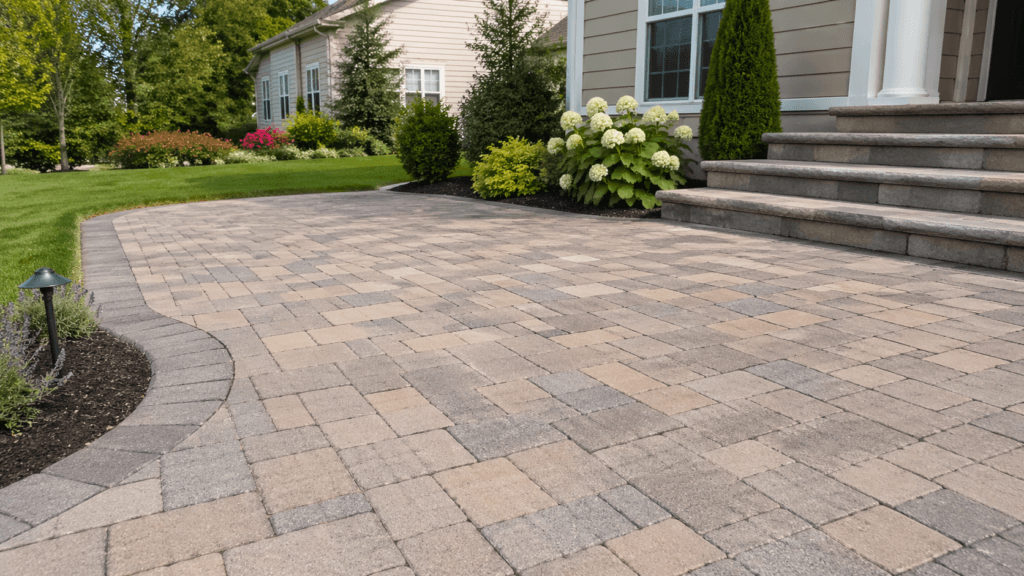
- Clean the surface thoroughly so the finished section blends with the rest of the installation
Read also: The ultimate DIY paver patio tutorial for homeowners
When you should call a professional
As you could see, the process of how to repair sunken pavers is more complex than it seems at first glance. What looks like a simple low spot on the surface may actually be the result of drainage problems, failed compaction, edge restraint issues, or a deeper base failure that extends beyond the visibly sunken area. In other words, the pavers are usually just showing the symptom, not the full problem.
That is why this kind of repair requires more than lifting a few units and adding new sand. The repaired section needs to match the surrounding surface, maintain proper slope, support the intended traffic load, and stay stable over time.
If even one part of that process is handled incorrectly, the same area can settle again, the pavers can shift out of alignment, or water can start collecting in new places. A repair that seems minor on paper can quickly turn into a larger issue when the underlying conditions are not addressed with precision.
For homeowners, the challenge is not just doing the work; it is diagnosing the actual cause and rebuilding the area correctly from the base up. In these cases, professional repair is the safer and more reliable option because it helps protect the appearance, performance, and lifespan of the entire installation.
So don’t take any chances; find a professional you can trust in your area to help you.
And if you happen to be around Sarasota, FL, good news: we here at JS Brick approach paver repairs with the same care we bring to full installations. Our goal is not just to make the surface look level again but to restore stability and prevent the problem from returning.