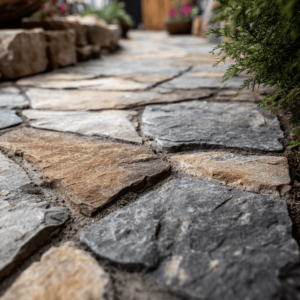
Pavers are the most popular feature of the hardscape industry. They have been dominating the market for decades, and for good reason. Their reliability, aesthetic value and sturdiness make for a virtually perfect outside flooring option. Just as important as the pavers themselves is the paver base, and exploring this subject will be the focus of this article.
A big part of what makes pavers such a reliable options is the interlocked system they form. This interlocked system function as a kind of “net” that distributes the weight evenly amongst all the pavers in an installation.
To establish this system, the pavers are installed in a dry installation, which consists at first of only road base and sand. Afterwards, polymeric is spread to fill the joints between each paver.
Once activated, the polymeric sand becomes a strong bonding agent that keeps the pavers in place while allowing them to shift around and distribute weight between each other.
Understanding the paver base is pivotal to understanding how pavers work and what makes them so good. So let’s start exploring the optimal paver base by walking you through all the steps of a basic installation.
Once you understand the installation process, we’re going to present you with an even more impressive base you can use: a permeable base.
Jump to:
Paver Base: Installation Steps
Installing paver is simple in theory, so simple that many people to tackle it from a DIY perspective. As long as the project is small, there’s no problem with that. Still, things can sometimes get out of hand even in the simplest cases.
That’s why your best course of action is to hire qualified hardscape professionals to help you. They are equipped with the proper tools and techniques and are ready for everything that an installation might bring.
Still, we’re going to walk through all the steps of an installation process.
Digging
Everything start with digging. After outlining the project, you’re going to dig a hole to start creating your base. The depth of the hole will depend on the objective of your patio.
If it is going to be used mainly for foot traffic, a 4-inch layer will suffice. On top of that, you’re going to add 1-inch for the sand base and add the height of the pavers.
Now, if you’re planning for a driveway or to have heavy objects placed on top of it, you’ll want to dig a 6-inch deep hole, plus the 1-inch for the sand and plus the height of the pavers.
This is just the initial start, as you still want to establish a slope to help with the drainage of your installation.
Starting from the point of the installation that is closest to the nearest building, you’re going to measure the length of the installation. To every 4-feet of distance, you’re going to add 1-inch in depth to your installation.
This will create a slope and prevent drainage issues, as the water will be directed away from buildings.
With the hole dug, and the slope properly established, you’re going to compact the bottom and cover it with geotextile fabric.
Crushed Rock Base
Now is time to fill your hole with the paver base.
There are many things you can use as a base, but the best bases consist of crushed rock, such as 3/4 minus gravel. Again, 4-inches of it for foot traffic, 6-inches for heavy traffic.
The ideal way to fill the hole is to do it in small increments and compact it as you go, from 2 to 2 inches or so. Compacting it as best as possible is one of the secrets to a successful installation.
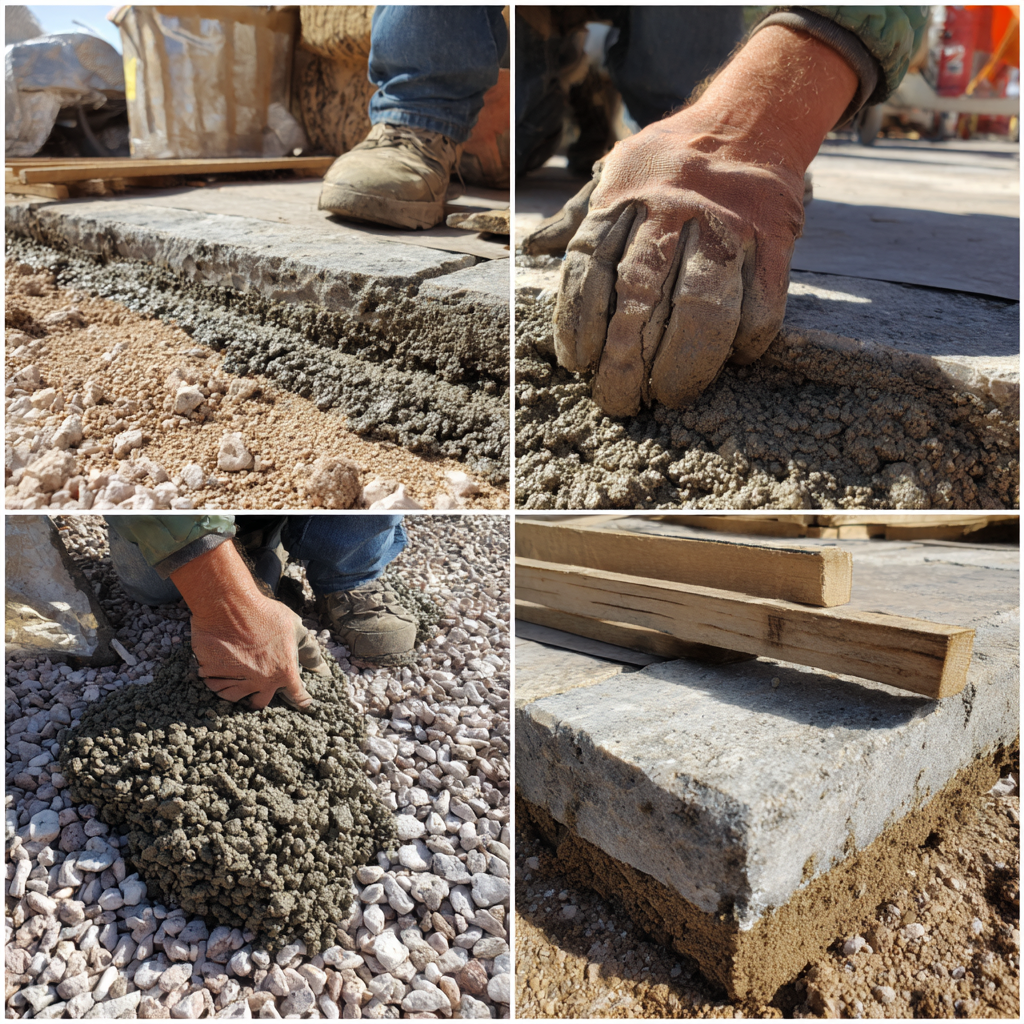
Sand Layer
On top of your base, you’re going to add a 1-inch layer of sand. This layer of sand is where your pavers will be placed upon.
In order to do that, you’re going to need two 1-inch pipes and a 2×4 wooden piece.
The idea is for you to place the pipes parallel to each other on the top of your base. Then you’re going to spread the sand around the area and place the 2×4 on top of the pipes, using them as a little “ramp”.
This process is called screeding, and using it will allow you to create a perfectly level layer of sand in which to place your pavers.
This will help you a ton when it comes to leveling your pavers in the next step of the installation.
A quick and important reminder is in order. You should never compact this layer of sand. It should be simply leveled, but never compacted.
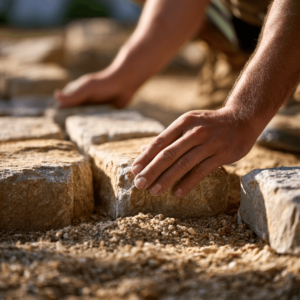
Placing Pavers
With your base done, now you just have to place the pavers on top of it, always using the click and drop method. It is as this moment that you place edge restrainers as well.
After placing the pavers, you’ll add the polymeric sand and, after a few days, seal your installation.
For more information on this final steps of the process, check out this article that tackles the entire process in detail.
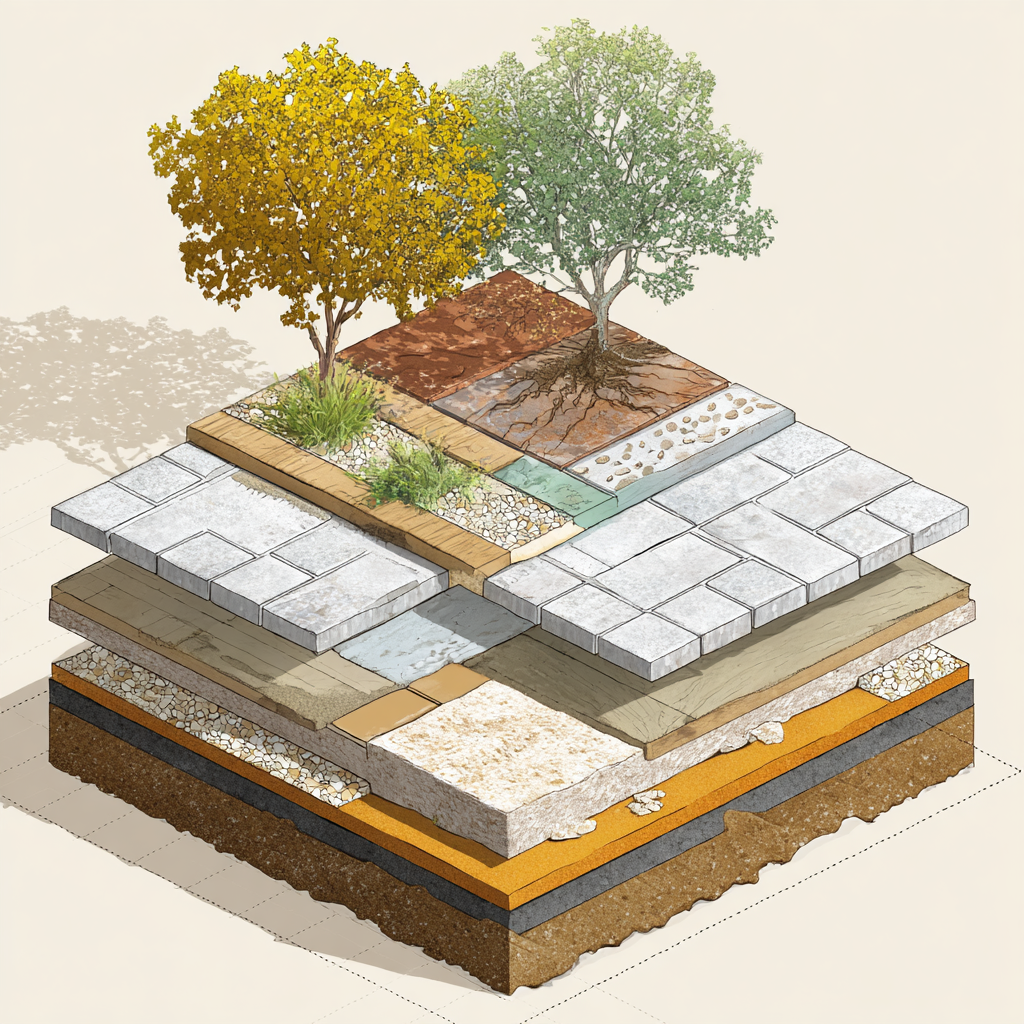
Permeable Paver Base
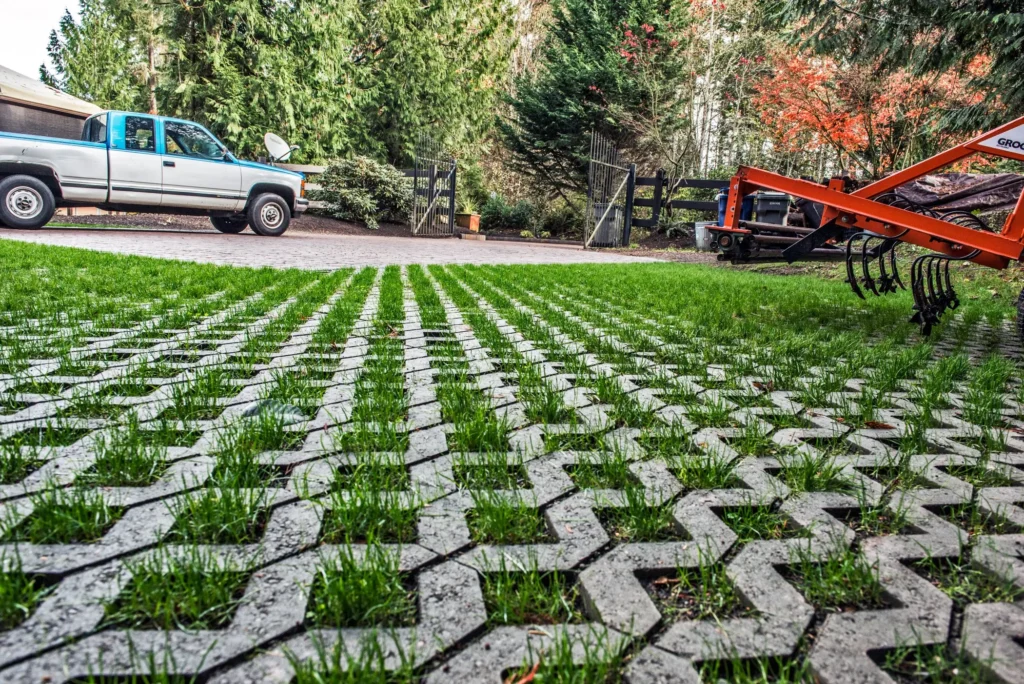
Now that you know how a basic paver base consists of, you can understand how a permeable paver base works.
Permeable pavers are a marvel of hardscape technology that allow you to simulate the way natural land absorbs water. With it, you can even store and recycle water.
The base is not much different. The difference is that it is much deeper, with several layers of varying sizes washed rocks. Also, the polymeric sand is left aside to allow water to freely flow between the pavers.
However, unlikely a regular installation, a permeable paver base is much more complicated and should be left only to qualified professionals.
For 20 years, we here at JS Brick have helped countless homeowners throughout our region with their paver installations, regular and permeable alike. We know very well the importance of developing a very good base for a paver installation. It prevents a ton of headaches in the future.
That’s why we always recommend getting in touch with a professional in your region to start your project.
And if you happen to be around our area of activity, the Sarasota and Manatee Counties, in FL, why not give us a call to help you?
You can contact us anytime at +1 941 586 9140 or email us at [email protected]. We would be happy to help with your sealing and any other paver installation or maintenance need you might have.