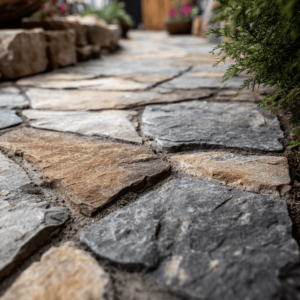
We don’t ever get tired of saying that installing pavers is always a good idea. Pavers ensure your outdoor areas will look great for decades offering durability and style. They require little maintenance and are easy to repair. What more can you ask for?
When it comes to installing pavers though, things are not so simple. In order to achieve the expected durability a lot of care must be put into how pavers are installed, especially, into groundwork and leveling.
Installing pavers the right way will ensure that loosening, maintenance, and weed growth will be minimum. In this guide, you will find out the step-by-step of how that’s done.
Jump to:
How to install pavers: A quick overview of the whole process
Before we get into the step-by-step, it’s important for you to understand what is being done and why. Most of the efforts will be directed at leveling.
Leveling the ground for pavers is not only about leveling the ground you already have. If you want your pavers to be properly installed, you will add gravel and sand beneath it, and if you want them to be flush with the existent surface it will include some digging in order to accommodate everything.
With all that in mind, the process of installing pavers includes outlining the area, marking the finished level goal, digging from that height down, filling the area with gravel and sands, installing paver restraints, and lastly laying the pavers.
Now let’s go through that step-by-step.
You will need:
- Pavers
- Paver restraints
- Rope
- Strings
- Wooden stakes (to pound on the floor)
- 12” steel spikes
- Gravel
- Sand
- A carpenter level
- A rubber mallet
- A nice straight lumber
- A straight edge
- A measuring tape
- A plate compactor
- A masonry saw
- Safety equipment
Step 1 – Outline the area you want to add pavers to
You can use rope, spray paint, a garden hose, whatever you need. Outline it in a way you can see the shape of your project.
Step 2 – Creating your reference
Pound stakes on the edges of the area you outlined. Wind strings around them at ground level and tie it tightly. We are going to use the strings to create your leveling reference.
Step 3 – Leveling the strings and adding the slope
The strings will mark the height at which your pavers’ surface will be in the future, they will be our reference for digging and everything else from now on. That said, it’s in your best interest to level them properly.
Using the carpenter’s level ensure the strings are leveled all the way. Then, in order to allow for drainage, create a slope of one inch to every 4 feet of length. This slope should be added only in the direction you want the water to flow to. You can do that using your measuring tape to adjust the strings.
You can check if your slope is leveled using a bubble level in a creative way. Your bubble should be slightly off-center, but it should be always in the same place. A way to ensure that is by marking the level gauge with a tape.
Step 4 – It’s time to dig.
First, calculate what’s the total depth of your paving project after deciding on how much gravel and sand to add. If you’re not sure how much you need, 4 inches of gravel and 3 inches of sand should be enough. In order to find out how much you will need to dig, you need to add that up to the depth of the pavers (normally 6 inches). In this example, we will need a total depth of 13 inches to accommodate everything.
Now, before you start digging, you should also consider that some edging will be necessary to hold everything on place. So you should dig an area that’s larger than what you already outlined by 13 inches as well.
Using the strings as reference, dig the soil to the necessary depth. Don’t forget to pack down the soil with the plate compactor.
Measure the distance between the soil and the string in many places to ensure everything is even. However, you shouldn’t be a perfectionist here, there will be plenty of opportunity for that later.
Step 5 – Add crushed gravel
Drive stakes whose height will represent the limit for the gravel through the area. Remember all height references should be measured from the string and then down.
That means if we want to add 4 inches of crushed gravel, in our project those stakes should be pounded until they are spaced 9 inches (13 – 4) from the strings. Spread the reference stakes about 7 feet from each other.
Finally, spread the crushed gravel. Ensure the gravel is properly leveled by running a straight lumber though out the whole area, always making sure the gravel is at the same height of the stakes.
That means, if you’ve leveled the stakes properly, the gravel should be perfectly leveled as well.
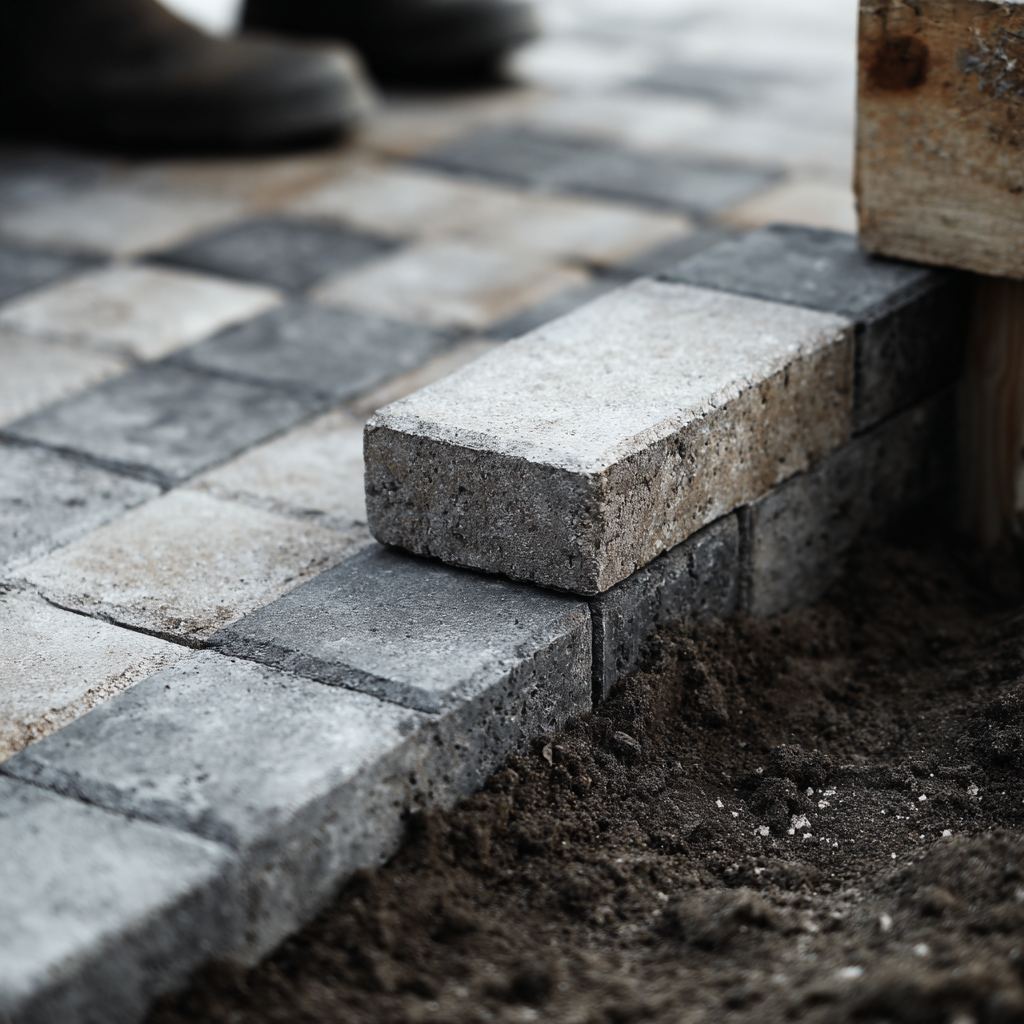
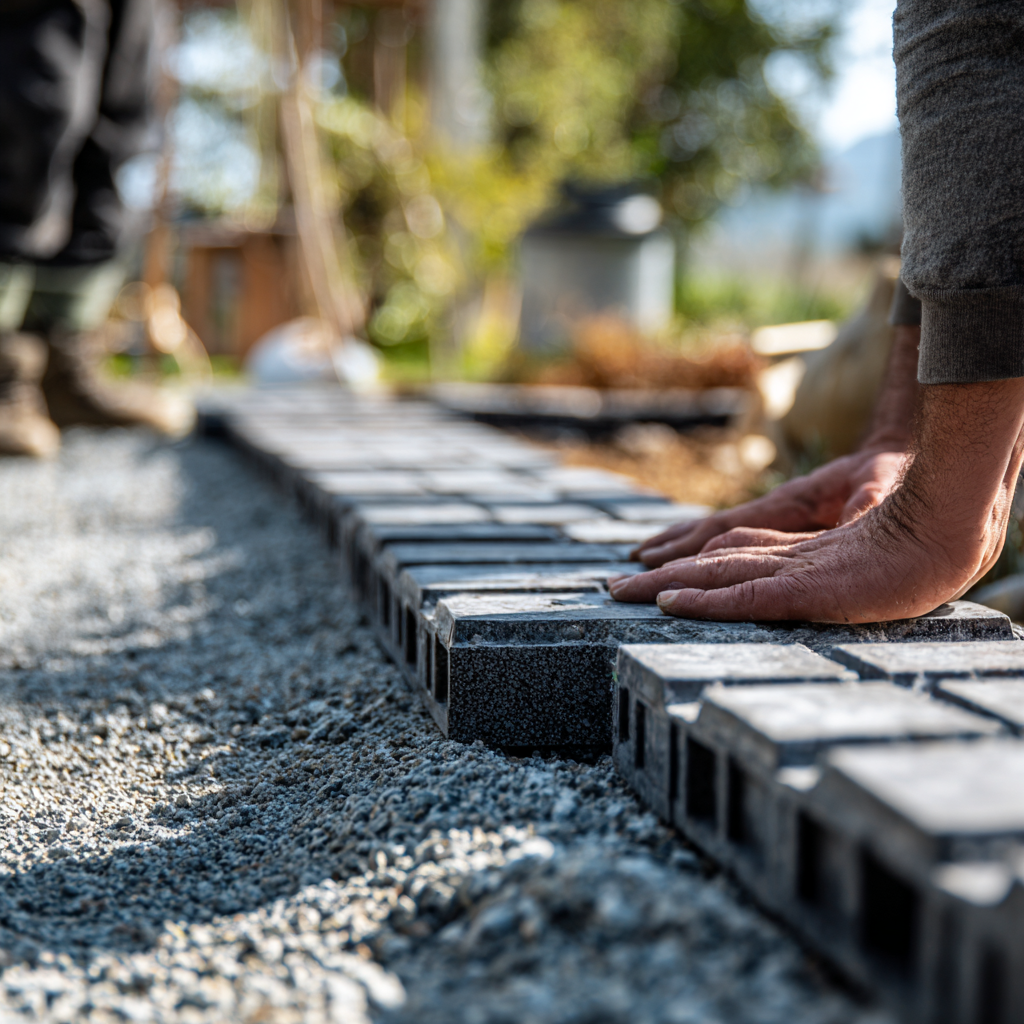
Step 6 – Install paver edge restraints
Edge restraints are necessary in order to help avoid sand shifting, paver loosening, and holding the shape of your project over the years.
Place them around the perimeter of your project area securing them into the ground by means of pounding 12” spikes.
These edge restraints are offered in plastic, aluminum or even steel. When purchasing, keep in mind you will have to bend and cut them in order to adapt them to your project shape.
Step 7 – Add sand
In a procedure that’s similar to that of step 5, drive stakes through the area whose height will represent the total height of sand you will be adding. Again, level those stakes according to the reference strings and considering the fact that you want to fill the area with sand in a way that the pavers’ height will be the only thing left to add.
That means, in our project, those stakes will have to be spaced 6 inches from the strings.
Now spread the sand through the whole area and level it with the lumber making sure it is at the same height as the stakes.
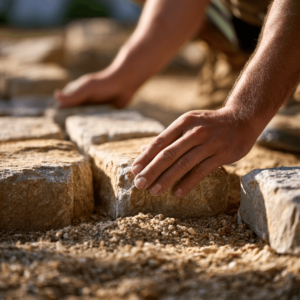
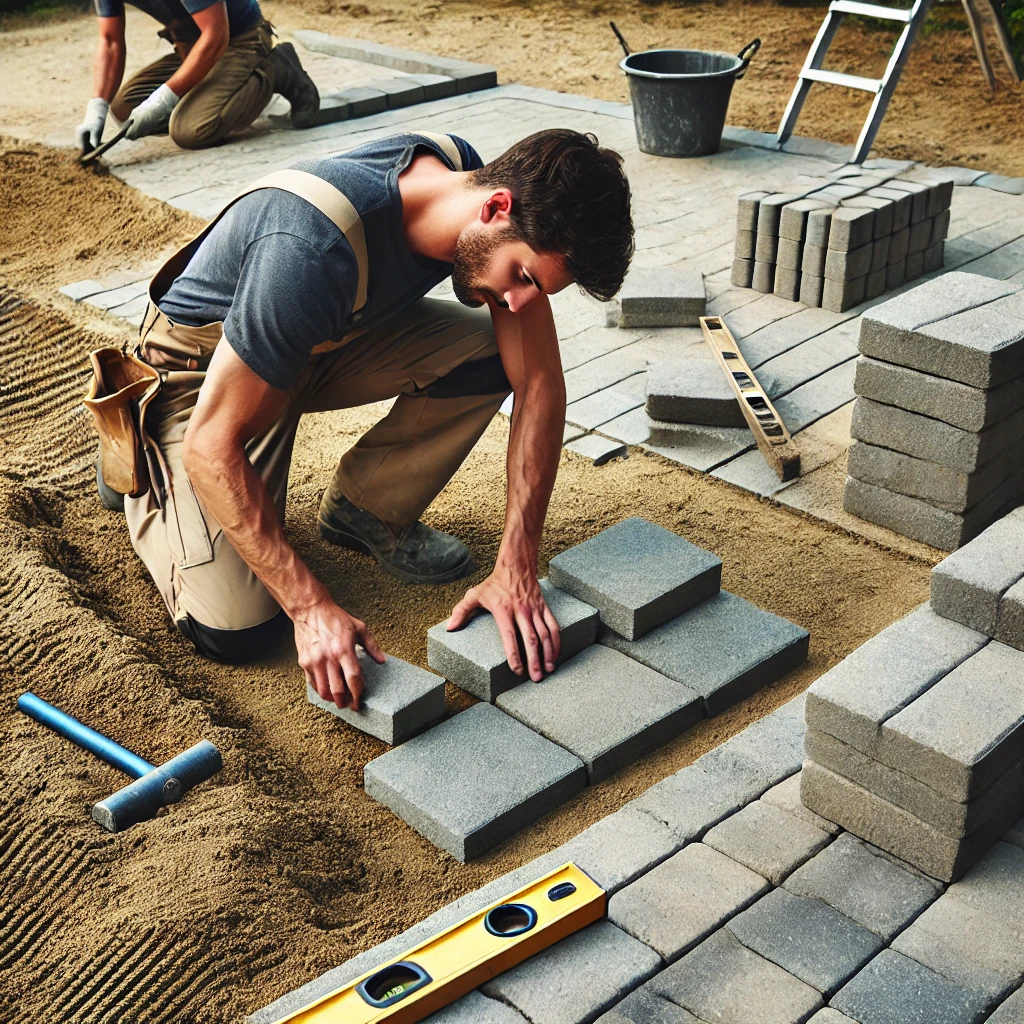
Step 8 – Lay the pavers
It’s finally time to install the pavers themselves. Start in a 90-degree corner and continue extending the paved area (according to the pattern of your choice) along the longest straight line.
Place each unit straight down, snugged together as close as possible. Don’t drag pavers along the sand, and never stomp a paver into place. At this point, you want to avoid sand shifting at all costs in order to keep the leveling you so hardly worked for.
Remember not to walk on the sand you have leveled either, step on the pavers you’ve installed instead, taking care to avoid those who are not yet surrounded. That too is to avoid sand shifting.
As you continue, use a straight edge to check for leveling and if necessary correct a paver height by softly tapping with a rubber mallet.
Step 9 – Cut necessary pavers
In order to completely cover your project area, you will most likely have to cut a few pavers.
Finish laying all the pavers you can, lastly, prepare the pavers you will need to cut, by placing them on top of where they should fit and marking with chalk how much you will need to cut.
Using proper safety equipment, cut the pavers with a masonry saw, and fit the cut pieces in their place.
Step 10 – Ensure proper compaction
Use a plate compactor to tamp all the pavers into the sand carefully. Go across your whole project area with the plate compactor at least three times, to ensure all pavers are properly pressed in the sand.
Step 11 – Spread paver joint sand
Spread a layer of paver joint sand (find out all about it following this link) over the entire area. Use a push broom to sweep all the sand into the gaps between the paver units. Consider using polymeric sand.
You’re all set!
That’s it, you have completed our how to install pavers guide. As you’ve noticed, although it’s not impossible to do it yourself, many things can go wrong if not done cautiously and ultimately cause your paver patio to be uneven. That’s why it’s probably in your best interest to hire professionals to do this job for you.
JSBrick is a company that specializes in the supply and installation of pavers, whatever you need, we’ve got your back. If you live near Sarasota and Manatee, call us right now for a free consultation.