Paver edging is a crucial component when it comes to creating stunning and long-lasting hardscape designs. It not only adds a finished look to your outdoor spaces but also provides structural integrity and prevents the shifting or spreading of pavers. But how to install paver edging?
In this article, we will delve into the world of paver edging, discussing its importance, the various types available, and step-by-step instructions on how to install it properly.
Whether you’re a seasoned DIY enthusiast or a beginner, this comprehensive guide will equip you with the knowledge and skills necessary to achieve professional-looking results.
Read also: Cost of driveway pavers in 2024: buying guide
Jump to:
How to install paver edging in 5 steps
The process of how to install paver edging can be divided into 5 steps. Let’s talk about each one in depth.
Step 1: Planning and preparation
To start things off, assess your project area and determine the layout and design of your paver installation.
Ideally, you already made all the required measurements when planning the paver installation itself. But, just to be sure, measure the perimeter again to calculate the amount of edging material required.
Gather the necessary tools and materials, including the chosen edging type plus gravel, stakes, mallet, string, and a spade.
Step 2: Marking and excavation
Mark the desired edge line using stakes and string. If it’s on concrete, you can use chalk or something similar.
Excavate a trench along the marked line, ensuring it is wide and deep enough to accommodate the edging material.
Step 3: Base preparation
The base is, by far, the most important element when it comes to the paver installation. That’s the entire purpose of the paver edging — to keep the base secure and in place, so your pavers won’t shift.
To create a stable base, add a layer of approximately 1″ of gravel to the trench. Compact that layer using a compactor or hand tamper, and then add one more 1″ layer.
Repeat this process until you have filled the trench with the desired amount of gravel. That depth can be anything between 4″ and 6″ inches. This article can help you decide which one suits you best.
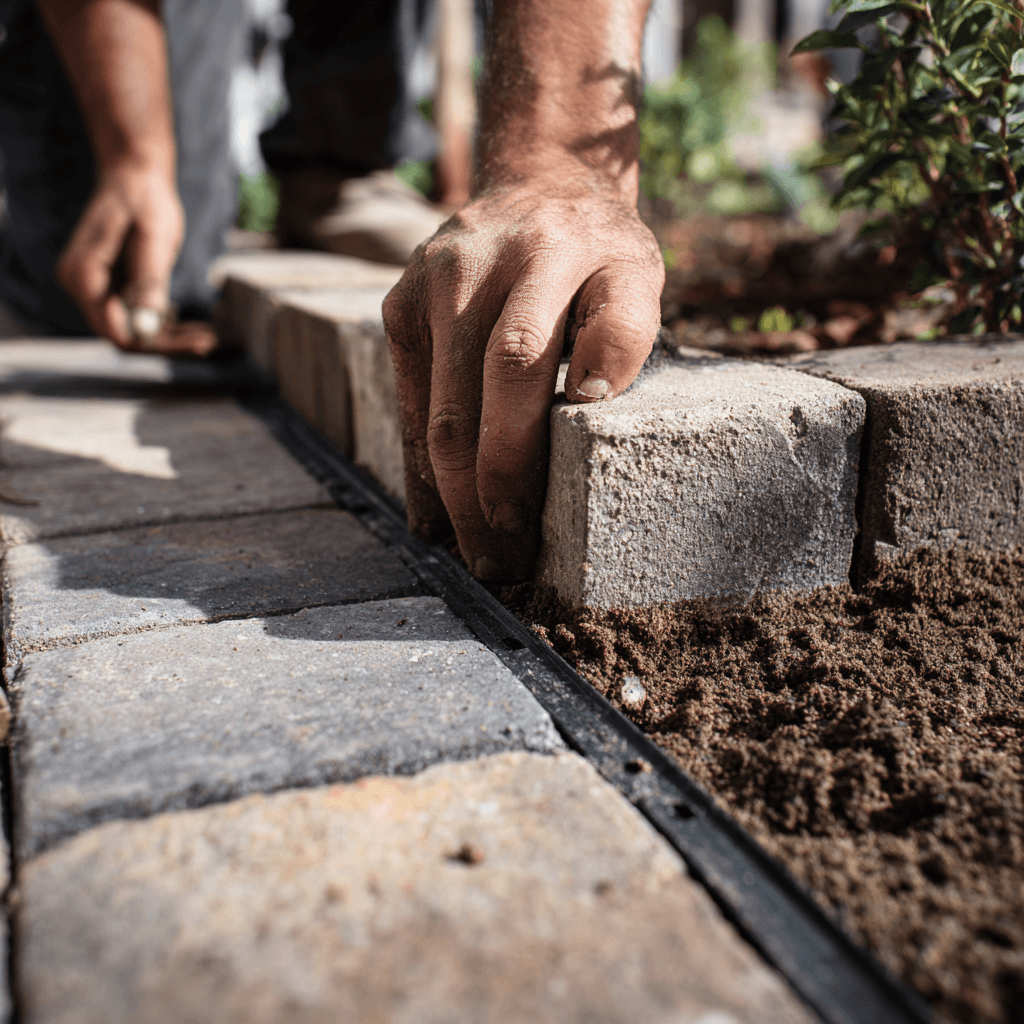
Step 4: Edging installation
Now, things will depend on which style of paver edging you choose.
If it’s a plastic or metal edging, this is the time when you’re going to “stick” them to the ground. Most plastic edges have a system where you can place them using nails. Metal edges can have that same system, but also have the option of being directly hammered to the ground.
As for concrete edging, this is when you’re going to place it. Remember that to use concrete edges, your pavers will have to be at the height of your edges at the end. They are a good alternative when you want your pavers at “ground level”.
Step 5: Backfilling and compaction
Now is the time to backfill the trench with soil or additional gravel, making sure to leave a slight gap between the edging and pavers. This backfilling also needs to be compacted, using the same technique as before.
With the backfilling done, your edges are installed, and you can start your paver installation according to the manufacturer’s instructions.
Read also: How to re-sand pavers and make your patio look new again
The importance of paver edging
One of the primary reasons why paver edging is vital is its ability to provide structural stability to your paved surfaces. Without proper edging, pavers are susceptible to lateral movement, which can result in an uneven surface, gaps between pavers, and even potential tripping hazards.
Edging acts as a barrier — preventing the shifting and spreading of pavers — and ensures that they remain securely in place, even under heavy foot traffic or vehicular loads. By anchoring the pavers, edging helps distribute the weight evenly, reducing the risk of cracks and damage over time.
Weed growth is another common issue in outdoor spaces, and it can be particularly problematic in paved areas. However, paver edging can serve as an effective solution for weed control. When installed correctly, edging acts as a physical barrier, restricting the root systems of weeds from infiltrating the paved surface.
By creating a clear separation between the pavers and the surrounding soil, edging prevents weed growth, reducing the need for constant maintenance and weed removal. This not only saves time and effort but also keeps your hardscape looking clean and well-maintained.
Paver edging also plays a vital role in preventing the shifting and spreading of pavers. Over time, environmental factors, such as freeze-thaw cycles and erosion, can cause the soil beneath the pavers to shift and settle.
Without proper edging, this movement can result in an uneven surface and compromise the stability of the paved area. However, by providing a solid border, edging acts as a containment system, keeping the pavers in place and minimizing the risk of shifting and spreading. This ensures that your hardscape remains level, safe, and visually appealing for an extended period.
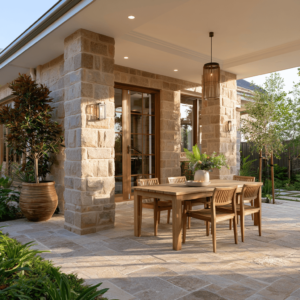
In addition to its functional benefits, paver edging adds a polished and finished look to your landscape design. It creates clean lines and defines the boundaries of your paved areas, giving them a professional and refined appearance.
Whether you opt for plastic, concrete, metal, or natural stone edging, each material can contribute to the overall aesthetics of your hardscape, complementing the style and theme of your outdoor space. Edging provides a visual framework for your paved surfaces, enhancing the overall beauty of your landscape and increasing its curb appeal.
Read also: How many pavers do I need? A simple guide
How to install paver edging: planning is everything
Once again, planning is the most important part of a paver installation – and a big part of learning how to install paver edging is learning how to prepare for it.
The process itself is relatively simple, from a DIY perspective. However, the required attention to detail can be overwhelming if you’re not experienced with paver installations.
We here at JS Brick, over our 23 years of experience, have seen many DIY installations go south for lack of proper planning. So, if you’re not 100% sure you can handle it, maybe your best course of action is to hire a professional in your area you can trust to help you with your project.
And if you happen to be around our service area, in Sarasota County, FL, why not contact us to help you? We would be happy to add to our long list of satisfied customers.