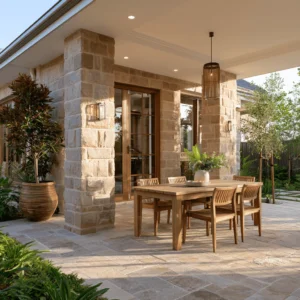
A beautifully landscaped yard can greatly enhance the overall appeal and value of your property. While various elements contribute to a well-designed landscape, paver edging stands out as a practical and aesthetic solution.
Paver edging offers a versatile and durable way to define garden beds, walkways, and patios, providing a clean and polished look to any outdoor space. In this article, we will explore the benefits, types, installation methods, and maintenance tips for paver edging.
Read also: How deep to excavate for pavers: a complete guide
Jump to:
What is paver edging?
Paver edging is the process of installing a border or edge around paved areas to create a clear delineation between different elements of a landscape. It serves as a functional barrier that prevents the spread of grass, mulch, or other materials into the paver surface, keeping it neat and well-maintained.
Furthermore, it prevents the displacement of pavers, contains the base materials, maintains the integrity of the design, and establishes a clean, finished look.
In the realm of hardscaping, paver edging plays a vital role in both the functionality and aesthetics of outdoor spaces. Whether you’re designing a patio, pathway, or driveway, paver edging serves as a crucial component that enhances the stability, durability, and visual appeal of the overall design.
Paver edging: the 3 best types
Plastic Edging
Plastic edging is one of the most common options due to its affordability, flexibility, and ease of installation. It typically consists of durable, lightweight plastic material that comes in rolls or strips.
Plastic edging is versatile, as it can be easily shaped to fit various curves and angles. It is secured in place by driving spikes through pre-drilled holes along the length of the edging.
Aluminum Edging
Aluminum edging offers a more rigid and durable solution compared to plastic. It is often chosen for its strength, longevity, and ability to withstand heavy loads.
Aluminum edging comes in different profiles and can be easily cut and shaped to meet specific design requirements. It is installed by anchoring it into the ground with stakes or screws.
Concrete Edging
Concrete edging provides a solid and permanent border that complements a wide range of outdoor designs. It offers exceptional strength, stability, and resistance to weather conditions.
Concrete edging can be poured on-site or precast and installed by digging a trench and anchoring it securely into the ground.
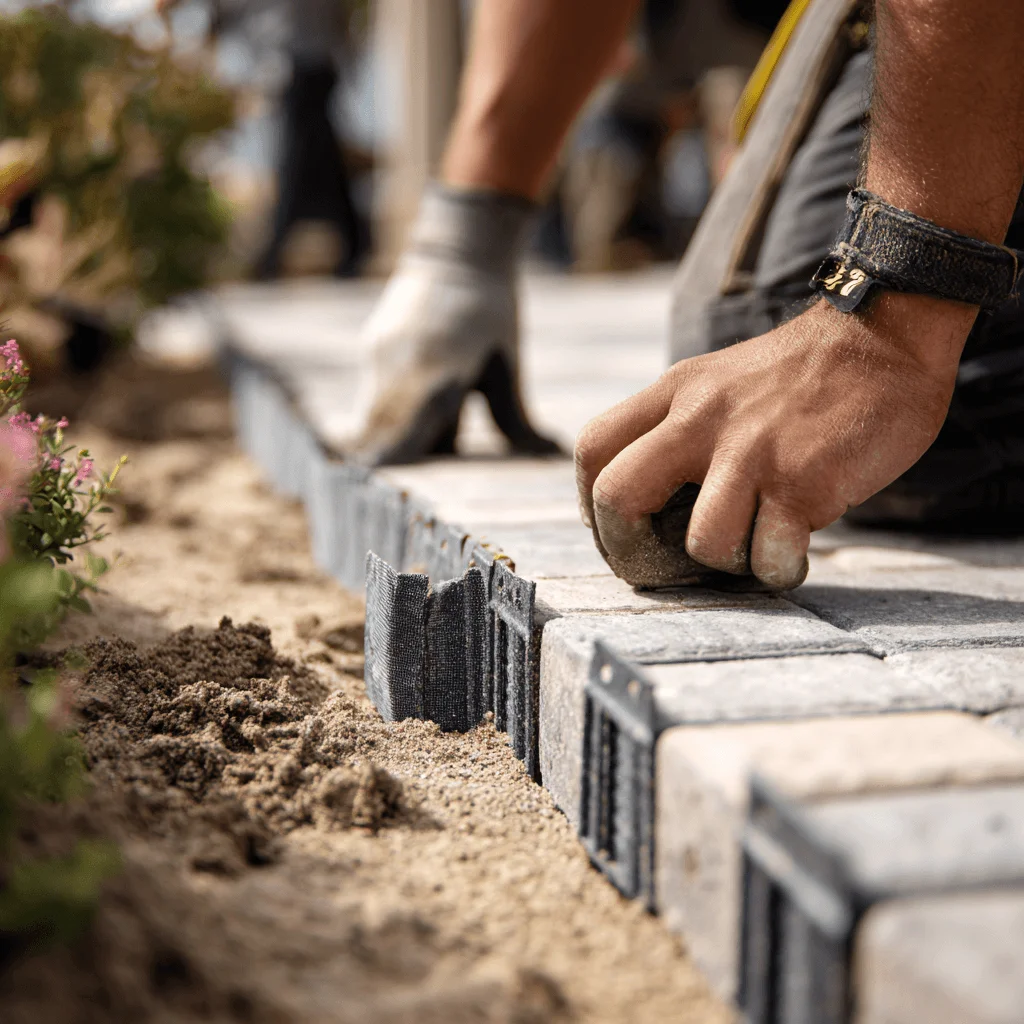
Paver edging installation
We can divide the installation of paver edging into 5 simple steps.
- Step 01 — Planning
Start by sketching a layout of your landscape design, indicating the areas where paver edging will be installed. Measure and mark the desired edge lines, considering the curves, angles, and any existing structures that may influence the design. - Step 02 — Excavation
Clear the area of any vegetation, debris, or existing materials. Excavate the marked area to the appropriate depth, ensuring sufficient space for both the pavers and the chosen edging material. - Step 03 — Base Preparation
Create a stable base for the edging by adding a layer of compacted gravel or sand to the trench. This will provide a solid foundation and prevent shifting or settling of the edging. - Step 04 — Edging Installation
Install the selected paver edging material by placing it securely in the trench – then follow the manufacturer’s instructions for specific installation guidelines, as they may vary depending on the type of edging chosen.
Make sure the edging is level and firmly pressed into the base material, and that it sits slightly above the base and flush with the top surface of the pavers. If using plastic or metal edging, connect the pieces using the provided connectors or stakes. Ensure that the edging is aligned with the desired edge lines and that it forms a continuous barrier. - Step 05 — Backfilling
Backfill the trench with soil or additional base material, firmly packing it around the edging to provide stability and support. Avoid leaving gaps or voids that may cause the edging to shift or become loose.
With the backfilling done, you finished the installation of your paver edging. Now all that’s left is to install the paver themselves, which you can learn how to do in this detailed article.
Read also: How much does it cost to have pavers installed in 2024?
The many benefits of paver edging
Well, you see, paver edging acts as a physical barrier, preventing the lateral movement and shifting of individual pavers. It helps maintain the structural integrity of the installation, especially in high-traffic areas or regions prone to settlement or erosion.
Properly installed paver edging also creates a barrier that inhibits the growth of weeds and grasses between the paver joints. This reduces the need for constant maintenance and weed removal, keeping the area clean and pristine.
By containing the base materials and preventing the spreading or shifting of pavers, edging significantly improves the overall durability of the installation. It minimizes the risk of cracks, sinking, and uneven surfaces, ensuring that the paver design remains intact for an extended period, for instance.
Paver edging offers design flexibility by allowing for clean, crisp lines and precise borders. It enables homeowners to create different patterns, shapes, and curves with ease, enhancing the visual appeal of the outdoor space.
It also provides a polished and finished look to the paver installation with a defined edge that separates the paved area from adjacent landscaping elements, such as flower beds or lawns, resulting in a more organized and visually pleasing design.
Well-installed paver edging helps prevent tripping hazards by ensuring that the pavers remain in place and maintain a level surface. This is particularly important in high-traffic areas or spaces frequented by children or elderly individuals.
With paver edging in place, maintenance tasks become more straightforward. The defined edges make it easier to sweep or blow away debris, and repairs or replacements of individual pavers can be done more efficiently.
And speaking of maintenance…
Paver edging maintenance: how to do it
Regular cleaning is the key when it comes to paver edging maintenance.
You may keep them clean by removing any debris, leaves, or grass clippings that may accumulate along the edges. This will prevent the buildup of organic material that can promote weed growth.
Although paver edging helps to minimize weed growth, it is still important to monitor and remove any weeds that may emerge. Regularly inspect the edges and apply an appropriate weed control method to keep the area weed-free.
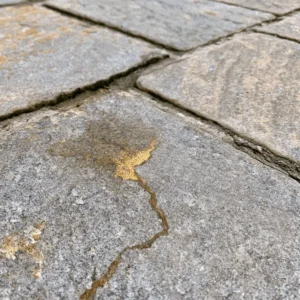
Periodically inspect the edging for any signs of damage, such as cracks, breaks, or shifts. Repair or replace damaged sections promptly to maintain the integrity and functionality of the edging.
Depending on your climate, certain edging materials may be prone to expansion or contraction with temperature changes. Check the alignment and stability of the edging after extreme weather conditions and make any necessary adjustments.
Read also: How to level the ground for pavers: a complete guide
Don’t skip the paver edging in your installation!
Yes, unfortunately, many people do that for one reason or another.
Installing pavers, as well as pavers edgings, is something relatively safe to do from a DIY perspective. However, many people make the mistake of skipping the fundamental steps of the process.
If you’re going to install it by yourself, make sure to do your research and follow all the guidelines to a fault. If you’re not sure that you can handle it, maybe your best course of action is to ask for professional help.
Here at JS Brick, over our 23 years of activity, we have performed countless paver installations, and we know how tricky things can get. So we always recommend you hire a professional you can trust in your area.
And if you happen to be around our area or service, the Sarasota region, in FL, why not contact us to help you with your project? We would be happy to add you to our long list of satisfied customers!