The paver cleaning process can end up removing more than just debris from the block’s surface. As we know, flooring stability and integrity come from different factors, including the presence of material between the joints. Thus, to avoid any problems in the future, we will show you how to re-sand pavers and make sure that your investment stays beautiful for many years to come.
Before we dive in, we would like to point out that the sand between pavers can wash off. The erosion process doesn’t happen just as a maintenance cleaning result. In fact, in many circumstances, the sand washes off because of rain or even wind.
Be as it may, the re-sand process is very straightforward, and in this article, we will explain in detail how it works and more.
Jump to:
How to re-sand pavers in 7 steps
Let’s start by listing what you need to re-sand pavers, which is:
- A tarp or other material to cover stuff
- A pressure washer of any kind, even domestic equipment
- Broom; choose one with soft bristles to avoid any risk of scratching or etching the paving blocks.
- Bags of sand; if you’re not sure how many you need, just measure the total area. As a rough example, you will need between 1 x 20-25 kg bag of sand per 15-30 square meters of paving.
Now that you have what you need to start, let’s go step by step on how to re-sand pavers:
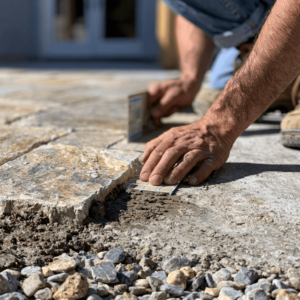
- The first step in the process is to protect any plants, nearby areas, and furniture that you can damage during the cleaning stage. If you can, move them away as far as possible. Otherwise, simply cover them with a tarp, but be very careful when using the power washer near them.
- To begin the cleaning process, check if you have a problem with weeds. If you do, you might want to wait for a few days until you can get rid of them after applying a herbicide.
- Once you are free of weeds, you can finally use the pressure washer to remove any debris between pavers. Use a nozzle with a wide spray pattern, such as a 25-degree or 40-degree nozzle. Hold the pressure washer wand at a slight angle to the surface of the pavers and work in a consistent pattern.
Start with a lower pressure and gradually increase if necessary, but be careful not to use too much pressure, as this can damage the pavers. - After this deep cleaning, wait a few days for the pavers to dry completely. Once they are dry, sweep off the patio with a broom to remove any debris.
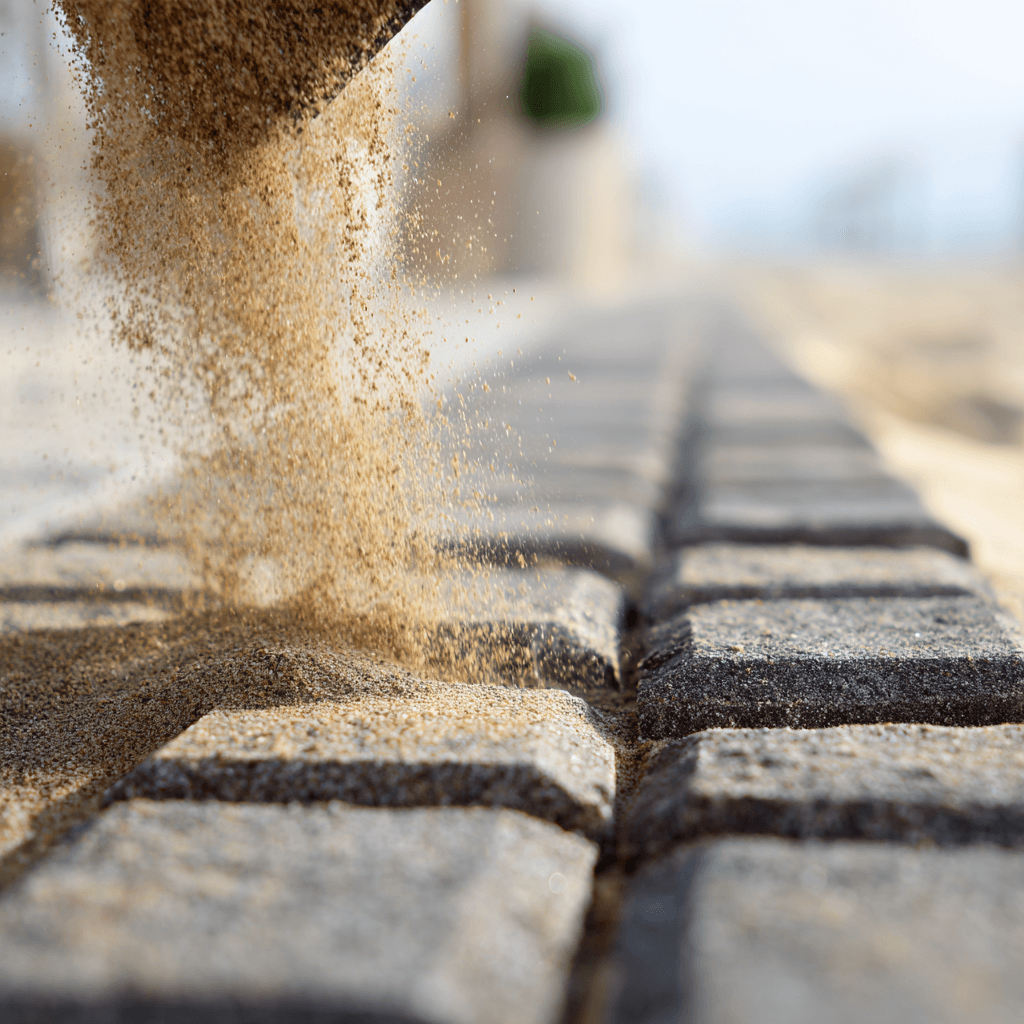
- Then, empty the bags of sand on top of the paver surface and spread it out over the flooring with a broom. Sweep the material across all the joints to fill them in completely, and then sweep off the excess sand with a broom.
- Now you have to mist the entire area. This is an extremely important step because it is the water that activates the polymers in the sand and makes it a cohesive material. Use a garden hose in the shower setting and slightly mist the pavers, enough to saturate the sand but not enough to see it float.
- Spray for a few seconds and stop right away to check it. If the pavers continue to soak up the water, you can keep spraying. But if you see water starting to accumulate, it is time to stop.
Can I use regular sand between pavers?
In certain cases, normal sand serves this purpose very well since it also helps lock the individual blocks in place, so they don’t shift. If possible, use irregular, sharp-grained sand, as they have sharp edges and bind together better.
But the best option is polymeric sand. Although more expensive, the product has excellent properties.
Usually, polymeric sand contains 85 – 90% quartz and crystalline silica, which is what gives the product its notable binding power. When you wet this sand, it activates the polymers, which hardens the various components, effectively locking the pavers in place.
Once hardened, it won’t wash away with heavy rain or water from a hose, as loose sand would; This means you won’t have to worry about replacing the sand frequently to keep the joints full.
Polymeric sand also hinders weed growth and prevents ant infestations, among other added benefits.
How often should you re-sand pavers?
There is no rule about the frequency of how to re-sand pavers. As you can use diverse materials (and expose pavers to different circumstances), the re-sanding time can vary considerably.
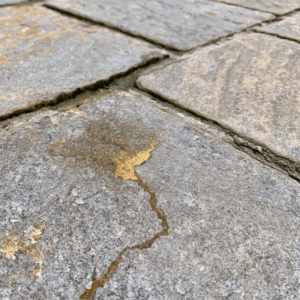
The best way to determine is to examine the flooring surface.
If you use regular sand, you may have to re-sand pavers every two years. But, other indicators may mean that the time has come. If joints are open, it means that any sand in there to keep the bricks stable – to keep them from moving – was washed off.
If you choose polymeric sand, even if exposed to the same circumstances as regular sand, it may last up to ten years (or more).
Note that to increase durability, you can apply a sealer over pavers in both cases (polymeric and regular sand). This substance acts by creating a protective layer on the flooring surface.
In addition to keeping sand in place, the sealer also protects your investment from other threats:
- Hinders weed growth;
- Prevents moss and mold from growing over pavers;
- Keep off insects, like ants;
- Protects against staining, even the ones hard to deal with, like oil and sap.
How much does it cost to re-sand pavers?
Assuming you have a broom, a pressure washer, and a tarp, you will probably just spend around $2 — $4 for each 50lb bag of regular sand. The price does vary for polymeric sand, but you can expect the price to range between $20 – $40 per 55lb – 50lb bag.
As you can see, the price varies considerably. However, as we mentioned, polymeric sand offers a great deal of added benefits and increased durability. Combine the product with proper sealing, and you won’t have to worry about re-sanding pavers for a considerable period.
Leave paver maintenance to professionals in the area!
At JS Brick, we have 20+ years of experience providing paver installation, supply, and maintenance services in Sarasota and surrounding cities. For a free estimate on paver cleaning, re-sanding, and sealing services, don’t hesitate to leave us a message or a call!