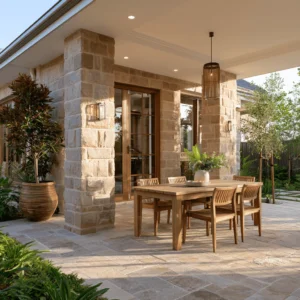
Owning a beautiful paver installation is a very common goal amongst many homeowners across the globe. Pavers are reliable, beautiful and can last for years. So what exactly are the steps of an installation and can you sand pavers at the end of it?
Good installation practices are just as important as the pavers themselves. In fact, without a proper installation, even the best pavers can cause problems. Choosing the pavers is only the first step of the process. Installation is just as important.
So let’s cover the importance of each step of a paver installation and whether you can sand them or not.
Jump to:
Can You Sand Pavers?
A good reason why pavers are so popular is due to the interlocked system they create alongside the sand in a dry installation. This system allows pavers to withstand even the heaviest weights and helps preserve the structure of the installation for a long time.
So the answer is yes, you can sand pavers. More than, sanding the pavers is actually something you should do.
The interlocked system that is created using the combination of pavers and sand is a wonderful structure that can withstand both the test of time and everyday wear and tear.
Pavers, individually, are very resistant blocks of certain materials, like concrete, porcelain or natural stone. The blocks are very resistant on their own, but when used in combination with sand, they create a virtually indestructible structure.
The sand allows the pavers to slightly shift to adapt and distribute the weight of heavy alongside the entire structure. So, even though they are incredibly strong, that strength is used in a very smart way. Therefore, the resistant of the pavers never need to be fully put to the test.
The interlocked system is a marvel of modern hardscape technology, and can only be put in place with the help of sand. So yeah, sanding pavers is highly recommendable.
But be careful! You can’t use any type of sand. The right sand for the job is a type of sand called polymeric sand.
Polymeric Sand: The Perfect Sand for the Job
First of all, let’s explain exactly what polymeric sand is.
Sand is composed of microscopic particles of rock that has been eroded after years of contact with some form of water, like a sea or a river. The composition of sand can alter depending on exactly what kind of rock it is originated from.
Different parts of the world contain sand with different types of materials. And, aside from all the natural occurrences, specific types of sand can be “fabricated” to fulfill a specific purpose. Polymeric sand is one of those fabricated sands.
Polymeric sand is composed of very fine particles, mainly quartz, combined with special polymers and chemical additives.
These polymers, when combined with water, create a powerful binding agent that locks the pavers in place without sacrificing their mobility. This is ultimately what establishes the interlocked system.
The use of polymeric sand is pivotal to the success of a paver installation. Many homeowners don’t take that seriously and end up going for regular sand. That is not recommended by every qualified professional in hardscape business.
Regular sand may work for a while, but it will need replacement much sooner and won’t protect the pavers as well as polymeric sand would.
How to Apply Polymeric Sand
Once your pavers are all in place and properly installed, it is time to sand them and put the final touch on the installation. For more information about the entire installation process, refer to this article.
The first thing you’ll do is spread polymeric sand all over your pavers. Your goal is to fill every single joint line between the pavers. So, naturally, the bigger your installation, the more sand you’ll need.
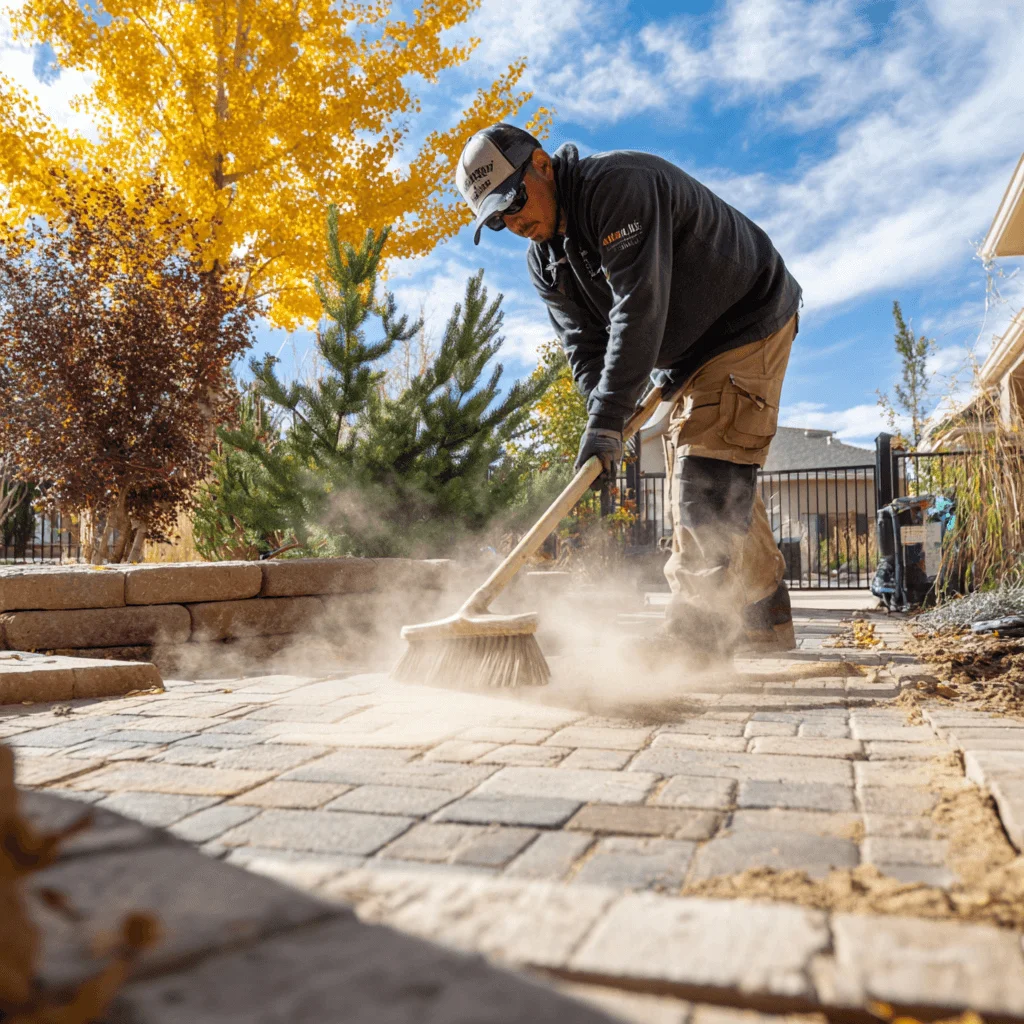
Simply pouring the sand won’t get the job done. You will need a broom to sweep the sand across the installation, always aiming to fill the joints. Patience is the key here, make sure all the joints are completely filled and keep sweeping the sand until it remains on the surface of the pavers.
Do it slowly as to avoid the excess dust and make sure to sweep the excess sand away once you’re done. If you’re working with texturized pavers, that part might get tricky. Still, it is important that you remove the excess sand as best as possible. You can even use a leaf blower to help you.
Once all the excess sand is swept away, it is time to activate the polymeric sand. To do that, you’ll simply need a garden hose on a shower setting. The goal is to slightly wet the installation, not douse it completely.
Go over the entire installation, carefully wetting the joints from a safe distance. That will activate the sand and lock the pavers in place. Let it curate for at least 24 hours before allowing foot traffic and 48 before allowing vehicular traffic.
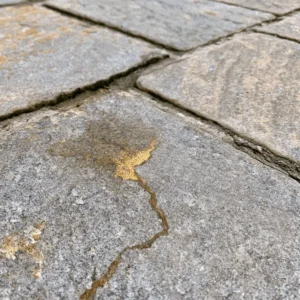
You might notice some haze covering the pavers afterwards. Don’t worry, that is a normal reaction. The haze disappears after a few weeks, and that disappearance can be used as an indicator that the installation is now ready to be sealed.
Professional Help to Sand Pavers
Sanding pavers is really not that hard. Perhaps it is the easiest part of a paver installation. But, although perfectly doable from a DIY perspective, we always give the same advice: hire a professional hardscape contractor.
Professional help goes a long way in preventing something wrong from happening, and we always recommend you find a qualified contractor in your area to help you with your paver installation.
And if you happen to be around the Sarasota and Manatee counties, we here at JS Brick would be happy to help you with that, as well as with any other hardscape need you might have.
Give us a call right now at +1 941 586 9140 or email us at [email protected]. We would be happy to hear from you.