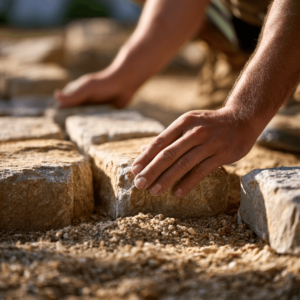
If you’ve ever tripped on an uneven paving surface you know exactly how important leveling the ground for pavers is. Nevertheless, this type of foundation work takes a lot of working hours and when done right, is barely noticed.
Don’t let it fool you – that’s no reason for it to be ignored. Use this article to learn how to level the ground for pavers, and let the lack of complaints about tripping hazards in your patio or walkway be your main reward.
You may also like: How to remove oil stains on pavers in 3 easy steps
Jump to:
How to level the ground for pavers: a quick overview of the whole process
Before we get into the step-by-step, you need to understand what is being done and why. Leveling the ground for pavers is not only about leveling the ground you already have.
If you want your pavers to be properly installed, you will add gravel and sand beneath them – and if you want them to be flush with the existing surface, it will include some digging to accommodate everything.
Lastly, although we call it leveling, we won’t be aiming at a leveled patio, a slight slope is necessary for water drainage (learn about permeable pavers in this article) sand so that the water takes all the dirt where you want it to go.
With all that in mind, the process of leveling the ground for pavers includes outlining the area, marking the finished level goal, digging from that height down, filling the area with gravel and sand, and lastly laying the pavers.
Now let’s go through that step-by-step.
You will need:
- Rope
- Strings
- Wooden stakes (to pound on the floor)
- Gravel
- Sand
- A carpenter level
- A nice straight lumber
- A measuring tape
- A plate compactor
Step 1 – Outline the area you want to add pavers to
You can use rope, spray paint, a garden hose, whatever you need. Outline it in a way you can see the shape and size of your project.
Step 2 – Creating your reference
Pound stakes on the edges of the area you outlined. Wind strings around them at ground level and tie them tightly. We are going to use the strings to create your leveling reference.
Step 3 – Leveling the strings and adding the slope
The strings will mark the height at which the surface of your pavers will be in the future, they will be our reference for digging and everything else from now on. That said, it’s in your best interest to level them properly.
Using the carpenter’s level ensure the strings are leveled all the way. Then, to allow for drainage, create a slope of 1 inch to every 4 feet of length. This slope should be added only in the direction you want the water to flow to. You can do that using your measuring tape to adjust the strings.
You can check if your slope is leveled creatively using a bubble level. Your bubble should be slightly off-center, but it should be always in the same place. A way to ensure that is by marking the level gauge with tape.
Step 4 – It’s time to dig.
First, calculate what’s the total depth of your paving project after deciding on how much gravel and sand to add. If you’re not sure how much you need, 4 inches of gravel and 3 inches of sand should be enough. In order to find out how much you will need to dig, you need to add that up to the depth of the pavers (normally 6 inches). In this example, we will need a total depth of 13 inches to accommodate everything.
Now, before you start digging, you should also consider that some edging will be necessary to hold everything in place. So you should dig an area that’s larger than what you already outlined by 13 inches as well.
Using the strings as a reference, dig the soil to the necessary depth. Don’t forget to pack down the soil with the plate compactor.
Measure the distance between the soil and the string in many places to ensure everything is even. However, you shouldn’t be a perfectionist here, there will be plenty of opportunity for that later.
Step 5 – Add crushed gravel
Drive stakes whose height will represent the limit for the gravel through the area. Remember all height references should be measured from the string and then down.
That means, if we want to add 4 inches of crushed gravel, in our project, those stakes should be pounded until they are spaced 9 inches (13 – 4) from the strings. Spread the reference stakes about 7 feet from each other.
Finally, spread the crushed gravel. Ensure the gravel is properly leveled by running a straight lumber throughout the whole area, always making sure the gravel is at the same height as the stakes.
That means, if you’ve leveled the stakes properly, the gravel should be perfectly leveled as well.
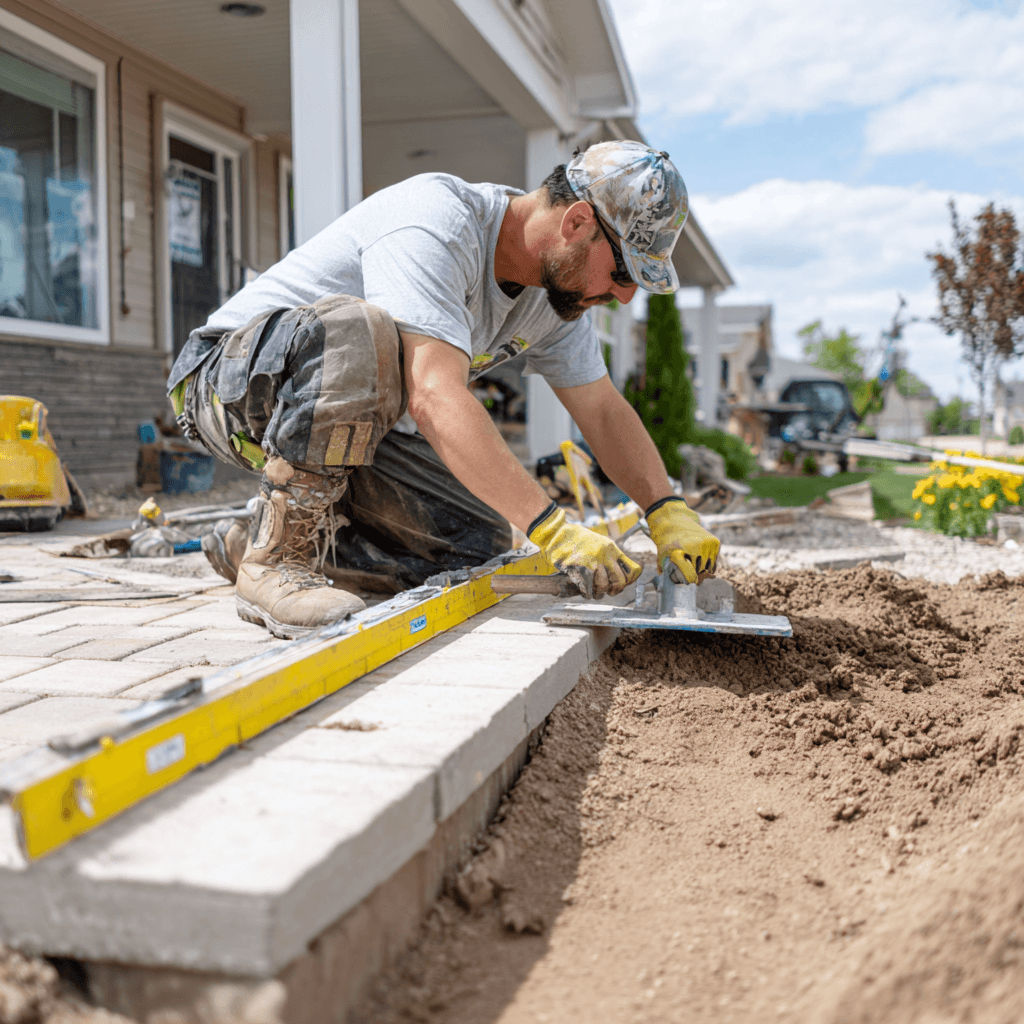
Step 6 – Add sand
In a procedure that’s similar to that of the last step, drive stakes through the area whose height will represent the total height of sand you will be adding. Again, level those stakes according to the reference strings and consider the fact that you want to fill the area with sand in a way that the pavers’ height will be the only thing left to add.
That means, in our project, those stakes will have to be spaced 6 inches from the strings.
Now spread the sand through the whole area and level it with the lumber making sure it is at the same height as the stakes. Next, you need to install paver restrains and the pavers themselves.
Why do pavers get uneven on the floor in the first place?
Don’t worry – unleveled pavers are a common problem around the whole world, especially if the groundwork is decades old. Pavers can become uneven on the floor due to various reasons, such as:
- Poor installation: If pavers aren’t installed properly, with inadequate base preparation or incorrect leveling, they are more likely to shift and become uneven over time.
- Ground movement: Natural factors like soil erosion, settling, or expansion and contraction due to changes in temperature and moisture levels can cause the ground underneath the pavers to shift, leading to unevenness.
- Heavy traffic: Areas with high foot traffic or heavy loads, such as vehicles driving over them, can cause pavers to settle unevenly over time.
- Tree roots: Tree roots can grow underneath pavers, pushing them upwards and causing them to become uneven.
- Poor drainage: Inadequate drainage can lead to water pooling underneath the pavers, which can erode the base material and cause the pavers to sink or become uneven.
- Age and wear: Over time, the materials used in pavers can degrade, leading to unevenness. Additionally, repeated exposure to the elements and wear from foot traffic can contribute to this.
At the end of the day, regular maintenance and proper installation techniques can ALWAYS mitigate these issues and keep pavers level and stable over time.
You’re all set!
That’s it – you have successfully leveled the ground for the pavers to be installed. As you’ve noticed, although it’s not impossible to do it yourself, many things can go wrong if not done cautiously and ultimately cause your paver patio to be uneven. That’s why it’s probably in your best interest to hire professionals to do this job for you.
JS Brick is a company that specializes in the supply and installation of pavers, whatever you need, and we’ve got your back. If you live near Sarasota and Manatee, call us right now for a free consultation!