Paver leveling is one of those outdoor maintenance topics that seems simple until a patio chair starts wobbling, a driveway develops a small dip, or a walkway suddenly feels like it has a tiny speed bump built into it.
The good news is that paver leveling is usually very repairable, especially because pavers are modular. Unlike a solid concrete slab, individual pavers can be lifted, adjusted, and reset with careful attention to the base, bedding layer, joints, and drainage.
In this article, we will explain the exact reasons why this happens, how to fix it, and how to prevent it from ever happening again in the future.
You may also like: How to install pavers – the complete guide
Jump to:
Why pavers become uneven over time
Paver leveling becomes necessary for several reasons, and the cause is not always obvious at first glance. Sometimes the problem starts with water. Sometimes it starts with soil. Sometimes it starts with the original base preparation. And sometimes, honestly, nature just decides to remind everyone who is in charge.
Base settling and poor compaction
The most common reason for paver leveling is base settlement. A properly built paver system needs a stable, compacted foundation. If the base is installed too thin, compacted unevenly, or placed over unstable soil, the pavers above it may eventually sink.
In a correct installation (with the right machines), the bedding sand is placed evenly, and the pavers are compacted so the sand moves into the joints, helping the surface interlock and become level. This is one of those details that sounds small but makes a huge difference. Pavers are strong, but they need the right support, much like a good mattress needs a good bed frame.
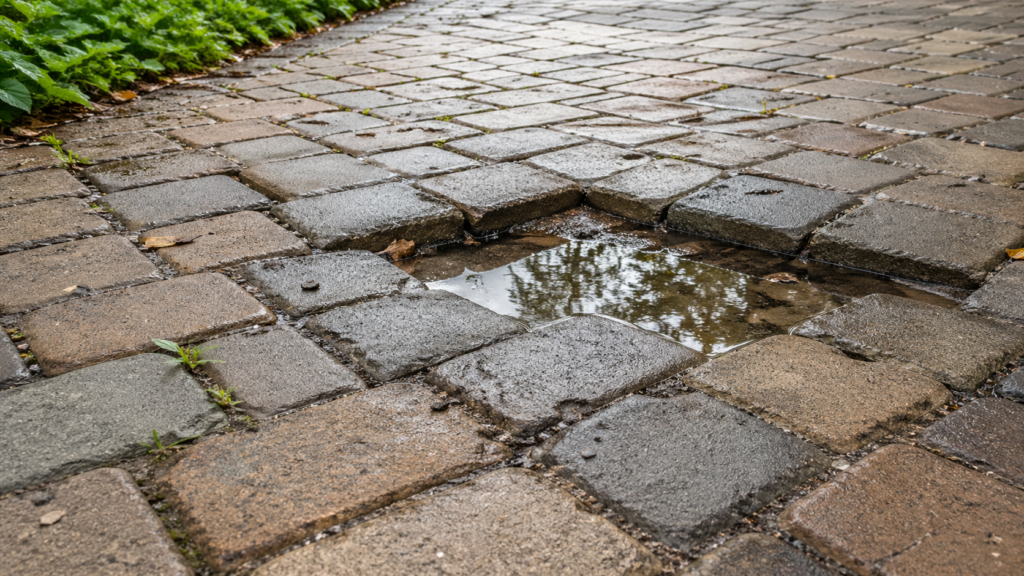
Drainage issues
Water is another major reason paver leveling becomes necessary. If rainwater flows under the pavers instead of away from them, it can wash out bedding sand or weaken the base.
Heavy rain, for example, can expose drainage problems quickly. A patio might look fine during dry weather, and then after a few storms, one corner starts dipping like it is trying to become a birdbath.
Drainage-related settling is especially important to correct because resetting pavers without improving water movement may only create a temporary fix. The area may look better for a while, then sink again when the next rainy season arrives.
Edge and joint deterioration
Pavers rely on edge restraints and joint material to stay locked in place. When edge restraints fail, the field of pavers can spread outward. When joint sand is lost, pavers may shift slightly under foot traffic, furniture movement, or vehicles. Over time, those tiny movements can create uneven spots.
Routine maintenance helps prevent this. The recommendation is to perform full preventive maintenance for interlocking concrete pavement systems every spring and fall, which supports long-term performance and helps catch small issues before they become large repairs.
See how professional paver leveling is done
Paver leveling is a step-by-step process that goes beyond simply lifting a few uneven pavers and placing them back down. A professional repair focuses on finding the reason the surface moved, correcting the base, restoring the proper slope, and locking the pavers back into position.
When each stage is done correctly, the repaired area blends into the existing patio, walkway, pool deck, or driveway and performs much better over time.
Step 1 – Inspecting the area
Before any pavers are removed, the area needs to be inspected carefully. This helps determine whether the problem is isolated or connected to a larger issue below the surface.
A professional inspection includes:
- Checking where the pavers have sunk, lifted, or shifted
- Looking for water pooling after rain or irrigation
- Identifying loose edge restraints
- Checking for missing joint sand
- Looking for weeds, ants, or soil movement between joints
- Reviewing nearby roots, downspouts, drains, or slopes
- Comparing the uneven area with the surrounding paver field
This first step matters because paver leveling should solve the cause of the problem, not just hide the symptom.
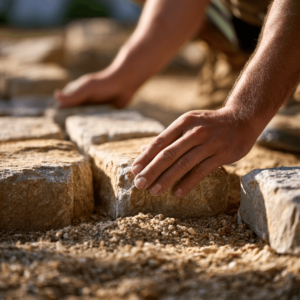
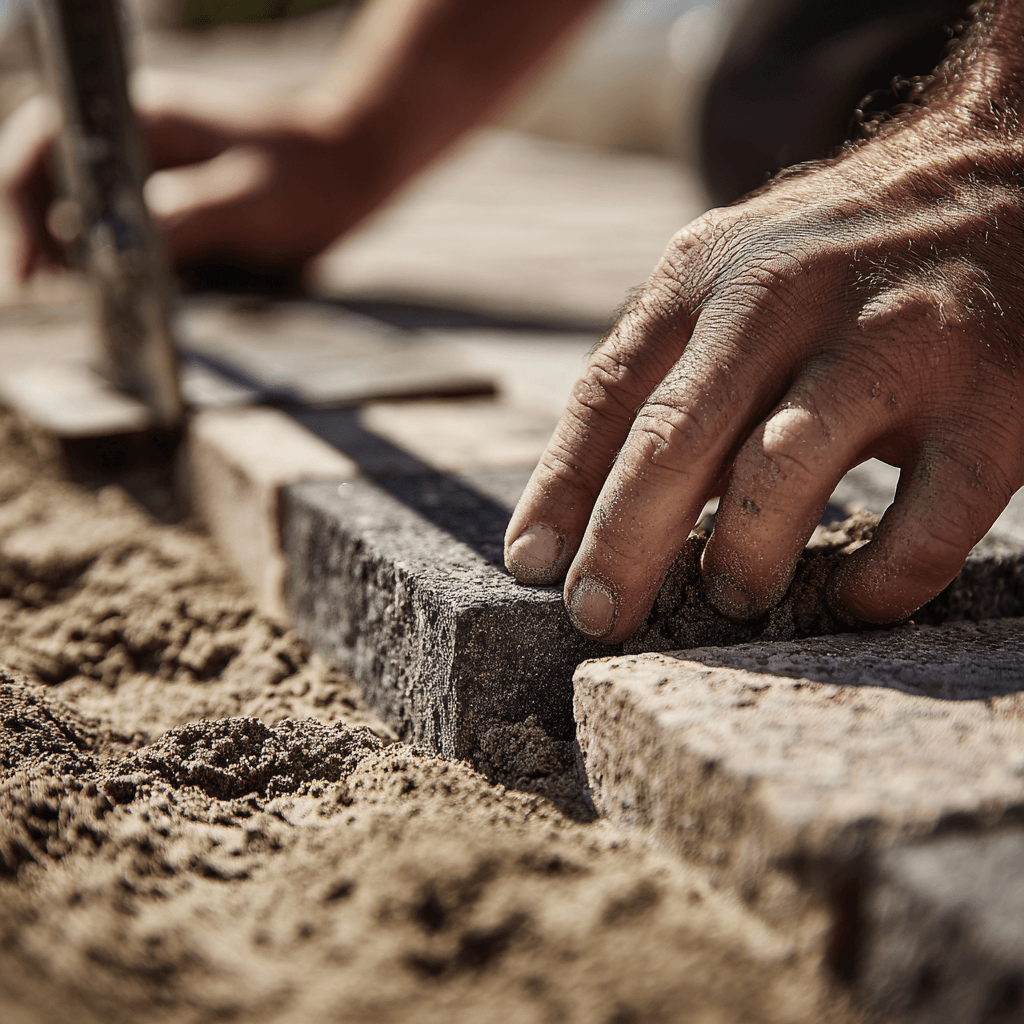
Step 2 – Removing the pavers
Once the problem area is identified, the affected pavers are removed carefully. This is usually done by lifting the pavers without damaging the edges or disturbing more of the surface than necessary.
During this stage, professionals typically:
- Mark or photograph the pattern before removal
- Lift only the pavers needed for the repair
- Set the pavers aside in order
- Remove broken or damaged pavers for replacement
- Avoid disturbing stable surrounding areas
Keeping the original pattern organized is especially important with decorative designs, borders, curves, and mixed color pavers. A good paver leveling repair should not look like a patch when the work is finished.
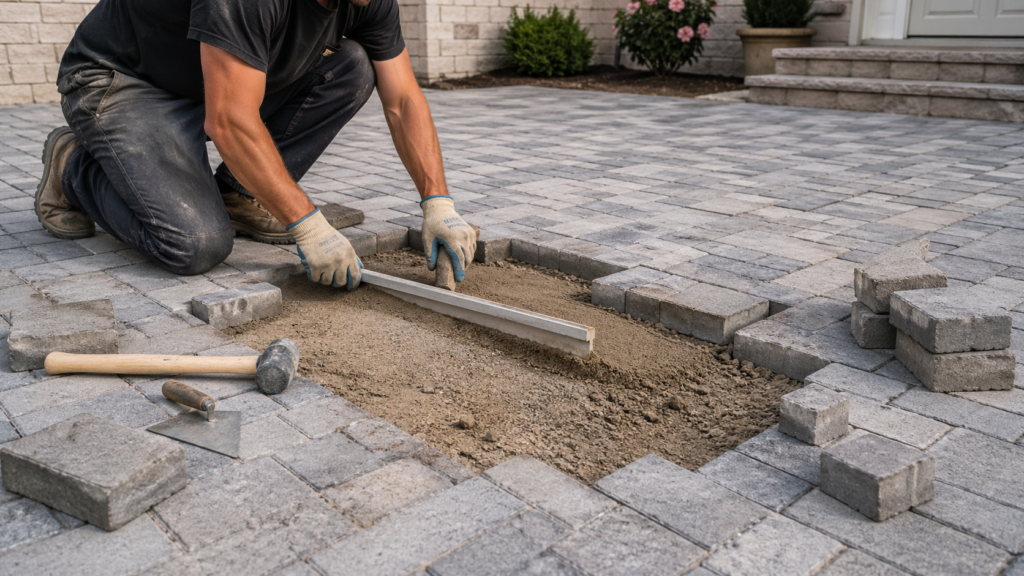
Step 3 – Checking the base
After the pavers are removed, the real cause of the uneven surface is easier to see. The bedding sand may be too low, washed out, contaminated with soil, or unevenly compacted. In more serious cases, the compacted base below the bedding layer may need correction.
At this point, the repair may involve:
- Removing loose or contaminated bedding sand
- Checking whether the base is soft or unstable
- Adding proper base material where needed
- Recompacting the base to improve support
- Correcting low spots that caused sinking
- Addressing signs of erosion or washout
This is one of the most important parts of paver leveling. If the base is not fixed, the same pavers may settle again, which is basically the hardscape version of sweeping dust under a rug.
Read more in: How to level the ground for pavers: a complete guide
Step 4 – Restoring the slope
A level paver surface does not always mean perfectly flat. Patios, walkways, driveways, and pool decks usually need a slight slope so water can move away from the structure and avoid pooling.
Professional slope correction may include:
- Matching the height of the surrounding pavers
- Creating a smooth transition from the repaired area
- Maintaining proper pitch for drainage
- Preventing low spots where water can collect
- Checking nearby drains, edges, and landscape areas
This step is especially important in areas with heavy rain. Proper paver leveling should leave the surface comfortable to walk on while still allowing water to move in the right direction.
Step 5 – Reinstalling the pavers
Once the base and bedding layer are corrected, the original pavers are placed back into position. This stage requires attention to pattern, height, spacing, and alignment.
During reinstallation, professionals focus on:
- Resetting pavers in the original pattern
- Keeping joint spacing consistent
- Matching the elevation of nearby pavers
- Replacing cracked or damaged units when needed
- Adjusting each paver so the surface feels even
- Checking that borders and edges remain tight
The goal is to make the repaired section disappear into the rest of the paved surface. When paver leveling is done well, most people should not be able to tell where the repair happened.
Step 6 – Filling the joints and compacting the surface
After the pavers are reset, joint sand is swept into the gaps between them. Then the surface is compacted so the pavers settle into the bedding layer and lock together again.
This final stabilization stage usually includes:
- Sweeping joint sand across the repaired area
- Filling the joints evenly
- Compacting the pavers into position
- Adding more joint sand if needed
- Cleaning excess sand from the surface
- Checking the repaired area for movement or uneven edges
Joint sand helps reduce movement between pavers, supports interlock, and improves the overall stability of the surface. Without this step, even a carefully leveled area can feel loose or unfinished.
Paver leveling should be handled by a professional contractor
Small adjustments may look tempting as a weekend project, but paver leveling becomes more technical when there is drainage trouble, repeated sinking, driveway load, large surface movement, or pavers near a pool, step, wall, or structure.
In those cases, the goal is not just to make the area look flat. The goal is to make it function correctly. And, as you could see, the process is much more complicated than it seems. So your best course of action is to call a professional hardscape contractor to help you.
And if you are around Sarasota, in FL, we here at JS Brick are ready to provide this help. Since 2000, our work has been built around quality products, dependable service, and customer care. When we handle paver leveling, we treat it as part of the full hardscape system, because a beautiful surface should also be safe, stable, and ready for everyday life.
Reach out today for a free estimate on our services.