Pavers can beautify your patio, driveway, or walkway, and increase your property value. After deciding on adding pavers, it is normal to have questions about the installation process – from the cost of all the labor and materials, for example, to how deep to excavate for pavers upon first touch.
If you have a lot of doubts about this subject, don’t worry! In this article, all your questions about the process of installation of pavers will be answered.
We’ll discuss from how deep to excavate for pavers to what are the preparation steps for a paver base, and if you can or not do all the paving work on your own. So let’s get right to it!
How deep to excavate for pavers?
The measure of how deep to excavate for pavers is determined by the type of paver, the type of sand, and the type of gravel that you’re going to use.
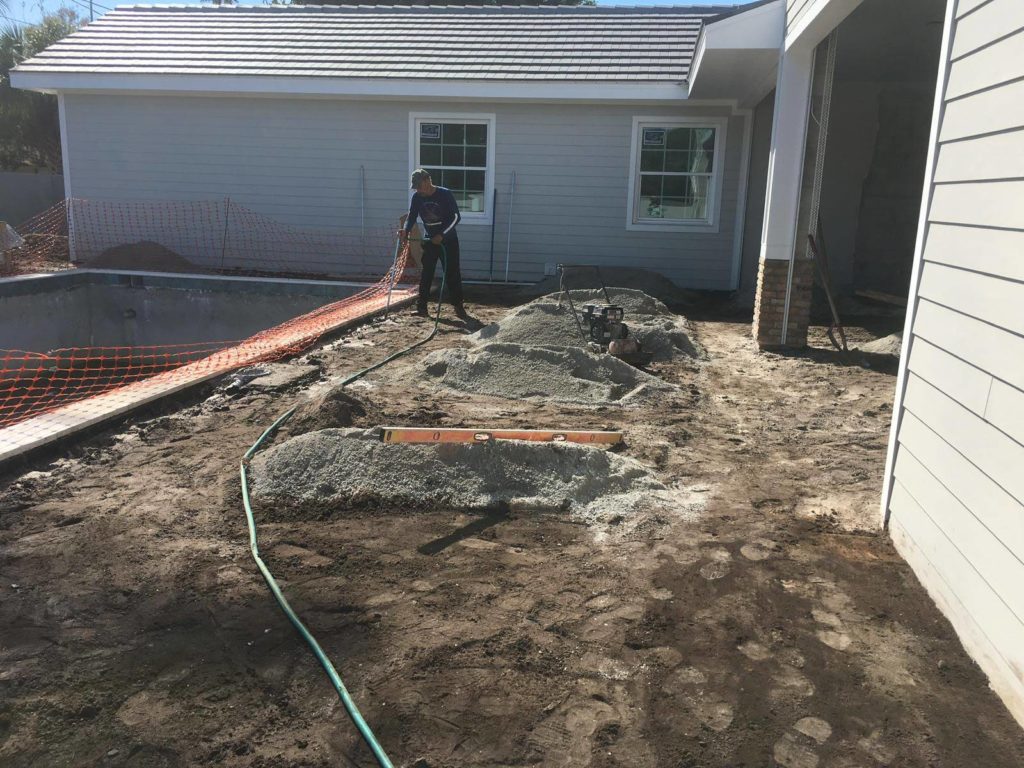
Another important factor to know how is what will be the usage of your installation. Spaces that will be exposed only to foot traffic, like walkways and sidewalks, generally need 4 to 6 inches of base material, while projects that will hold a lot of weight or friction, like driveways, may need 12 inches of base.
For a walkway, for example, the paver thickness is 3 to 3 ½ inches, you will need to dig a paver patio base of 9 inches and then 5 inches of the hole will be filled with the base material, like sand or gravel.
If you don’t know exactly how much you need to dig to install the pavers, you can leave 4 inches for gravel and 3 inches for sand and add that up to the depth of the pavers (which is normally 6 inches, but the value may vary depending on the chosen material).
That’s why it is really important to measure your pavers before the process of installation starts.
Read also: Sand for paver joints: which is the best?
What to do before the excavation?
To start, good planning is essential to a successful paver project. The first step is to measure the area and then use graph paper to make a scaled drawing of the immediate area. Also, it’s important to check if there are any underground pipes or cables to avoid while digging.
Then mark or outline the project area, which helps to see exactly where the work area will be.
After marking, create a slope of one inch to every 4 feet in length; your pavers must be slightly above the surface of the surrounding ground at all points and this slope must be added in the direction you want the water to flow. This step is super important to avoid water pooling on your pavers.
Many professionals recommend gravel or sand bases because they offer the best support for pavers, allow moisture to get in and drain, and also absorb ground tension, which protects the pavers against freeze-thaw cycles and sinking.
Read also: How to level the ground for pavers: a complete guide
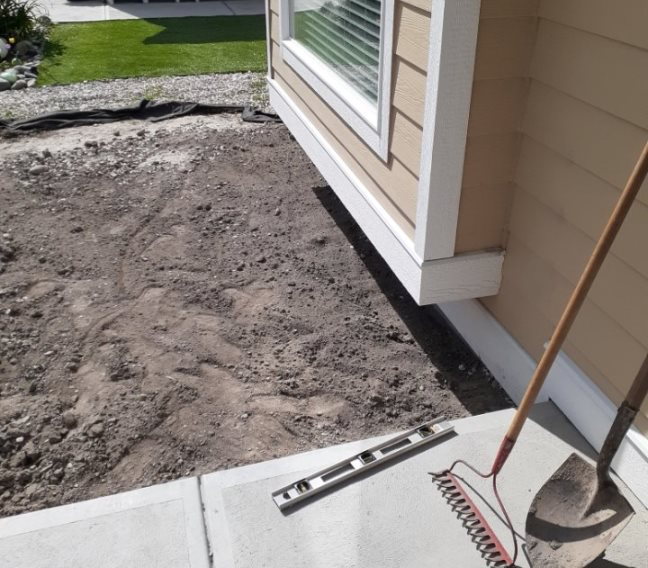
Can I install pavers on my own? Is it worth it?
You can install pavers by yourself – but you always have to keep in mind that professional skills are a guarantee that your project will have a higher quality than doing it on your own.
There is also the amount of time it’s going to take to consider. If you do all the labor alone, we are 100% sure that it’s going to take more time than hiring a professional for the work.
It’s a fact that hiring a professional installer costs more – but also ensures your pavers will be built properly and last for a very long time.
While a DIY paver patio costs about 50% less than hiring a professional contractor, you have no guarantee of lasting and a lot of things can go wrong in the process. Plus, if you add up the cost of your hours, you will not be surprised to find out it’s cheaper to hire a pro.
Read also: How much does it cost to have pavers installed in 2024?
We here at JS Brick specialize in the supply and installation of pavers. Whatever you need, we’ve got your back! If you live near Sarasota and Manatee, call us right now for a free consultation.

