Let’s get something straight right away: many professionals in the industry advise against tackling any hardscape project on a DIY basis. However, when properly planned and carefully put in place, a DIY paver patio can become something more than just an outdoor surface, and turns into a canvas where landscape meets lifestyle and craftsmanship meets creativity.
When someone sets out to build a DIY paver patio, they embark on a journey from bare ground to a polished outdoor space. But the journey can be challenging, especially if you have no prior experience working in hardscape projects, so you will need all the help you can get.
And that’s exactly what the goal of this article is: I want to delve into the world of DIY paver patio construction, offering clear, technical, and accessible guidance so you can tackle your project with confidence.
Whether you’re imagining family dinners under the stars, weekend lounging, or simply upgrading your yard’s aesthetic, a well‑executed DIY paver patio can elevate your property and enjoyment. So let’s get right to it!
You may also like: Your guide to design outdoor patio spaces that last
Jump to:
DIY Paver Patio: Before We Begin
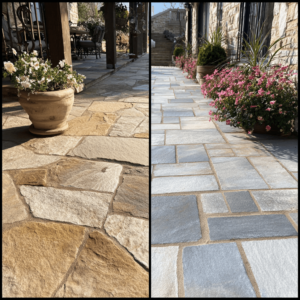
A DIY paver patio involves installing paving stones (commonly known as pavers) yourself rather than hiring a full service. These pavers might be concrete, natural stone, or manufactured brick‑style units, laid over a prepared base with proper drainage and edge restraint.
The method ensures structural integrity and longevity because the base, bedding, pavers, and jointing material all interact. A paver system typically requires excavation, base aggregate, bedding sand, the pavers themselves, and jointing material for stability, so things are not as simple as they might seem at first.
Pros and Cons of DIY Paver Patio
Choosing to build a DIY paver patio provides some key advantages.
Mainly, cost savings: labor typically forms a large portion of a patio project, and doing the installation yourself reduces that.
Second, design flexibility: you select the pattern, color, size, and layout. You get to decide whether your design will be herringbone, basket weave, running bond, or custom curves.
Third, personal satisfaction: there is something gratifying about installing something you can walk on and enjoy as your own handiwork.
However, not every situation is perfectly suited for a DIY paver patio. If the site has severely uneven or unstable soil, high water table, extensive tree roots, or requires intricate drainage infrastructure, then a full professional installation may be more prudent.
Trust me, without proper site preparation or equipment (such as a plate compactor), the patio may shift, settle, or fail prematurely, and what should have been an achievement becomes a headache that would take you much more time and money to fix.
The most important thing is to have a clear understanding of the complexity and scope of your project, and be extremely aware of whether you can handle it by yourself or not. If you’re not sure, don’t take any chances – and hire professional help instead!
DIY Paver Patio: Step‑by‑Step Guide
Planning and Measuring
To begin a successful DIY paver patio project, first, you must carefully plan and measure everything.
Define the footprint: length, width, shape (rectangle, circle, L‑shape, etc.), and mark the perimeter with stakes and string. Determine a consistent grade for drainage, typically a slope of about 1/4 inch per foot (≈2%) away from the house.
Choose the paver size, pattern, and quantity. It’s wise to order 5 % to 10 % extra pavers for cutting losses and future repairs. Also, plan for access: ensuring you can bring in a compactor, sand, and blocks.
Excavation and Sub‑base Preparation
After planning, begin excavation. Remove turf and soil to a depth that allows for the aggregate sub‑base, bedding sand, and the pavers themselves. For a typical patio, this might be 8 inches to 10 inches, depending on climate and load.
Install the aggregate in layers, compacting each layer with a plate compactor. Over compacted aggregate, you place a layer of coarse sand or bedding sand. This substructure is critical: a strong base prevents shifting, settling, and surface irregularities.
Edge Restraint and Laying the Pavers
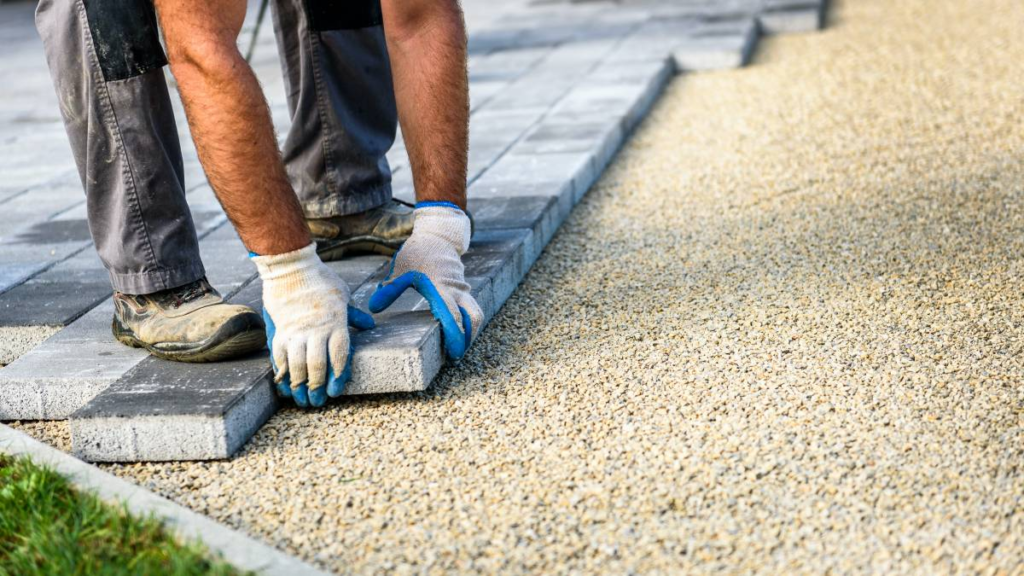
With that done, it is time to install edge restraints along the perimeter of your DIY paver patio, using plastic, steel, or concrete edging. This maintains the shape and prevents lateral movement.
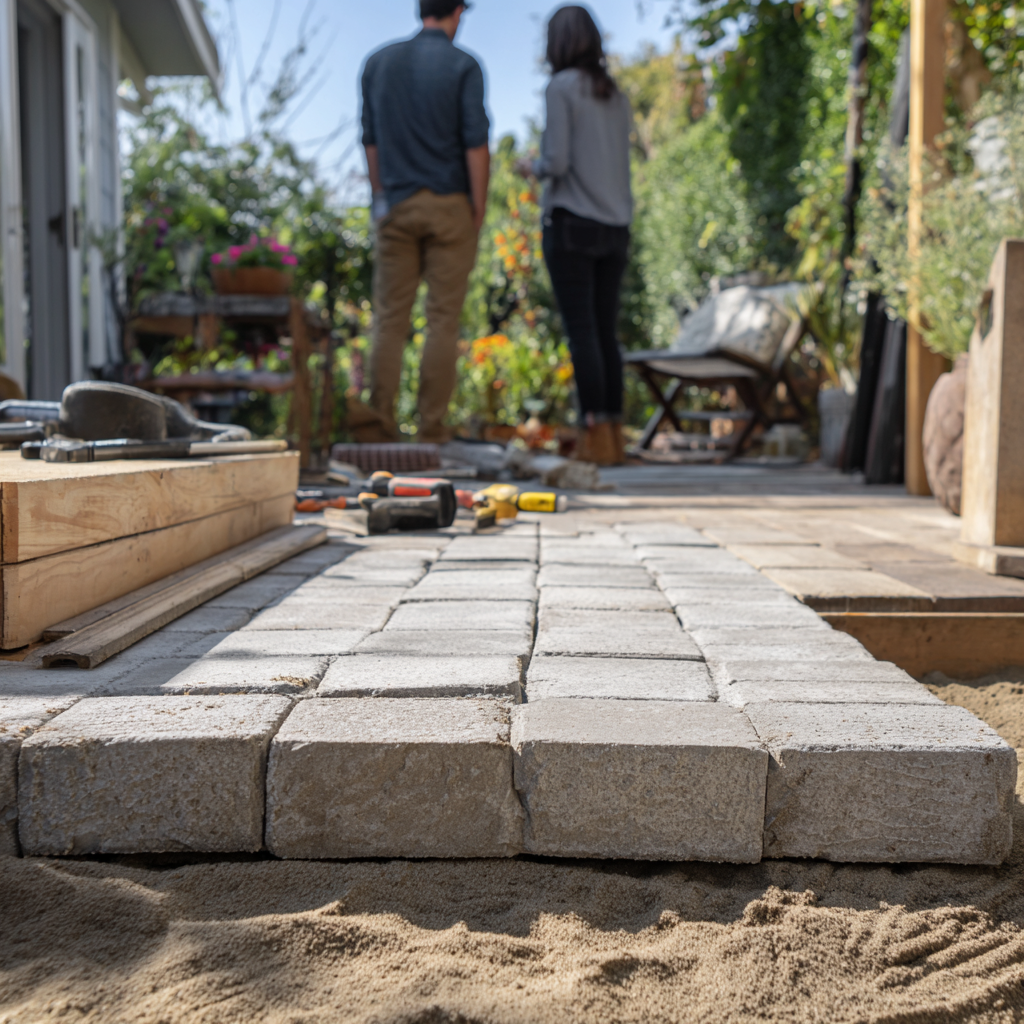
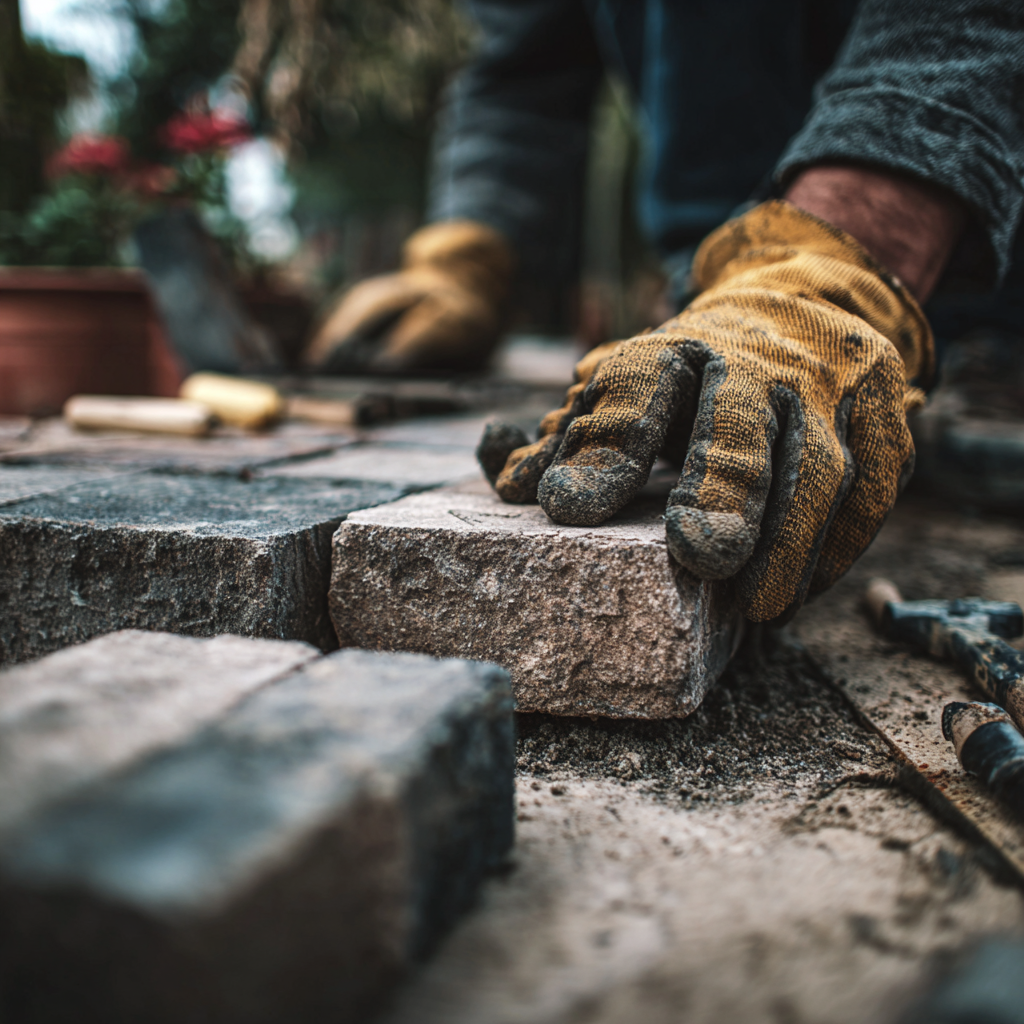
On the bedding layer, begin laying the pavers from one corner outward, keeping consistent spacing, pattern alignment, and level. Use a rubber mallet to bed each piece gently into the sand.
You might need to cut pavers to fit edges or curves, and without proper tools, this can be a huge hassle. Ideally, you’ll plan your project in a way that you can avoid any cuts.
But if you can’t escape this task, this other article can provide you with some help.
After the full installation, sweep sand into the joints and run the compactor over the surface to seat the blocks and settle the joint sand. For added stability, you may use polymeric sand, which hardens and resists weed growth and movement.
Final Touches and Maintenance
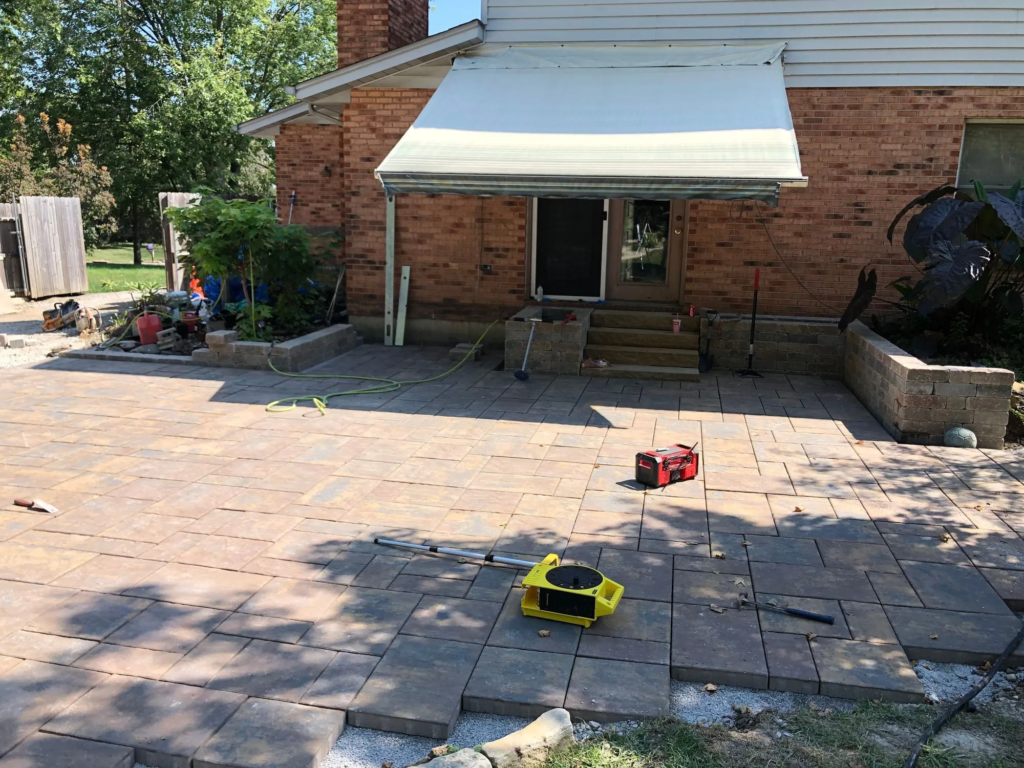
Once the installation is complete, clean off any excess sand, hose the patio lightly (if required by the jointing material), and inspect for level, alignment, and secure edges.
To further preserve your DIY paver patio’s look, consider sealing the surface if your region experiences freeze‑thaw or heavy staining risks.
Maintenance involves regular sweeping, prompt removal of debris, avoiding pressure‑washing at close range (which can erode joint sand), and occasionally re‑sanding joints if sand has washed out. With proper care, a well‑built patio can last decades.
Pro Tips for Professional‑grade Results
Material Quality Matters
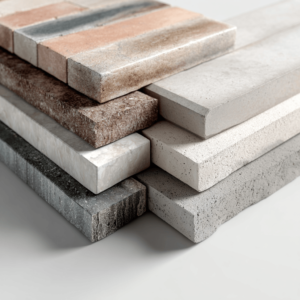
It is important to emphasize that a quality patio starts with quality materials and diligent base work. I advise selecting pavers rated for outdoor use, load‑bearing when needed, and suited to your climate (especially in regions with heavy rain or freezing temperatures).
Site Conditions and Drainage
In certain regions, soil stability and drainage are real concerns. For a DIY paver patio, you must ensure proper slope away from buildings and ensure the base allows water to flow rather than pool. Take your time to verify if the base is properly compacted and the bedding and joint materials are appropriate for your site’s moisture conditions.
When to Get Professional Support
If, during your DIY paver patio project, you detect major soil instability, large tree roots, or anticipate heavy loads such as outdoor kitchens or fire pits, don’t hesitate to consult with professionals.
As mentioned in the beginning, building a DIY paver patio requires careful planning, physical effort, and precise installation. So if you find that the project’s scale, tools, or site conditions are beyond what you are comfortable managing, look for professionals you can trust in your area!
And if you happen to be around Sarasota, in Florida, it’s your lucky day. We here at JS Brick would be glad to put our 25 years of experience at your service – we are ready to assist with any hardscape needs you might have!
Reach out today to explore how we can help you bring your patio vision to life with confidence.