Paver base is a compacted layer of crushed rock installed beneath your bedding sand and pavers. It distributes weight across the subgrade, prevents settling and shifting, and gives water a path to drain. Without it, pavers sink, rock underfoot, and pool water within a few rainy seasons.
We’ve installed pavers across Sarasota, Venice, Bradenton, and Osprey for over twenty years, and every project starts with this layer. The pavers get the attention. The base does the work.
If you’re comparing materials, planning a DIY patio, or trying to figure out why your contractor listed “6 inches of compacted base” on an estimate, this is where you start.
Jump to:
Every Layer Under Your Pavers, Explained
A paver installation is not one slab sitting on dirt. It’s a system of layers, each with a specific job. Here’s what sits under a typical patio, driveway, or pool deck in Sarasota, from the ground up:
| Layer | What It Is | What It Does |
|---|---|---|
| Subgrade | Native soil after excavation | Supports the entire assembly; must be cleared of roots, organic material, and loose fill |
| Geotextile fabric | Woven or non-woven separation layer | Prevents soil from migrating into aggregate; especially useful over silty or wet subgrades |
| Paver base (aggregate) | Crushed rock, compacted in lifts | Distributes load, resists settling, provides drainage structure |
| Bedding sand | Roughly 1 inch of concrete sand (ASTM C33) | Levels the surface for paver placement; not structural |
| Pavers | Concrete, brick, travertine, or porcelain units | The wearing surface you walk or drive on |
| Joint sand | Polymeric or conventional sand swept into paver joints | Locks pavers together, resists weed growth and insect intrusion |
| Edge restraint | Plastic, aluminum, or concrete border | Prevents lateral paver movement at unconfined edges |
The most common confusion we hear: homeowners think “paver base” and “paver sand” are the same thing. They are not. CMHA’s construction guidance for interlocking concrete pavement draws a clear line between the compacted aggregate foundation and the bedding course above it. Bedding sand levels. The base supports.
This distinction matters the moment something goes wrong. If pavers settle or develop low spots, the instinct is to pull up a few units and add more sand. That’s the wrong fix. Industry installation guidance is consistent on this point: base deviations should be corrected with base rock, not with extra sand. Bedding sand compresses unevenly under load, and you end up back where you started within a season.
How Sarasota’s Soil and Rain Shape the Base
Most paver base guides are written for a generic somewhere. Sarasota is not generic. Two things define the ground here: sandy soil and a rainy season that drops the bulk of our roughly 55 inches of annual rainfall between June and October.
Sandy soil sounds like it should be easy to work with. It drains fast. It doesn’t heave in winter (we don’t deal with freeze-thaw cycles down here). But it also lacks cohesion. Without a properly graded and compacted aggregate base, sandy subgrade shifts under load. A car pulling into a driveway, a group of people gathered around a fire pit, even a heavy planter on a patio: the load concentrates, the sand beneath migrates, and the surface dips.
Then the rain arrives. Sarasota’s summer storms don’t trickle. They dump two inches in an hour, and that water needs somewhere to go. A well-compacted crushed rock base channels water through its structure and away from the surface. A poorly compacted base, or one made from the wrong material, traps water in pockets. Those pockets soften the subgrade beneath. Over a few rainy seasons, low spots appear, joints open up, and paver sealer starts peeling in areas where water sits instead of draining.
That’s why we lay geotextile fabric on virtually every Sarasota job. It keeps the sandy subgrade from working its way into the aggregate above. Without it, the base and the soil slowly mix, and you lose the structural separation the system depends on. We also grade every base to a minimum 2% slope toward the desired drainage point. On a 10-foot patio, that’s roughly 2.5 inches of fall. It doesn’t look noticeable to the eye, but it moves water off the surface before it can soak through the joints and test the base below.
Base Materials: What Works and What Doesn’t
Not everything sold as “base” belongs under pavers. Here’s what we actually use and what we stay away from.
Crushed limestone
This is the workhorse in Florida hardscape. A properly graded crushed limestone (often called “limerock” locally) compacts into a dense, interlocking layer. The angular fragments grip each other, resist shifting under load, and allow controlled drainage. It’s what goes under the vast majority of our driveway and patio installations.
Recycled crushed concrete
Processed reclaimed concrete can work as base aggregate and often reduces hauling costs. But it comes with conditions. FHWA has documented tufa precipitation, clogged subdrains, blinded geotextiles, and alkaline leachate in some recycled-concrete applications. If you go this route, verify the gradation and make sure it has been properly processed. “Recycled” alone is not a specification.
What to avoid
Pea gravel, river rock, and any rounded aggregate do not interlock when compacted. They roll under load. CMHA explicitly advises against them for conventional paver bases, along with stone dust and limestone screenings for bedding. We’ve pulled up patios built on pea gravel. The pavers looked brand new. The base underneath was a loose, shifting mess, and every unit rocked when you stepped on it.
Synthetic base panels
Products like Gator Base and Brock PaverBase are expanded-polypropylene panels designed to reduce excavation depth. They have a place, but that place is limited. Gator Base’s technical data sheet specifies pedestrian use only. That means patios and walkways, not driveways or any area with vehicular traffic. These panels still require a prepared subgrade, geotextile fabric, and a compacted sand layer beneath them. They can reduce labor on the right project. They do not eliminate the need for proper ground preparation.
How Deep Your Base Needs to Be
CMHA publishes minimum compacted base depths as starting points under favorable conditions. Here’s a practical summary:
| Application | Minimum Compacted Base Depth | What Can Push It Deeper |
|---|---|---|
| Walkways, patios, pool decks | 4 inches | Soft subgrade, poorly drained soil, heavy foot traffic |
| Residential driveways | 6 inches | Heavier vehicles, wide spans, weak or loose soil |
| Parking areas | 8 inches | Commercial traffic, delivery trucks, repeated heavy loads |
| Residential streets | 8 to 10 inches | Traffic volume, soil conditions, local engineering requirements |
These depths are after compaction, not before. Loose aggregate compresses significantly, so you’ll place more material than the finished thickness calls for.
To estimate how much you need, use this formula:
Compacted cubic yards = (area in square feet × depth in inches) ÷ 324
Example: a 200-square-foot patio with a 4-inch base needs roughly 2.5 cubic yards of compacted aggregate. Add a separate calculation for the 1-inch bedding sand layer: (200 × 1) ÷ 324 = about 0.6 cubic yards. Ask your supplier for the loose-to-compacted ratio specific to their material, because it varies.
In Sarasota, we rarely go thinner than 4 inches even on a small walkway. The sandy subgrade here doesn’t give you much margin. On driveways, we often go to 8 inches, especially on longer spans or where the soil is particularly loose after excavation. An extra two inches of base costs far less than tearing out and rebuilding a driveway in three years.
Compaction Is Where Bases Succeed or Fail
You can use the right material at the right depth and still end up with a failing base. The difference is compaction.
CMHA specifies at least 98% standard Proctor density for pedestrian and residential driveway bases. That means the aggregate has been compressed to 98% of its maximum achievable density under controlled laboratory conditions. You do not reach that with a hand tamper on anything larger than a few square feet.
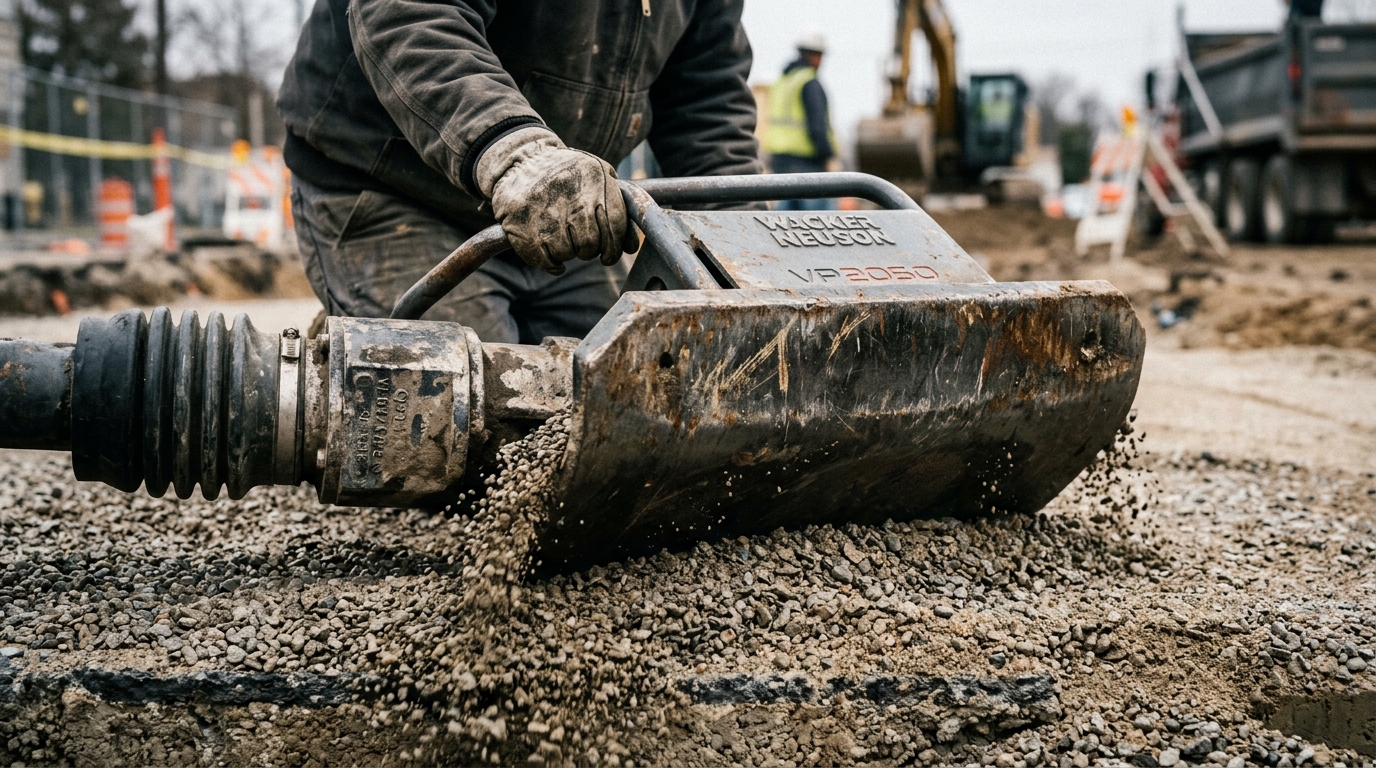
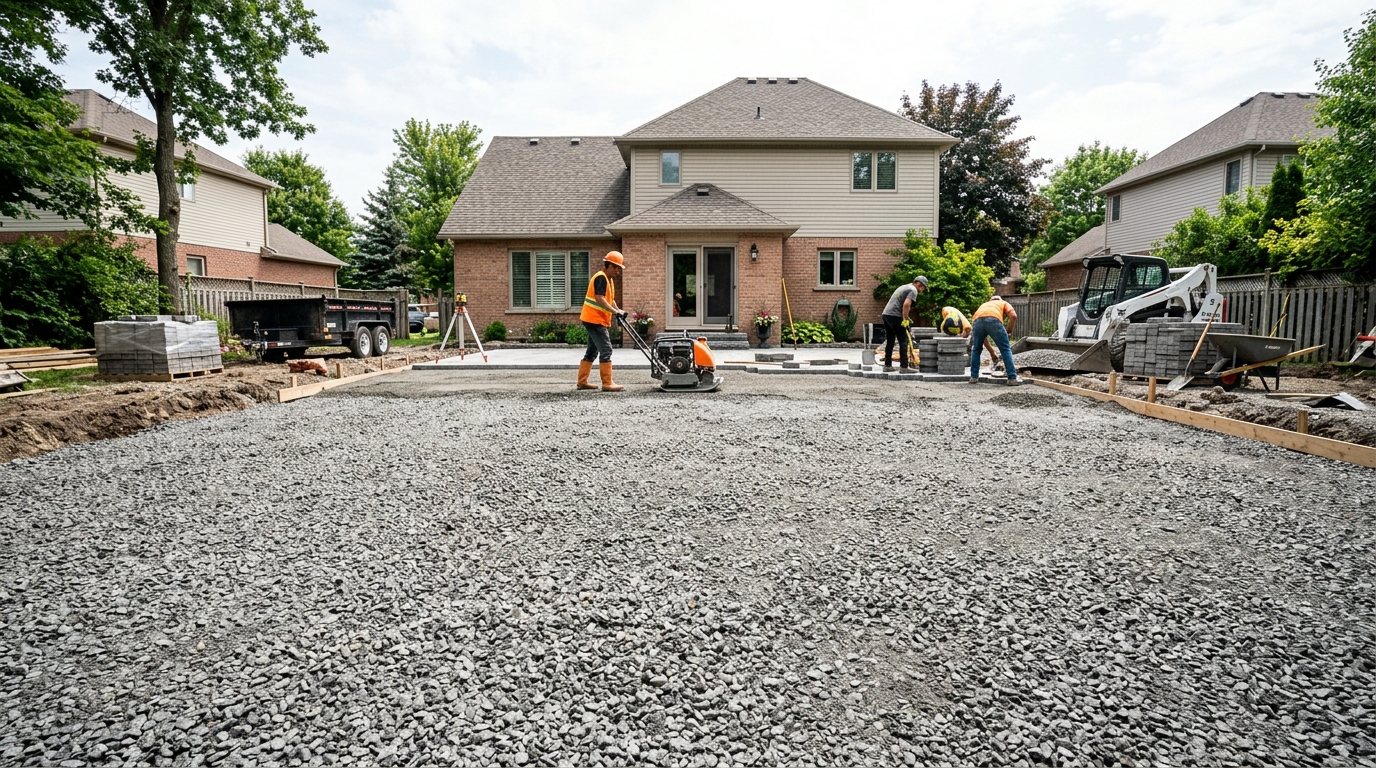
We use a reversible plate compactor and build the base in lifts of 4 to 6 inches at a time. Each lift gets compacted before the next goes down. If you dump 8 inches of rock in at once and run a compactor over the top, the surface feels firm. Six inches down, the aggregate is still loose. The first heavy rain or the first car tire finds that soft spot.
This is the single most common failure we see when we tear out someone else’s work. The material was fine. The depth was close enough. But nobody compacted in lifts, or the machine was too light for the job. A vibrating plate compactor for a patio or driveway installation needs enough force to actually consolidate the aggregate through its full depth, not just smooth the surface.
If you’re considering a DIY project, rent a proper plate compactor. A hand tamper is fine for a small stepping-stone path. For a patio, pool deck, or driveway, it doesn’t come close.
What a Failing Base Looks Like After a Few Seasons
Paver base failures don’t announce themselves on day one. The surface looks perfect at first. Problems show up later, and each one points to something specific.
- Dips form in the wheel paths first. The two strips where tires track on a driveway settle lower than the surrounding pavers, almost always because the base or subgrade compressed under repeated load. CMHA’s maintenance guidance identifies base and subgrade settlement as the primary cause of depressions and rutting in interlocking pavement.
- Standing water appears after rain in spots that used to drain. The base has shifted and lost its graded slope, and the surface is following the contour of uneven settlement beneath.
- Individual pavers rock or wobble underfoot. The bedding sand beneath them may have washed out, or the base below the sand has developed a void. This is common where drainage was inadequate and water eroded the fines out of the base material over time.
- Paver joints widen, especially at unconfined edges. Check the edge restraint first. If it’s intact and joints are still spreading, the base itself may be shifting laterally, particularly on slopes or near retaining walls.
The repair question comes down to scope. If one small area has settled, we can sometimes pull up the pavers in that zone, rebuild the base locally, re-bed, and relay. If the settling is widespread, or if the original base material was wrong (pea gravel, uncompacted fill, or insufficient depth), a full tear-out and rebuild is the honest answer. Patching a fundamentally wrong base just delays the same failure.
Before blaming the pavers, check what’s underneath. We’ve seen homeowners ready to replace perfectly good concrete pavers when the real problem was four inches of uncompacted fill that should have been six inches of properly graded, properly compacted crushed rock. You can browse our before-and-after gallery to see what a rebuilt base does for a surface that looked beyond saving.
Frequently Asked Questions
Can I put pavers directly on dirt?
Not if you want them to stay level. Pavers placed on bare soil will shift, settle, and develop uneven surfaces as the ground compresses and erodes. CMHA’s guidance starts with a minimum of 4 inches of compacted aggregate base for pedestrian areas, plus a 1-inch bedding layer, over properly prepared subgrade. Skipping the base skips the structural support the entire system depends on.
Is paver base the same as gravel?
“Gravel” is a broad term covering everything from pea gravel to crushed stone. Paver base is a specific crushed aggregate with angular particles that interlock under compaction. Round stone (pea gravel, river rock) does not interlock and shifts under load. When buying base material, look for crushed limestone or a specified road-base gradation, not a generic bag labeled “gravel.”
How do I calculate how much paver base I need?
Multiply your area in square feet by the compacted depth in inches, then divide by 324. That gives you cubic yards. For a 300-square-foot driveway at 6 inches: (300 × 6) ÷ 324 = about 5.6 cubic yards. Ask your supplier for their loose-to-compacted conversion, because you’ll need to order more than the final compacted volume.
Do synthetic panels replace aggregate base for driveways?
Not with the current products on the market. Gator Base’s technical data sheet explicitly limits its use to pedestrian applications, with specific conditions for seating walls and fire pits. Do not assume a panel system can handle vehicular traffic unless the manufacturer’s documentation authorizes your exact application.
How long does a properly built paver base last?
A well-specified, compacted aggregate base can last the life of the pavers above it, typically 25 years or more in Sarasota. The base itself doesn’t wear like a surface does. It fails when the installation was wrong: insufficient depth, poor compaction, wrong material, or no drainage plan. If the base was done right, you’ll resand joints and reseal long before the foundation needs attention.
Does paver base drain water on its own?
A conventional crushed rock base allows some water movement through its structure, but it is not a stormwater management system. If you need the base to actively store and infiltrate rainwater, that requires a permeable paver system with open-graded reservoir stone, a different design entirely. Conventional and permeable bases use different aggregates and serve different purposes.
If your patio, driveway, or pool deck is still in the planning stages, or if something about your existing pavers doesn’t look right, a free estimate tells you exactly what your project needs. Our crew can walk the site and point out what photos can’t show, especially what’s happening at the base level. Reach out before the rainy season tests what’s underneath.