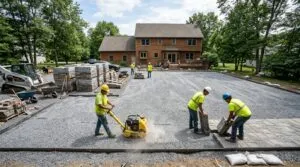
Your backyard slopes away from the house. The patio furniture wobbles. Drinks slide. Every summer rain turns the low corner into a pond that takes two days to dry. A raised paver patio fixes all of that, but only if the structure underneath the pavers is engineered for the load, the water, and the soil you actually have.
We have built raised patios across Sarasota, Bradenton, Venice, and Osprey since 2000, and the pattern we see in failed projects is always the same: someone treated the job like a regular patio with taller walls. It is not. A raised paver patio is a retaining structure first. The pavers are the finish. If the wall, the fill, the drainage, and the compaction are not right, no laying pattern or sealer will save it.
This guide walks through the full process, from planning elevations to filling joints, with the numbers and details that matter in Florida’s sandy soil and 55-inch annual rainfall.
Jump to:
What Makes a Raised Patio Different from a Ground-Level One
A ground-level patio sits at grade or close to it. You excavate, compact a crushed rock base, screed bedding sand, lay pavers, and restrain the edges. The earth around it holds everything in place.
A raised patio creates a new elevation. To do that, you need a retaining wall to hold back the fill that supports the paving surface. That wall resists lateral earth pressure: the sideways force that soil and water push against the structure. The taller the wall and the wetter the fill, the greater that pressure.
This is why raised patios cost more, take longer, and fail harder when shortcuts are taken. CMHA’s retaining wall design guidance distinguishes gravity walls, which rely on mass, from reinforced-soil walls, which use geogrid to turn the soil itself into part of the resisting structure. Your patio height, soil conditions, and any load you plan to put on the surface (an outdoor kitchen, a pergola, a hot tub) determine which type you need.
In Sarasota, the sandy soil drains quickly but compacts poorly without proper moisture and effort. That fast drainage sounds like an advantage until you realize it also means fill can shift and settle under vibration or heavy rain if it was placed loosely.
Plan Elevations and Drainage Before You Move Any Soil
Every raised patio project starts with a measurement, not a shovel. You need to know four things:
- Your finished patio height relative to the house door threshold, existing grade, and property line.
- Where water goes during and after a storm. Surface runoff must leave the patio. Subsurface water behind the wall must drain through a pipe to daylight, not pool against the structure.
- What sits on the patio. A fire pit, a built-in grill, a pergola post, a hot tub: each one adds weight that the wall and fill must support. CMHA classifies this as surcharge loading, and it increases lateral pressure on the retaining wall.
- What codes apply. Permit thresholds and guard requirements vary by jurisdiction. The 2024 IRC triggers a guard requirement where the drop exceeds 30 inches, measured using grade within 36 inches horizontally of the edge. That is separate from whether the wall itself needs a permit or engineering review.
In Florida, the code situation has a practical twist: our high water table and sandy soil can complicate what looks like a simple two-foot wall. If your property drains toward a neighbor or toward a drainage easement, the finished patio must respect those flow paths. Check with your municipality before committing to a layout.
Call 811 before you dig. Even for what feels like shallow hand work, you need utility markings confirmed before breaking ground. Irrigation lines, cable, and gas are often shallower than people expect.
Design the Retaining Wall to Match the Actual Load
The retaining wall is the backbone of a raised patio. Get it right, and the pavers have a stable platform for decades. Get it wrong, and the wall leans, the fill settles, and the pavers follow.
Gravity walls vs. reinforced walls
A gravity wall holds back soil with its own weight and the setback (batter) of each course. For low walls, roughly 24 inches or less of retained soil, a properly built gravity wall works well. Above that height, especially with surcharge from heavy features, the wall typically needs geogrid reinforcement extending back into compacted fill to create a larger resisting mass.
The 2024 IRC addresses walls retaining more than 48 inches of unbalanced fill and walls over 24 inches that resist additional lateral loads, requiring engineering in those cases. But do not assume everything under four feet is automatically simple. A wall with wet clay behind it, or a wall supporting a loaded patio, can fail well below four feet.
What failure looks like
One documented residential wall failure involved clay fill placed in two-foot lifts with little or no compaction. No drainage outlet was installed. The result: roughly 8 inches of settlement, hydrostatic pressure buildup, incorrectly oriented geogrid, and collapse of an 8-foot-high by 50-foot-long section. The presence of geogrid did not matter because the water, the fill, and the installation were all wrong.
We see a milder version of this in Sarasota when homeowners or inexperienced crews backfill with excavated sandy soil, skip the drain pipe, and rely on the sandy soil to “just drain.” It does drain, until a heavy rain saturates the fill faster than it can escape, pressure builds, and the wall shifts. Once the wall moves, the pavers above it move too.
Block selection
Use a retaining wall block system designed for structural retention, not decorative garden edging. The block needs a mechanical connection between courses (pins, lips, or clips), a system for integrating geogrid at specified elevations, and engineering tables or design software that match the retained height and loading. Decorative wall caps are not guards, and garden-wall blocks are not retention blocks.
Excavation: Remove Everything the Structure Cannot Trust
Strip all vegetation, topsoil, roots, and organic material from the structural footprint. In Sarasota, that usually means removing 4 to 8 inches of organic topsoil across the patio area, plus a deeper trench for the wall foundation.
The wall trench depth depends on the system. A common starting point for a residential gravity wall: dig deep enough to embed the first course below finished grade (typically 1 inch of block per 8 inches of exposed wall height, or per manufacturer specs) plus 6 inches minimum for a compacted crushed-rock leveling pad.
For the patio interior, excavate to remove organic soil and reach a firm, stable subgrade. In our area, you often hit reasonably firm sand within 6 to 10 inches. If you hit soft, wet, or mucky material, keep going or address it with geotextile fabric and additional base depth.
A practical note on logistics: a 320-square-foot patio raised 12 inches needs roughly 12 cubic yards of structural fill just for the platform interior, plus wall rock, base aggregate, and bedding sand. That is multiple dump-truck loads. Plan where the trucks will park, where excavated soil will be stockpiled, and how materials will reach the work area without crossing a finished lawn or pool deck.
Build the Wall, One Course at a Time
Compact the trench bottom with a plate compactor. Spread and compact the leveling aggregate (typically 6 inches of clean crushed rock) in the trench. Then set the first course of block.
This first course is the most important. Check every block for level front-to-back and side-to-side, and verify the alignment matches your layout strings. Errors here compound with every course above. Take twice as long on course one as you think you need.
Stack subsequent courses with the system’s connection method. Fill block cores and the zone 12 inches behind the wall face with wall rock (clean, angular aggregate without fines). Behind that 12-inch zone, place approved structural fill.
Install the perforated drain pipe behind the base course, bedded in wall rock, with a positive slope to a daylight outlet at the low end. A drain pipe that ends in a dead pocket is not drainage. In Florida, run that outlet to a location where the water can discharge without eroding a neighbor’s property or flowing back toward the house foundation.
Backfill in lifts, not all at once
Industry best practice calls for backfill lifts of 8 inches or less, compacted with a plate compactor before adding the next lift. This is not optional, and knowing how to compact paver base correctly is what keeps the structure stable. Dumping fill to full height and compacting only the top creates a dense crust over a loose interior that will settle unevenly under load and rain.
If geogrid is specified, install it at the designated course elevations, at the correct orientation (the strong direction runs perpendicular to the wall face), extending the full specified length into the fill. Geogrid that is too short, folded, or placed at wrong elevations does not function as designed.
Prepare the Paver Base on Top of the Retained Fill
Once the wall and retained fill are complete, you build the paver base on top. This is the same base system used for any quality paver installation, but on a raised platform instead of on native ground.
The base has three layers:
- Compacted aggregate base. Typically 4 to 6 inches of compacted crushed limestone or limerock for a residential pedestrian patio. We use a minimum 4-inch compacted base for most patio applications in Sarasota, going deeper for driveways or areas with vehicle traffic.
- Bedding sand. A 1-inch layer of ASTM C33 concrete sand, screeded to a uniform thickness. CMHA specifies concrete sand and explicitly warns against masonry sand, limestone screenings, and stone dust for bedding. The bedding layer is not a leveling tool for a rough base. If your base has dips and humps, fix the base, not the sand thickness.
- Geotextile fabric between the retained fill and the aggregate base, if soil conditions warrant it, to prevent fines from migrating up into the base and softening it.
Compact the aggregate base in lifts of 4 to 6 inches. After compaction, check the surface with a straightedge. You want it within 1/4 inch of your target grade. Then set your screed rails and pull the bedding sand to a uniform 1-inch thickness.
Slope the surface for drainage
The 2024 IRC requires impervious surfaces within 10 feet of foundations to slope at least 2% away from the building. That is roughly 1/4 inch per foot. On a 16-foot-deep patio, that is about 4 inches of fall from the house to the outer edge. Build this slope into the base, not into thicker sand at one end.
In Sarasota, we treat 2% as a minimum. Our afternoon storms can drop an inch of rain in 20 minutes. A slightly steeper slope, say 2.5%, moves water off the surface before it pools against the door or overflows the wall edge.
Lay the Pavers, Restrain the Edges, Fill the Joints
Choosing the right paver
For a raised patio, the paver choice is mostly about aesthetics, heat, and maintenance. A few Florida-specific notes:
- Travertine pavers stay cooler underfoot and work well around pools and outdoor living areas. They need periodic sealing to prevent staining.
- Concrete pavers offer the widest range of colors, shapes, and laying patterns. A herringbone pattern provides the strongest interlock for areas with foot traffic and furniture movement.
- Brick pavers deliver a classic look with excellent durability and color that goes all the way through the unit.
- Porcelain pavers resist staining and scratching but require specific handling, cutting tools, and support methods.
Installation sequence
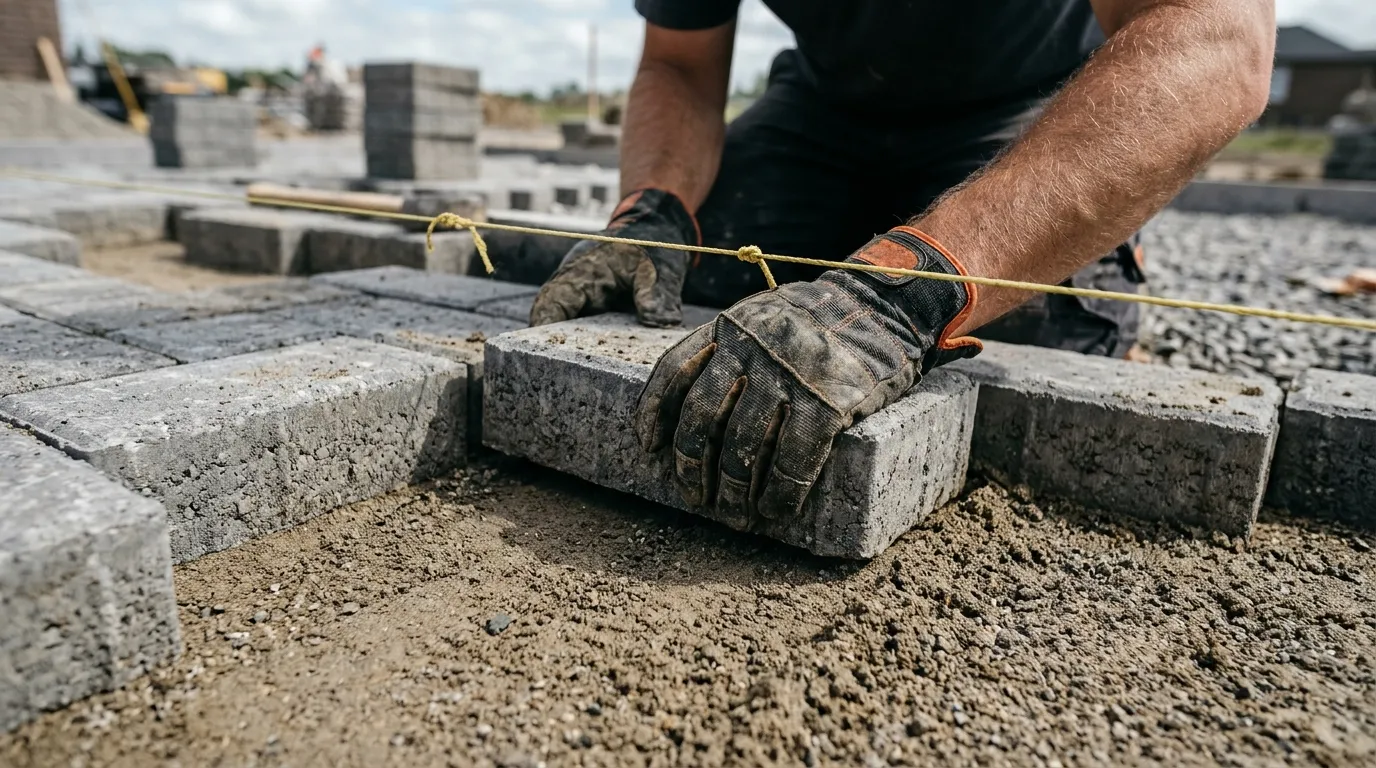
Start from a straight edge or wall face. Establish layout lines and dry-lay a test section to confirm pattern, joint spacing, and cut locations. Blend pavers from multiple pallets to even out color variation.
Set pavers on the screeded bedding sand with consistent joints. CMHA gives a standard joint width of 2 to 5 mm for interlocking concrete pavers. Do not hammer pavers into place or use the bedding sand to shim uneven units; an uneven unit means the bedding or base below it needs correction.
Install edge restraint along any paver edge that does not abut a wall. The restraint provides lateral resistance that keeps the pavers locked together. On a raised patio, coordinate the edge restraint with the wall cap or paver coping detail so the transition looks intentional and performs structurally.
Compaction and joint sand
After laying, compact the pavers with a plate compactor fitted with a protective pad. This seats the pavers into the bedding sand and engages the interlock.
Spread polymeric sand across the surface and sweep it into all joints. Compact again. Sweep excess. Then activate the polymeric sand with water according to the manufacturer’s instructions. Polymeric sand hardens in the joints to resist washout, weed growth, and insect penetration. It is not optional in Florida, where heavy rain and ants will exploit open joints within one season.
One caution: polymeric sand that lands on the paver face and is not cleaned off before activation will leave a haze that is difficult to remove. Clean as you go.
A Quick Quantity Estimate for a 16 x 20-Foot Raised Patio
These are geometric calculations for planning, not a site-specific design. Adjust for your actual heights, wall dimensions, and material densities.
| Component | Calculation | Approximate quantity |
|---|---|---|
| Structural fill (12 in avg depth) | 320 sq ft x 1 ft / 27 | 11.9 cu yd |
| Aggregate base (4 in compacted) | 320 x 0.33 ft / 27 | 3.9 cu yd |
| Bedding sand (1 in) | 320 x 0.083 ft / 27 | 1.0 cu yd |
| Wall rock (12 in behind wall, perimeter) | Varies by wall height and length | Supplier will calculate from wall dims |
| Pavers (with 5-10% cutting waste) | 320 sq ft + waste factor | 336-352 sq ft of pavers |
| Surface fall at 2% over 16 ft | 16 x 12 x 0.02 | 3.8 in of drop |
Add wall block, cap block, geogrid, geotextile, drain pipe, polymeric sand, and edge restraint to the list. For reference, a documented raised-patio project in Sharonville, Ohio required 80 tons of backfill and took approximately two months. That is not a weekend project.
What a Raised Patio Costs in Florida
Angi’s current data puts conventional installed paver patios at $8 to $25 per square foot, with high-end materials reaching $50 per square foot. But a raised patio is not a conventional patio. You are paying for:
- Retaining wall materials and construction
- Structural fill, delivered and compacted in lifts
- Drainage pipe and outlet construction
- Geogrid reinforcement (if height or loading requires it)
- Steps and any required guards
- The paving assembly on top of all that
A realistic starting point for a professionally installed raised paver patio in the Sarasota area: expect the per-square-foot cost to be meaningfully higher than a ground-level patio. The wall and fill often cost as much as or more than the pavers themselves. Get itemized bids that break out each component so you can compare what is actually included.
Why Raised Patios Fail (and How to Prevent Each Problem)
| Failure mode | Root cause | Prevention |
|---|---|---|
| Wall leans or bulges outward | Hydrostatic pressure from trapped water, insufficient geogrid, or poor compaction | Functional drain pipe to daylight, correct geogrid length and orientation, compacted lifts of 8 in or less |
| Paver surface settles unevenly | Fill placed too thick, not compacted in lifts | Compact every lift, verify density before paving |
| Water pools against the house | Insufficient surface slope, or slope directed wrong | Build 2% minimum slope into the base, away from foundation |
| Joint sand washes out | Wrong sand type, incomplete filling, or no polymeric sand in high-rain areas | Use polymeric sand, fill joints completely, reapply after initial settlement |
| Efflorescence (white haze on pavers) | Mineral deposits from moisture moving through concrete | Usually cosmetic, fades over time; professional cleaning removes stubborn deposits |
| Wall cap or coping shifts | Caps not adhered, or adhesive fails in heat cycles | Use outdoor-rated adhesive rated for the expected temperature range |
Should You DIY or Hire a Crew
Be honest about three things: the height of the wall, the drainage complexity, and your access to compaction equipment.
A modest raised patio (under 18 inches of retained fill, no surcharge loads, good drainage, cooperative soil) is within reach for an experienced DIY builder who will rent a plate compactor, follow a specific wall manufacturer’s installation guide, and take the time to compact in proper lifts. It will take longer than you expect. Budget a full weekend just for excavation and wall foundation on a 300-square-foot patio.
A taller wall, a wall adjacent to the house foundation, poor soil, concentrated loads, or complex drainage: hire someone who does this work routinely. The cost of fixing a failed retaining wall exceeds the cost of building it correctly the first time, and the fix usually requires dismantling the paver surface you just finished.
In Sarasota’s climate, we have one additional concern: rainy season. If you start a raised patio project in June and the fill sits open during daily afternoon storms, you risk saturating uncompacted material, eroding partially built walls, and turning your yard into a mudpit. We schedule raised-patio builds to get the wall and fill enclosed before the heaviest rain months, or we protect exposed work with proper drainage and erosion control during construction.
Maintenance That Protects the Investment
A raised patio needs the same surface maintenance as any paver installation, plus periodic attention to the structure underneath.
- Check the drain outlet at least once a year, ideally before rainy season. Make sure it is clear and flowing freely. A blocked outlet turns your patio into a dam.
- Inspect the wall face for any bulging, leaning, or cracked blocks. Small movements caught early can sometimes be corrected. Large movements usually mean the fill or drainage has failed.
- Replenish joint sand as needed. Polymeric sand lasts longer than regular sand, but foot traffic and pressure washing gradually wear it down.
- Seal the pavers if you want enhanced color and stain resistance. A quality paver sealer applied every 2 to 3 years protects against UV fading and makes cleaning easier.
- Keep gutters and downspouts directing water away from the retaining wall. A downspout dumping directly behind the wall introduces the exact concentrated water load that causes failures.
CMHA recommends professional assessment for widespread joint loss or settling rather than simply adding more sand and hoping for the best. If pavers are sinking in one area, the problem is below the surface.
Raised Paver Patio vs. Raised Deck: Which Fits Your Yard
Homeowners with a sloping yard often weigh a raised patio against a wood or composite deck. Here is how they compare in Sarasota:
| Factor | Raised paver patio | Raised wood/composite deck |
|---|---|---|
| Feel underfoot | Solid ground, cooler with travertine | Slight flex, composite can get hot in direct sun |
| Lifespan | 25-30+ years with proper base and maintenance | 15-25 years depending on material and termite pressure |
| Maintenance | Joint sand, occasional sealing, drainage checks | Cleaning, board replacement, fastener inspection, potential pest treatment |
| Storm resistance | Heavy, stays put in wind; surface sheds water | Wind uplift risk on elevated structures; debris accumulates underneath |
| Versatility | Supports heavy features (fire pits, outdoor kitchens, hot tubs) directly | Heavy features need independent footings or reinforced framing |
| Cost | Higher initial cost due to wall and fill | Lower initial cost for moderate heights, but long-term replacement costs add up |
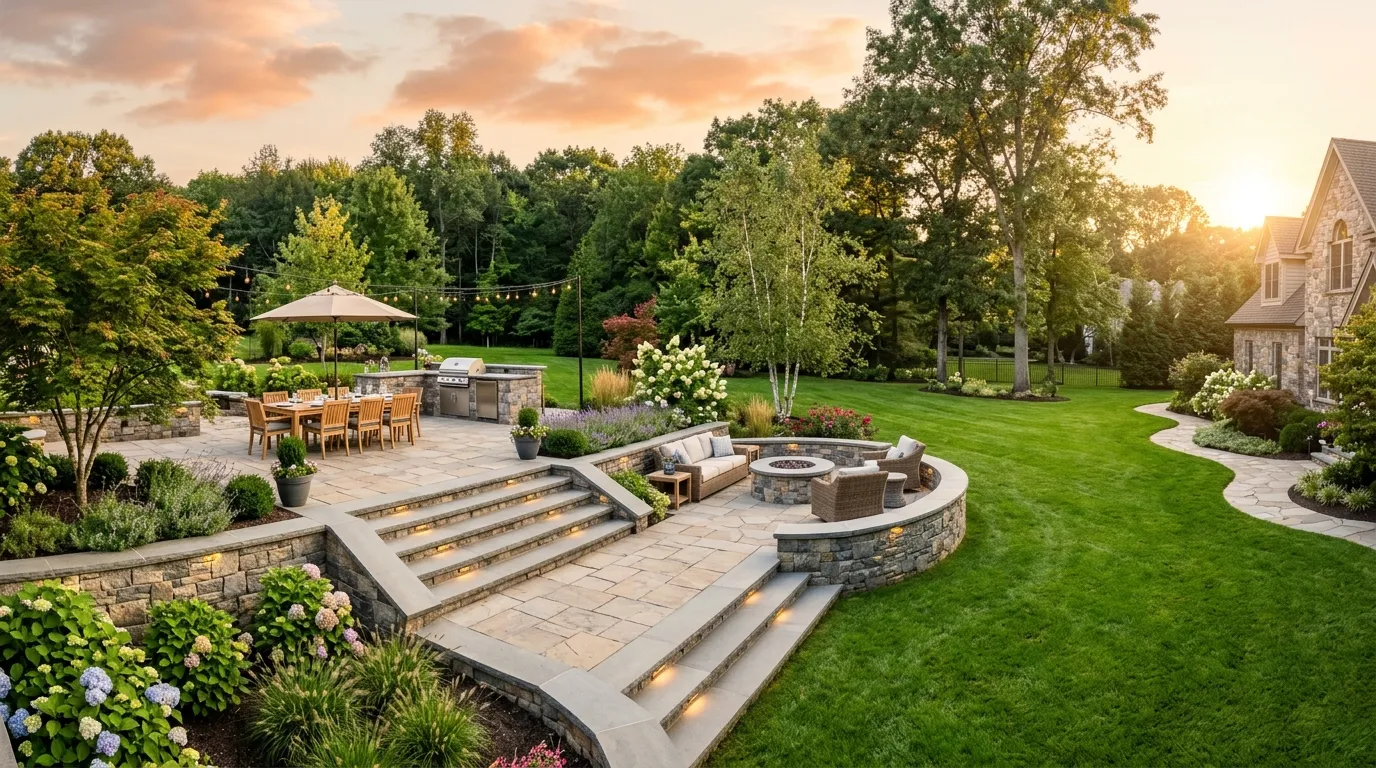
For outdoor kitchens, fire pits, and heavy furniture, a raised paver patio is the more durable platform. For a narrow, tall elevation change where fill would be impractical, a deck can make more sense. Some projects combine both.
Perguntas frequentes
How high can I build a raised paver patio without a permit?
There is no single national answer. Permit triggers depend on wall height (often measured from footing bottom to wall top, not just exposed face), surcharge loads, and local amendments. In Florida, check with your county building department before assuming a short wall is exempt. Guard requirements use a separate test based on drop height, not wall-permit height.
Can I use regular dirt to backfill a raised patio?
No. Excavated topsoil, organic material, and unscreened fill do not compact reliably and trap moisture. Use clean structural fill approved for the application, placed in lifts of 8 inches or less and compacted with a plate compactor. CMHA and wall manufacturers explicitly exclude organic soil from behind retaining walls.
Do I need a concrete footing under the retaining wall?
Most segmental retaining wall systems for residential heights use a compacted crushed-rock leveling pad (typically 6 inches deep) rather than a poured concrete footing. The manufacturer’s installation guide specifies what their system requires. Taller walls or difficult soils may need engineered footings.
How long does it take to build a raised paver patio?
For a professional crew working a 300- to 400-square-foot raised patio with a 2- to 3-foot wall, expect 1 to 3 weeks depending on access, height, and complexity. The documented Sharonville project, which was larger and included multiple outdoor-room features, took approximately two months. A DIY builder working weekends should plan for significantly longer. For ground-level projects, see how long to install paver patio for typical timelines without retaining wall construction.
Will a raised patio damage my house foundation?
It can, if fill is placed directly against the foundation without proper waterproofing, drainage, and load evaluation. Keep the patio surface sloped away from the house. Maintain clearance to siding, weep holes, and door thresholds. Have the design reviewed to confirm the foundation can handle the lateral pressure from the adjacent fill.
When is the best time to build a raised patio in Sarasota?
Late fall through early spring. You want the wall and structural fill completed and enclosed before the daily summer rains arrive. Starting in October or November gives you the driest months for excavation, compaction, and wall construction. Reach out before the rainy season tests your base.
If you are considering a raised paver patio for your Sarasota-area home, a free estimate tells you exactly what your yard needs: wall height, fill depth, drainage routing, and a realistic scope. Our crew can walk your property and point out what a photo cannot show.