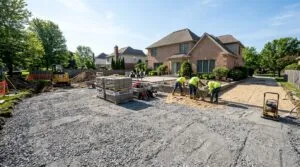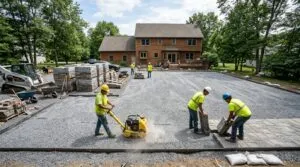
Every paver project has a moment you cannot undo. It happens before a single paver touches the ground, when you compact the crushed rock base. After more than twenty-five years of installing driveways, patios, and pool decks in Sarasota, we can tell you: most settling problems start here. Not with the pavers. Not with the polymeric sand. With the base.
If you are planning a paver project or comparing contractors, understanding how to compact paver base properly is the single most useful thing you can learn. Whether you’re working on a standard installation or building a raised paver patio, below is how we do it on every job, layer by layer, with the numbers and methods that matter in Florida’s soil and climate.
Jump to:
Four Layers, Four Different Jobs
A finished paver surface looks like one thing. Underneath, it is four distinct layers. Each gets compacted (or deliberately left alone) for a different reason.
| Layer | Purpose | Compaction approach |
|---|---|---|
| Soil subgrade | Supports everything above | Compact to specified density after grading |
| Aggregate base (crushed rock) | Distributes load, establishes structural grade | Compact in lifts matched to equipment force |
| Bedding sand | Provides a uniform setting layer for pavers | Screeded at 1 in., left loose, never pre-compacted |
| Pavers and joints | Interlock into the finished wear surface | Seated with a plate compactor after placement |
Confusing these layers is where problems begin. We see homeowners compact the bedding sand before laying pavers. We see contractors dump six inches of aggregate in one pass and run a plate over the top. Both create voids below the surface that show up as settling within a year or two. Each layer has its own rules, and skipping or combining steps does not save time—understanding how long proper paver installation takes helps set realistic expectations. It just moves the cost to a future repair.
Compacting the Subgrade in Sandy Florida Soil
Before any aggregate goes down, the raw soil needs to be stable. In Sarasota, our soil is predominantly fine sand. Compared to the expansive clay found up north, it compacts more easily and does not heave. That is the advantage.
The disadvantage: sand drains fast, which means it can wash out fast. A summer thunderstorm can drop two inches of rain in an hour. A poorly graded subgrade channels that water straight under your pavers, erodes the fine particles holding everything together, and leaves dips by the time the dry season arrives.
Start by excavating to full depth. For a patio on well-drained soil, CMHA requires a minimum of 4 inches of compacted aggregate base. For a residential driveway, 6 inches. Add 1 inch for bedding sand and the paver thickness (typically 2 3/8 inches for standard units). That puts a typical patio excavation at 7 to 8 inches and a driveway at 9 to 10 inches below finished grade.
Remove every root, organic pocket, and soft spot. Anything that will decompose will become a void. Replace it with compactable fill material.
Grade for drainage next. A finished slope of at least 2% (roughly 1/4 inch per foot) moves water away from the house and any structure. We set this slope in the subgrade, not in the bedding layer. Trying to fix drainage by varying bedding thickness creates uneven support and eventual surface waviness.
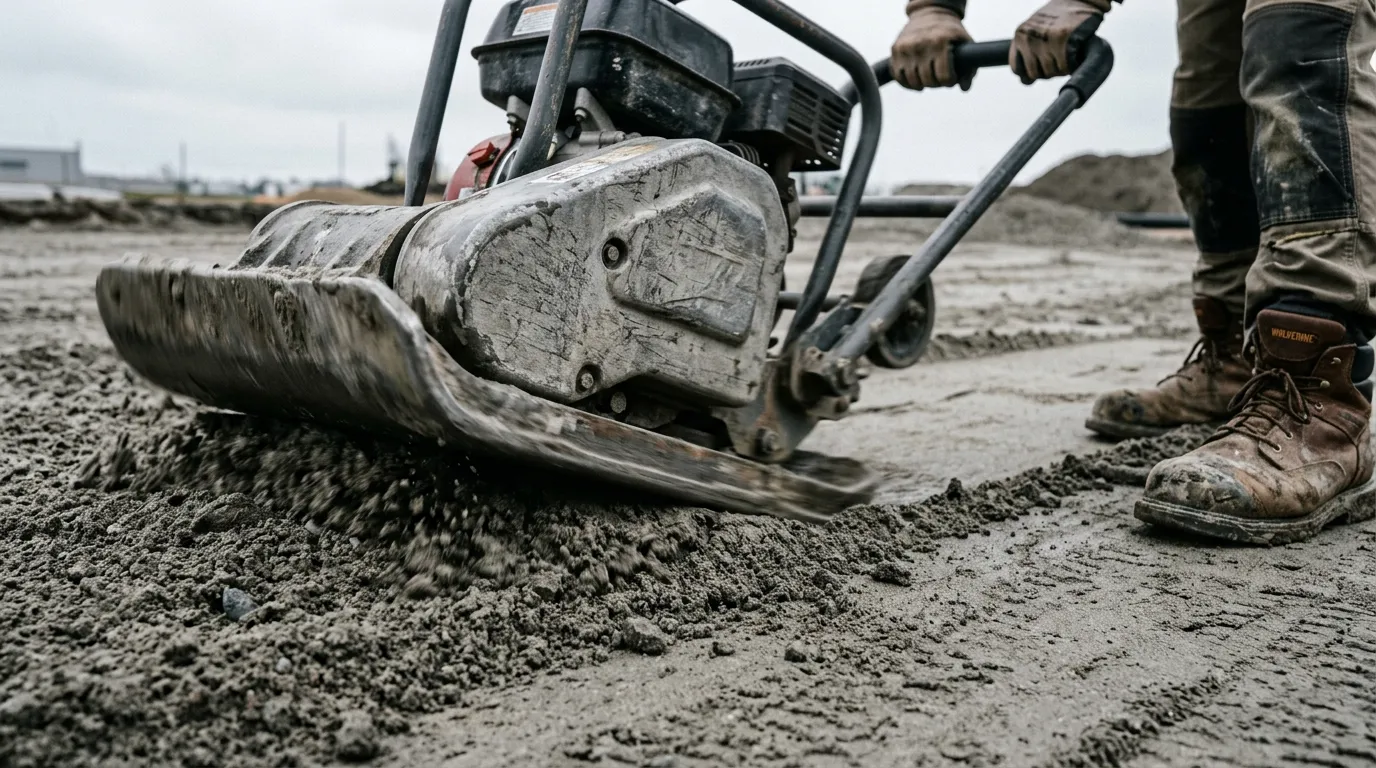
Compact the subgrade with a vibratory plate compactor. The industry benchmark for pedestrian and residential work is 98% standard Proctor density. In areas where we encounter silty pockets or a high water table (not uncommon during Sarasota’s rainy season), we lay a geotextile separation fabric before placing aggregate. The fabric prevents fine soil particles from migrating upward into the crushed rock and weakening it. On clean, stable sandy subgrades, the fabric may not be necessary, but on any questionable soil, the cost of fabric is trivial next to the cost of tearing up a settled patio.
Crushed Rock Base: Lifts, Moisture, and Machine Selection
The aggregate base is the structural backbone of your hardscape. We use a dense-graded crushed limestone (“road base” or “crusher run” locally) where the mix of particle sizes locks together under compaction: coarse stone provides structure, fines fill voids.
Why lift thickness depends on your compactor
You cannot dump the entire base depth in one layer and compact from the top. Vibration energy only penetrates so deep. Material at the bottom stays loose while the top inch looks solid.
CMHA’s construction procedure ties lift thickness directly to compactor force: a 7,000 lbf reversible plate can handle 4 to 6 inch lifts, while a 5,000 lbf machine needs thinner lifts. The light single-direction plates you can rent from a home-improvement store typically produce 3,000 to 4,000 lbf. With one of those, keep your lifts to about 3 inches.
For a 6-inch driveway base using a rented 5,000 lbf plate, that means two separate lifts of 3 inches each, compacted individually. More work up front. No settling afterward.
Moisture conditioning, not flooding
Dense-graded aggregate compacts best at its optimum moisture content. Too dry and particles will not lock. Too wet and you create mud instead of structure.
Quick field check: grab a handful of aggregate, squeeze it, and drop it. It should hold shape for a moment, then crumble apart. If it oozes water, it is too wet. If it falls apart instantly, it needs a light misting.
In Sarasota’s heat, aggregate dries out fast on a sunny day. We mist each lift lightly before compacting, especially between May and October. If a summer storm rolls through mid-pour, we wait for the material to drain before running the plate. Compacting saturated aggregate traps water and prevents particle interlock.
Knowing when a lift is done
There is no universal pass count. The answer is: when the material stops moving. After enough passes, you will notice the plate riding on top instead of sinking in. The surface feels firm underfoot. On a properly moisture-conditioned lift at the right thickness, this typically happens within 3 to 5 passes per direction. But we verify the result rather than count the passes.
Overlap each pass by about half the plate width. Keep the compactor moving at a steady walking pace. Letting it vibrate in one spot creates a depression and can over-compact the surface while the material underneath stays loose.
Check the base before covering it
After compacting the final lift, lay a 10-foot straightedge across the surface. CMHA allows roughly +/- 3/8 inch of deviation over that span. Fill any low spots with aggregate (never sand), then recompact those areas. The bedding layer that comes next is not a correction layer. A 1-inch dip in your base will telegraph through the finished pavers within a year.
Install edge restraints on the compacted base. Restraints spiked into bedding sand will shift under lateral load, and once restraints move, the perimeter pavers follow.
Bedding Sand Goes Down Loose
This trips up more DIY builders than anything else. It feels wrong to leave a layer uncompacted after spending hours compacting everything beneath it. But bedding sand has a different job.
Concrete sand (ASTM C33, not mason sand or limestone screenings) gets screeded at a nominal 1 inch between rails, then left undisturbed. The pavers will seat into this cushion during the final plate-compaction step. If you compact the bedding before placing pavers, two things happen: the surface becomes uneven because compaction displaces sand inconsistently, and the pavers have nowhere to settle during final compaction, so they sit on top instead of locking down.
Screed it flat. Pull the rails. Fill the rail channels with sand. Then lay pavers directly on the undisturbed surface.
Seating the Pavers with the Final Compaction Pass
Once all pavers are placed with consistent joint spacing, the plate compactor comes back for a different purpose: seating units into the bedding and driving sand into the paver joints to begin the interlocking process.
Use a protective polyurethane pad on the compactor’s baseplate. Running bare steel over finished pavers will scuff and chip them, especially textured materials like travertine. The pad is inexpensive insurance.
Expect about 1/4 inch of settling over standard concrete-sand bedding. With high-performance bedding (HPB, a fine crushed stone), closer to 1/8 inch. Account for this when setting your screed height so the finished surface lands at the correct elevation.
Make at least two full passes before spreading polymeric sand. Then sweep the sand into the paver joints, remove the excess from the surface, and compact again to consolidate the joint fill. The polymeric sand should finish about 1/8 inch below the paver chamfer. After activation and curing (follow the manufacturer’s instructions for your specific product), the joints become firm and resist washout. We cover paver sealers and joint maintenance separately, but getting the joint fill right during installation makes every future maintenance step easier.
Keep the compactor moving during this entire process. Dwelling in one spot can crack pavers or create depressions.
One important note: porcelain pavers and large-format concrete slabs often have different requirements. Many manufacturer installation guides explicitly exclude porcelain and slab applications from standard compaction procedures. Check the manufacturer’s specifications before running a plate over non-standard materials.
Different Rules for Permeable Paver Bases
If you are considering permeable pavers for stormwater management, the base changes significantly. Permeable systems use open-graded clean stone (typically No. 57 base over No. 2 subbase) instead of dense-graded road base. The open voids between stones are what allow water to infiltrate and be stored below the surface.
This stone still needs compaction, but acceptance is measured differently. CMHA’s permeable pavement guide describes using a lightweight deflectometer to verify stiffness rather than a Proctor density target. And here is the key difference: the soil subgrade is generally left uncompacted to preserve its natural infiltration capacity. That is the opposite of conventional base preparation.
Conventional and permeable are different systems with different rules, not interchangeable approaches. Mixing techniques from one into the other creates problems neither system was designed to handle.
What a Poorly Compacted Base Looks Like Two Years Later
We get called to repair work done by others regularly. The symptoms are consistent: pavers sunk in patches, lips between units that catch toes and trip guests, standing water where the slope should carry it away.
When we pull pavers up, the base tells the story. The most common findings:
- Full-depth aggregate that was placed in one pass and only compacted at the surface. The bottom half is loose. Everything above slowly settles into the void.
- Bedding sand filling base depressions instead of aggregate. Sand is not structural. Under load, it migrates into the crushed rock gaps and the surface drops.
- No edge restraint, or restraints spiked into sand. The perimeter creeps outward, joints open, and the interlock fails.
- No drainage slope. Water pools, saturates the base, and softens the subgrade. In Florida’s rain, the damage accelerates season over season.
The fix is never to just re-level the top. Research from the University of Central Florida documented this clearly: when permeable pavers settled under heavy vehicles, crews lifted the affected units, added and compacted aggregate underneath, then replaced the pavers. The surface stayed flat afterward under continued heavy traffic. When pavers sink, repair the support, not just the surface.
A Maryland adjudication awarded a homeowner $14,500 to replace a patio that had shifted and lost drainage, with drops of at least an inch across the surface. The inspector believed the installation was at fault but could not identify the precise mechanism without removing the pavers. That is the nature of base problems: once covered, the evidence is buried. Which is exactly why getting compaction right before laying a single paver is the best investment you can make in the project.
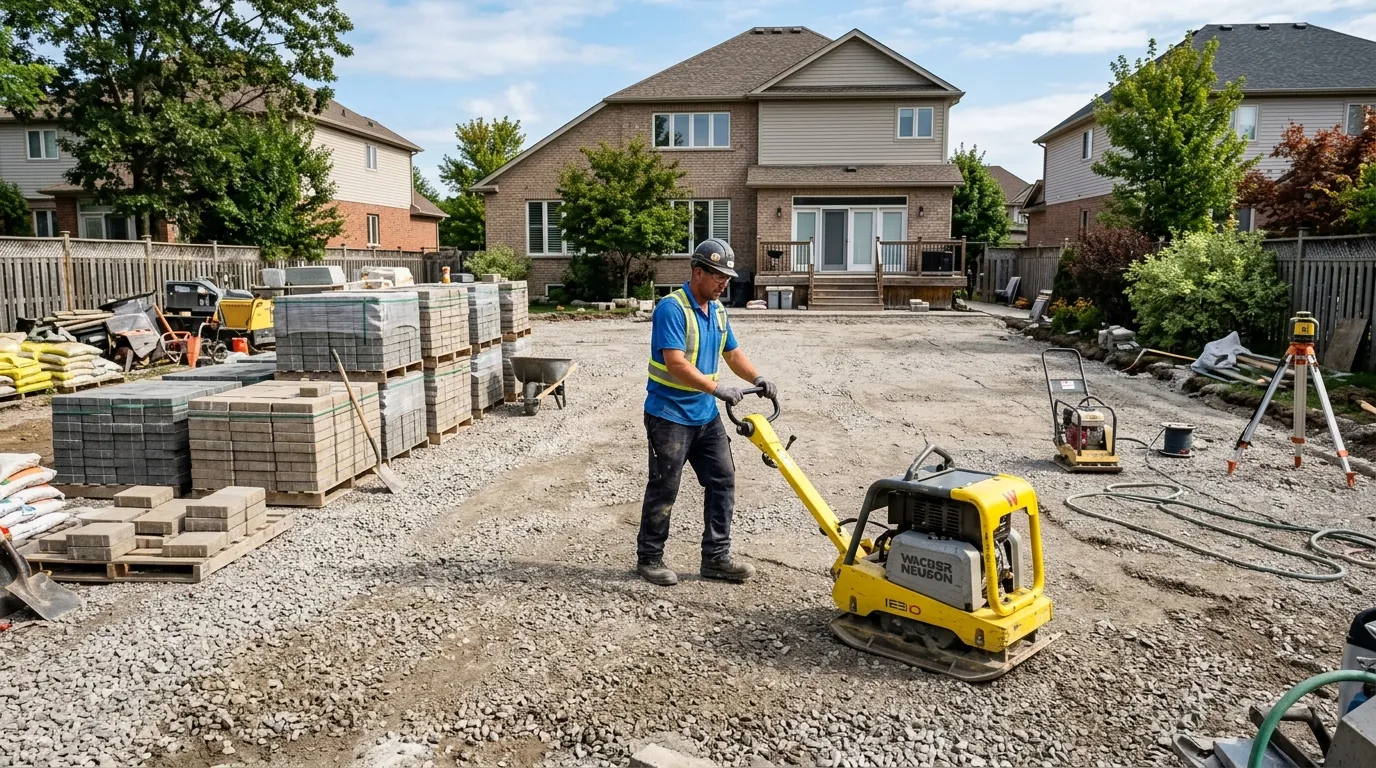
If you are planning a patio, driveway, or pool deck in Sarasota, Venice, Bradenton, Nokomis, or Osprey, a free estimate tells you exactly what your soil and site need before any material goes down. Our crew can walk your property and point out what a photo cannot show. Reach out before the rainy season tests your base.
Frequently Asked Questions
Should I wet the base material before compacting?
Yes, lightly. Dense-graded aggregate compacts best at optimum moisture. Mist the material until a handful holds its shape when squeezed but crumbles when dropped. Saturated aggregate will not compact properly because water prevents particle interlock. In Sarasota’s summer heat, you will likely need to mist each lift before running the plate.
How many passes does a plate compactor need on the base?
There is no fixed number. The goal is verified density, not a pass count. Most lifts reach full compaction within 3 to 5 passes per direction when moisture and lift thickness are correct. Watch for the plate to ride on the surface instead of sinking in. That is your signal to stop.
Can I compact a paver base with a hand tamper?
Not for a full aggregate base. A hand tamper cannot deliver enough force to achieve the required density through a 3 to 6 inch lift. Some proprietary panel systems specify hand tamping for a thin sand preparation layer, but those are limited to pedestrian use. For structural base work, rent or hire a vibratory plate compactor.
How deep should the crushed rock base be?
A minimum of 4 inches compacted for patios and walkways, 6 inches for residential driveways, assuming well-drained soil. Poor soil, heavy expected traffic, or a high water table may require more. In Sarasota’s sandy ground, these minimums work for most residential projects, but we add depth when conditions warrant it.
How much will pavers sink during final compaction?
About 1/4 inch over standard concrete-sand bedding. Roughly 1/8 inch over high-performance bedding (HPB). Set your screed height to account for this settling so the finished surface hits the target elevation.
Do I need geotextile fabric under my paver base?
Not always, but often in Florida. Geotextile prevents fine soil particles from migrating into the aggregate and weakening it. We use it when we find silty pockets, clay lenses, or areas near the water table. On clean, stable sandy subgrades it may not be necessary, but the cost of fabric is negligible compared to a settling repair.