Pavers are an old reliable in the hardscape industry. Homeowners have been choosing them for years due to their sturdiness and versatility. But what about thin pavers? How to properly work with them? Can we use thin patio pavers over concrete, for example?
Our objective with this article is to lay down all there is to know about the installation of thin patio paver. What options do you have and how you should go about it in your project.
We will give you some options of materials and installation practices. Also, tips on how to properly care for your pavers once they are installed. So let’s get to it.
Jump to:
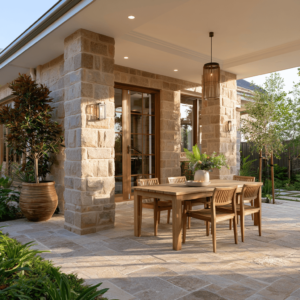
Thin Patio Pavers: What are the Advantages?
The objective of thin pavers is, unlike regular pavers, to be installed over a previous “foundation”. But what does that mean?
In case you didn’t know, installing regular pavers is a tricky business. It involves a lot of slope calculations, digging, bedding. You can’t simply place them wherever you want. It requires preparation, mainly to make a good base for them to be safely installed on.
But what if you already have a base? What if you have, let’s say, a poured concrete patio and want to renew it and turn it into a paver patio? That’s where thin pavers come in!
With a proper foundation already in place, thin patio pavers are specifically designed to be place on top of it, especially over concrete.
Thin pavers are very easy to install over existing concrete, and there are some ways in which you can do that. So let’s go on and talk about them.
Installing Thin Patio Pavers
Here are the steps you need to follow in order to install thin pavers.
First, let’s talk about the tools and materials you’re going to need.
- Drill
- Pea Gravel (or similar)
- Mortar or Construction Adhesive
- Geotextile Fabric
- Bedding Sand
- Plate Compactor or Hand Tamper
- Pavers
- Rubber Mallet
- Level
- Polymeric Sand
- Broom
Now, let’s go for the installation, step by step.
Step 01 – Preparation
Before even buying things, make an outline of your overall plan.
Make a scaled drawing of the area you’re going to cover. Ideally, you should already know what pavers you’re going to use, so you can then account for their measurements in your planning.
The overall idea is very simple: you’re going to mortar, or glue, some pavers on the border of your concrete installation. In the middle, you’re going to spread the sand and install the pavers on top.
With planning, you’ll know beforehand how many pavers you’ll need to buy, how much sand and the size of the geotextile fabric you’re going to need.
Step 02 – Cleaning the Concrete
With the help of a garden hose, clean your current concrete installation as best as possible. Ideally, you must do this on the day before the installation, to give the concrete time to dry.
Step 03 – Drilling the Concrete
Now you’re going to drill holes in your concrete base. This serves to create a drainage route for the water to flow, so it doesn’t accumulate and damages your sand base later.
The holes must have 1 inch in diameter, 18 inches away from each other and go all the way through until it reaches the dirt.
This might be the most difficult part of the job, but is essential to ensure your installation lasts for years without causing headaches.
After drilling the holes, you want to fill them with pea gravel or any other kind of small stone. That will still allow the excess water to flow through, but will prevent the precipitation of the sand base.
Step 04 – Set in Place the Borderline Pavers
Now is time to follow the outline you set on your planning phase and set the pavers on the outside of your installation.
The most popular methods for gluing the pavers in place in that step is to use mortar or construction adhesive, you’re free to choose which one you like better.
There’s not much mystery to it. Simply follow the instructions on the label of your product of choice and set your pavers in place, using at most ¼” of mortar/glue to set the pavers in place.
Step 05 – Setting Up the Base
With your border finished, it is time to start working on the base of your installation.
Cover the area with geotextile fabric, leaving it as plain as possible.
After that, start spreading the bedding sand around it. The height of your sand base should be equal to the height of mortar/glue you used. Just like we did for the mortar/glue, we suggest a height of ¼” for the sand base as well.
Make sure to really compact the sand as you go along using the plate compactor or a hand tamper.
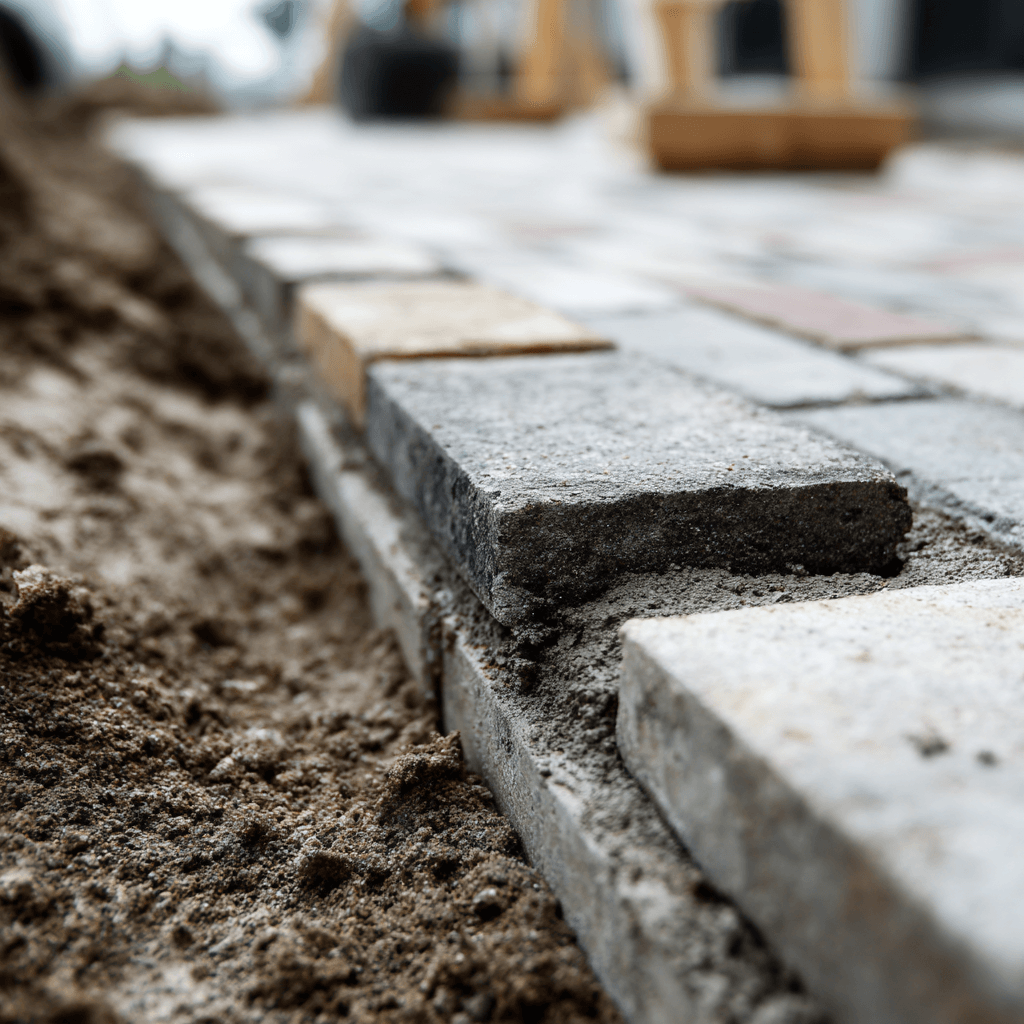
Step 06 – Setting the Pavers
With the bedding done, now you only have to set your pavers in place.
Carefully place the pavers next to each other. Never shift the pavers around once they are in place, so be precise as you put them.
The use of a rubber mallet to slightly tap them in place can be of help, as well as the use of a level to make sure everything is perfectly smooth.
Step 07 – Joint Sand
To finish the job, pour the polymeric sand on top of your installation and sweep the sand around to fit between the grout lines of the pavers.
Do this process as many times as needed until you can fill the grout lines. After you’re done, sweep the excess sand away and now all that’s left is your beautiful new thin patio paver installation over concrete.
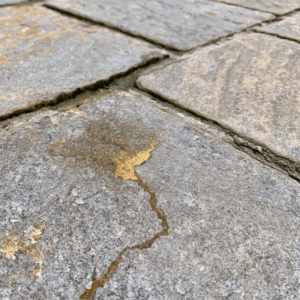
The next step is to seal them. That is something you can’t forget! This article will help you with that.
Professional Help To Install Thin Patio Pavers
As you could see, the process is quite simple. Thin pavers are recommended if you have a pre-existing base or if, for some reason, you can’t dig too deep on a new isntallation.
Either way, as fun as it is to DIY, the best way to ensure you’ll end up with a job well done is to hire professionals to help you. They can help you with the installation, choice of materials, and even give some insights and ideas you wouldn’t have otherwise.
And if you happen to be around the Sarasota County, in FL, how about getting in contact with us here at JS Brick if you need any help?
We’ve been providing the area for 20 years with top quality work when it comes to paver supply, maintenance and installation.
Give us a call right now at +1 941 586 9140 for a free estimate on your current project. We’ll be happy to hear from you.