Embellishing the outside area of their house with a beautiful paver patio is the dream of many homeowners. In light of the excitement, many of them decide to rush and cut corners when it comes to installation. This can lead to costly, sometimes drastic, paver patio mistakes. So how can one avoid these mistakes?
When it comes to paver installation, planning is the order of business. The more careful you plan your installation, the better it will be. Take your time to choose carefully your pavers and materials and make every step goes as smoothly as possible.
The aim of this article is to talk about the most common mistakes we have seen around and help you avoid them right from the start.
At the end, we will talk about yet another mistake, unrelated to installation, that many people fall for. It is an extremely important one, so we recommend reading it until the end.
Jump to:
Paver Patio Installation Mistakes
Not Creating a Slope During the Excavation
At the moment of the excavation of an area where the installation will take place, a calculation must be done to account for the slope of the area. This slope serves to prevent drainage issues and direct the flow of water in a specific direction.
Starting from the part of the excavation that is closest to the mains building in the area, place a wooden stake on the ground, right at the border of the installation. Take another wooden stake and place it at the other end of the installation.
Now tie a construction line to both stakes and calculate the distance between them. To every 4 feet, the line should be placed 1″ lower at the furthermost stake. Now use the line as a guide to help you dig.
Many people forget that part. Drainage issues are one of the main reasons why paver installations go wrong, so you want to avoid that.
Not Using Proper Gravel for the Base
Filling a hole with rocks can sometimes be a drag. After all, gravel is more expensive and harder to deal with. And why go for it when you have plenty of dirt lying around, right?
Many people give in to that logic and decide to use regular dirt as paver base. The results of that decision can be catastrophic.
During the compaction process, dirt shrinks way too much to effective. Around 30%, to be more precise. And as time goes by, with the weight of the pavers and weather effects, dirt moves and dislodges the pavers.
The result is sunken paver installation that can cause accidents and does not look good.
Using gravel, or any kind of crushed rock, as a base for pavers is pivotal to the success of an installation. Do skip on that part.
Compacting the Sand Base
Once you have established a good, compacted, base of gravel, you’ll lay a 1″ layer of sand on top of it. On top of that sand is where you’re going to place your pavers.
Many people think this layer of sand should also be compacted, but that’s a mistake. This layer of sand should be merely screeded.
Screeding sand consists in placing two 1″ conduit pipes on top of your gravel base and covering them with sand. Then you place a 2×4 on top of said pipes and use them as a “rail” to level the sand around them.
That should leave with a perfectly leveled 1″ layer of sand in which to place your pavers. After that, carefully remove the pipes and do not compact the sand.
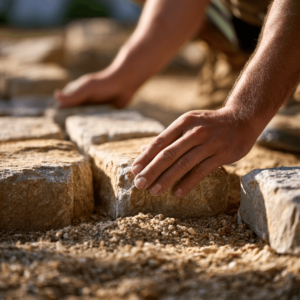
Doing Anything Other than the Click-and-Drop Method
Most pavers, especially the concrete ones, have built it spacers. These are small crevices that are designed to make sure the pavers have proper space between each other.
At the moment of the installation, when the pavers touch side by side, you can hear a “click” sound. That’s where the name comes from.
Pavers should be laid by putting them close next to each other until you hear the click, and then be gently dropped in place. Never shift a paver around in the sand once they are placed. If any mistakes are made, pick them up and place them again.
The click-and-drop method should be used even with pavers that don’t necessarily have the spacers, although, in that case, buying plastic ones separately is always a good idea.
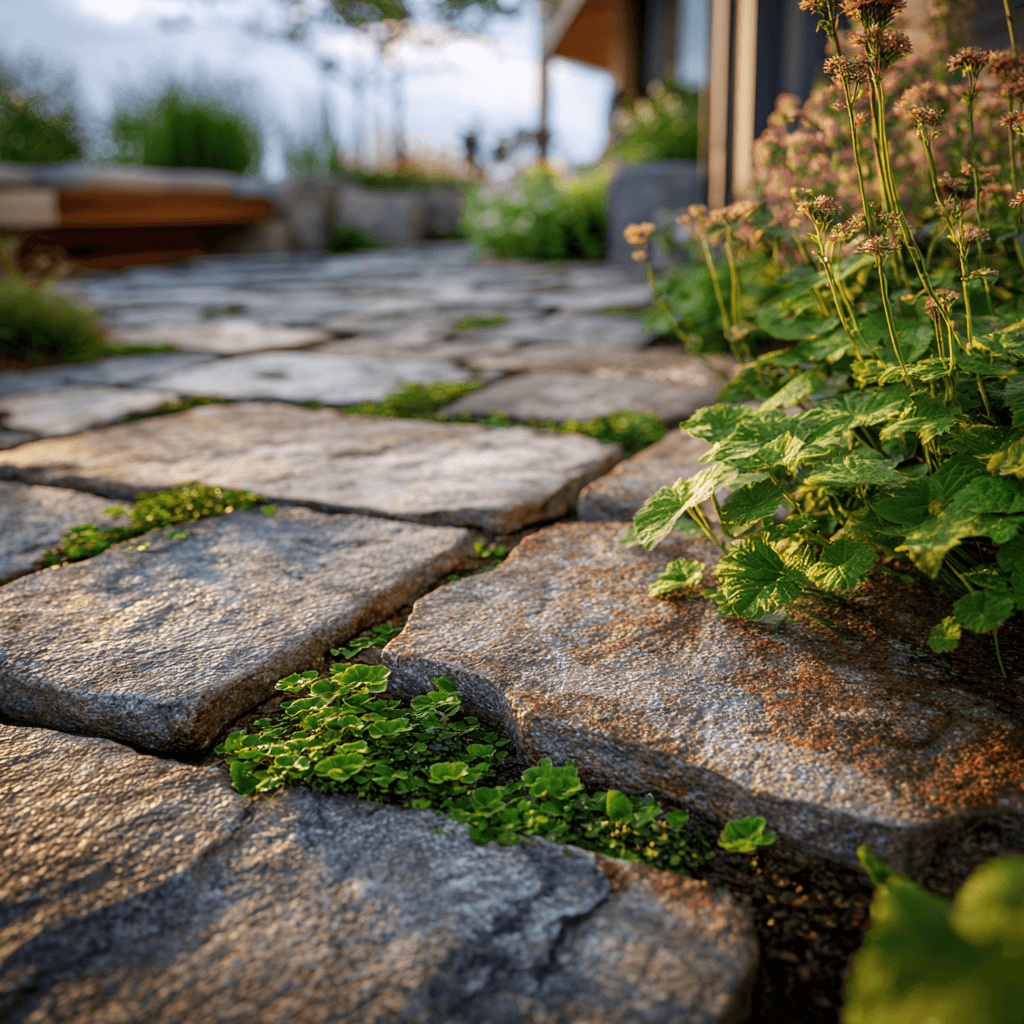
Improper space between pavers is also a very common mistake, so the use of plastic spacers in an excellent way to avoid that.
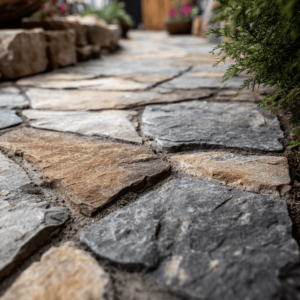
Skipping Sealing
Unless you’re using a non-porous paver, like porcelain, there’s no way around it. Pavers should be sealed.
Not sealing pavers can create many kinds of problems, from stains to weed growing between the joints.
We have seen some homeowners deciding to leave that part “for later” (a later that never comes), or simply skipping it altogether. This is a bad decision.
Pavers are an investment, sometimes a costly one, and you should take whatever action you can take to protect that investment.
Paver Patio Mistakes: Using the Wrong Pavers
This is the another mistake that we mentioned that is not realted to installation.
Every paver material has its uses and applications. A travertine paver, for example, is a wonderful option for poolside installation, but it can be a bad choice for a driveway.
Choosing the right pavers for your project is fundamental. On that front, and in all the other ones, actually, we highly recommend you get in contact with a qualified professional in hardscape around your area.
We here at JS Brick have helped hundreds of homeowners with their projects during our 20 years of activity. We know the importance of working with professionals to make the best possible installation. That’s why we highly recommend looking around your area for a qualified professional to avoid these paver patio mistakes.
And if you happen to be around our area of activity, the Sarasota and Manatee counties, in FL, why not give us a call to help you?
Contact us right now at +1 941 586 9140 or email us at [email protected]. We would be happy to hear from you and help you with any hardscape need you might have.