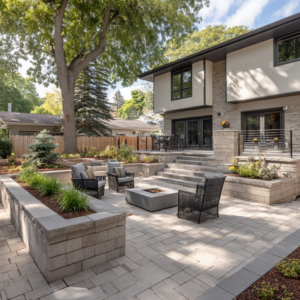
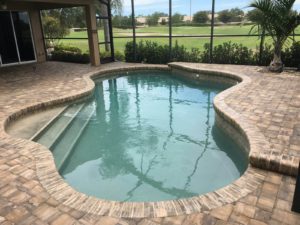
Pavers are a cornerstone of outdoor design, bringing functionality, beauty, and durability to patios, driveways, and walkways. However, even the most meticulously installed pavers can develop cracks over time due to natural wear and tear, shifts in the ground, or extreme weather conditions, so knowing how to fix a cracked paver can be very useful.
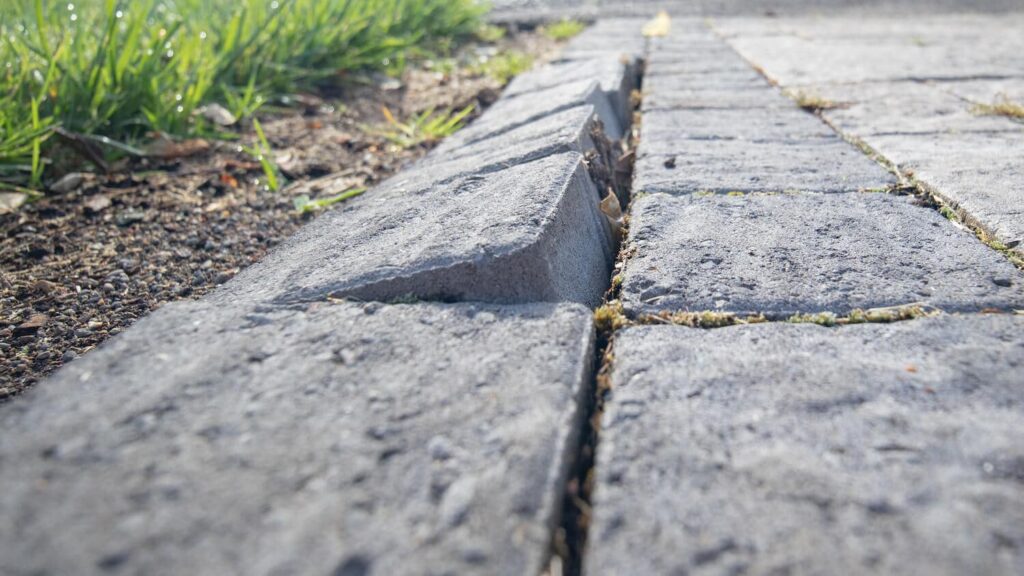
While a cracked paver may seem like a small blemish in an otherwise pristine landscape, ignoring the problem can lead to further damage or compromise the structural integrity of the entire area.
But no worries. Today, we’ll teach you how to fix a cracked paver, from identifying the cause of the damage to performing the repair. By the end, you will gain valuable insights and practical knowledge to maintain the aesthetic and functional appeal of your outdoor spaces!
You may also like: How to fix loose paver steps – your guide to repairing
Jump to:
Why do pavers crack in the first place?
Before diving into the repair process, it’s essential to understand why the problem occurs! You see, by identifying the root cause of the damage, you can prevent similar issues from recurring in the future, which will always face some shortcomings here and there.
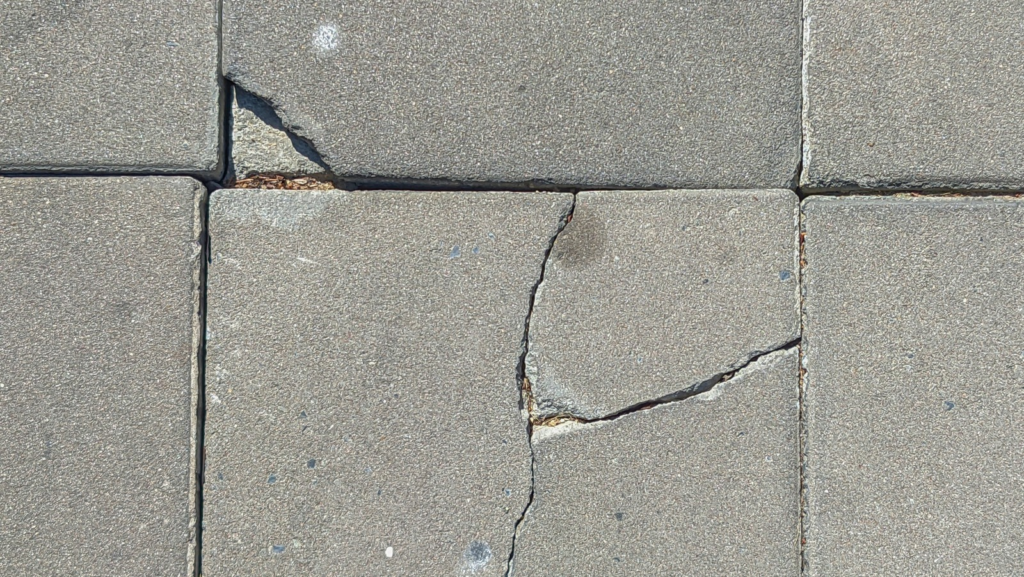
Common reasons include:
- Freeze-Thaw Cycles: In colder climates, water seeps into the pores of the paver and freezes. As it expands, the pressure can lead to cracking.
- Heavy Loads: Driveways and pathways subject to significant weight – like parked vehicles or heavy equipment – may cause pavers to crack over time.
- Improper Installation: A poorly prepared base or insufficient joint sand can result in uneven support, causing stress on the paver.
- Shifting Soil: Natural ground movement or erosion beneath the paver can create voids, leading to cracks.
Once you understand the likely cause, you’re better equipped to approach the repair process effectively.
How to fix a cracked paver
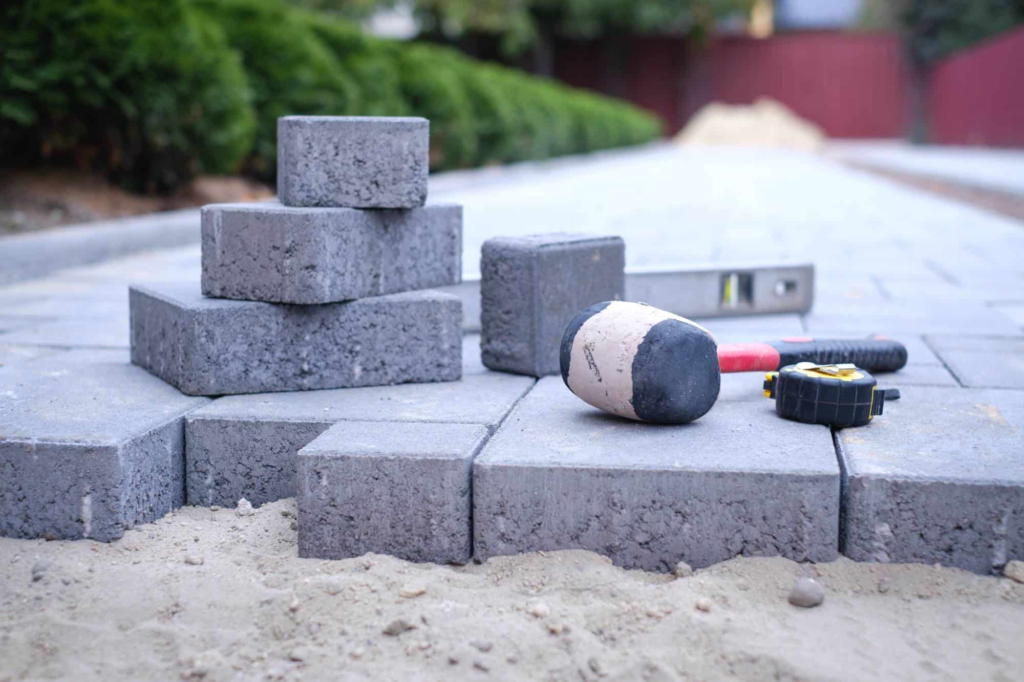
Repairing a cracked paver is not a daunting task, but it does require careful preparation. Before starting, gather the necessary tools and materials, which may include:
- Replacement pavers (if the crack is severe)
- A rubber mallet
- Screwdriver or chisel
- Sand or gravel
- Paver sand (for refilling joints)
- A trowel and level
- A pressure washer (optional for cleaning)
The specific tools will depend on the extent of the damage, but having these items on hand ensures a smooth process from start to finish.
It is also important to assess the severity of the damage before you begin. A minor hairline crack can often be repaired without replacing the paver, while deeper or more extensive cracks may require a replacement.
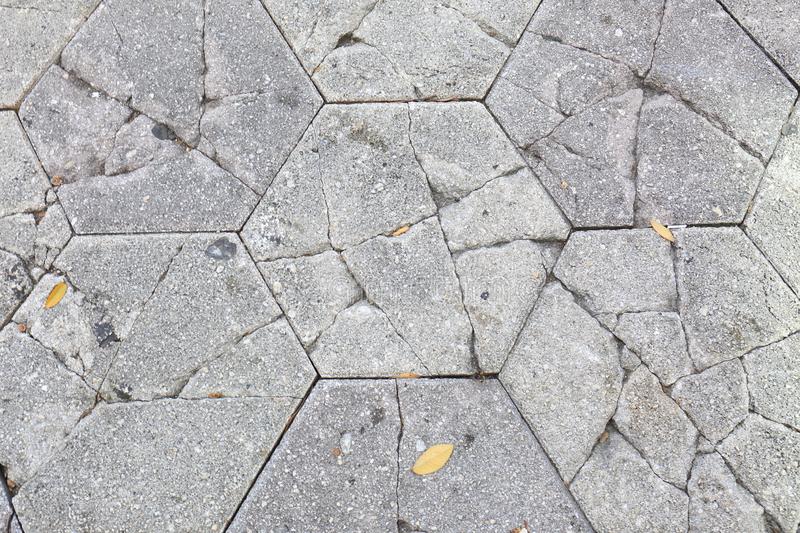
Small cracks can be sealed using a paver crack filler or epoxy resin specifically designed for outdoor hardscape use. These materials help bond the paver, preventing further splitting and minimizing the visibility of the crack.
But when a crack extends through the entire paver or compromises its structural integrity, replacement is the best solution. This ensures a seamless appearance and restores the strength of the hardscape.
Read also: Cobblestone vs. pavers -which is the best choice?
Step-by-step guide to replacing a cracked paver
For those facing a severely cracked paver, replacement is often the most effective long-term solution. Here’s how to do it:
Step 1: Remove the Damaged Paver
Using a screwdriver or chisel, carefully pry up the cracked paver. Be gentle to avoid damaging the surrounding pavers. If the paver is particularly stubborn, a rubber mallet can help loosen it.
Step 2: Prepare the Base
Once the damaged paver is removed, inspect the base material. If it appears uneven or compacted, remove any debris and level the area with sand or gravel. This step ensures the new paver sits evenly and prevents future shifting.
Step 3: Insert the Replacement Paver
Place the replacement paver into the prepared space, ensuring it aligns with the surrounding pavers. Use a rubber mallet to gently tap it into place, ensuring it is flush with the existing surface.
Step 4: Refill the Joints
Fill the joints around the new paver with paver sand, using a trowel to distribute it evenly. Sweep away excess sand and lightly compact it to secure the new paver.
Step 5: Seal the Surface (Optional)
For added protection, consider applying a paver sealer once the repair is complete. This step enhances durability and helps protect against future cracks caused by water infiltration or heavy loads.
Tips for preventing cracks in the future
While repairing a cracked paver restores its appearance and functionality, prevention is always the best approach.
And the best way to do that is to invest in professional installation. A properly prepared base and precise installation reduce the likelihood of shifting and cracking over time.
Regular maintenance is another great ally. Clean and inspect your pavers regularly to identify and address minor issues before they worsen, and fill the joints with polymeric sand to create a stable surface and reduce movement between pavers.
Also, avoid parking heavy vehicles or placing excessive weight on areas not designed to handle such loads.
When to call a professional
While many homeowners can confidently fix a cracked paver with the right tools and guidance, there are times when professional intervention is necessary. If the damage is extensive, involves structural issues, or requires intricate repairs, a professional hardscape specialist can ensure the job is done correctly.
They bring the expertise and equipment needed to address complex problems, leaving your outdoor space looking flawless and ready to withstand the test of time.
A cracked paver doesn’t have to mar the beauty of your outdoor space. With a clear understanding of the repair process and a commitment to regular maintenance, you can enjoy a durable and visually appealing hardscape for years to come.
If you are seeking expert assistance or wish to enhance your hardscape with lasting solutions, consider hiring a professional you can trust around your area.
And if you happen to be around Sarasota County, in Fl, we here at JS Brick can help you. With 24 years of experience in paver installation, repair, and maintenance, we specialize in restoring and upgrading outdoor spaces with precision and care.
Whether it’s a single cracked paver or a complete overhaul of your hardscape, our team ensures high-quality results tailored to your needs. So contact us today for a free estimate and transform your hardscape into a picture-perfect setting that combines beauty, durability, and functionality.

