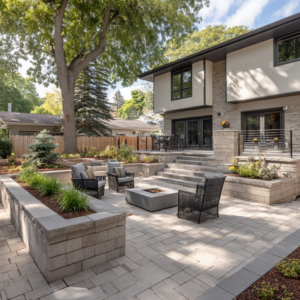
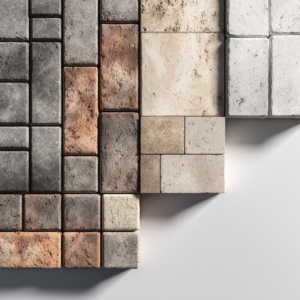
Patio pavers’ versatility is one of their most attractive features. After all, you can’t find any other paving material in such a wide variety of shapes, textures, and colors. All of these positive points allow you to use pavers in a wide variety of projects, and in this article we will be discussing one of the most popular paver applications there is: how to build patio paver steps.
You will understand how pavers’ durability puts them on a level above any other material. The least you expect from a construction project is that it will be durable to make the investment worthwhile, right? So let’s go ahead and understand how pavers will fit right in on your project and how to build patio paver steps.
Jump to:
What Is The Best Material To Build Outdoor Patio Steps?
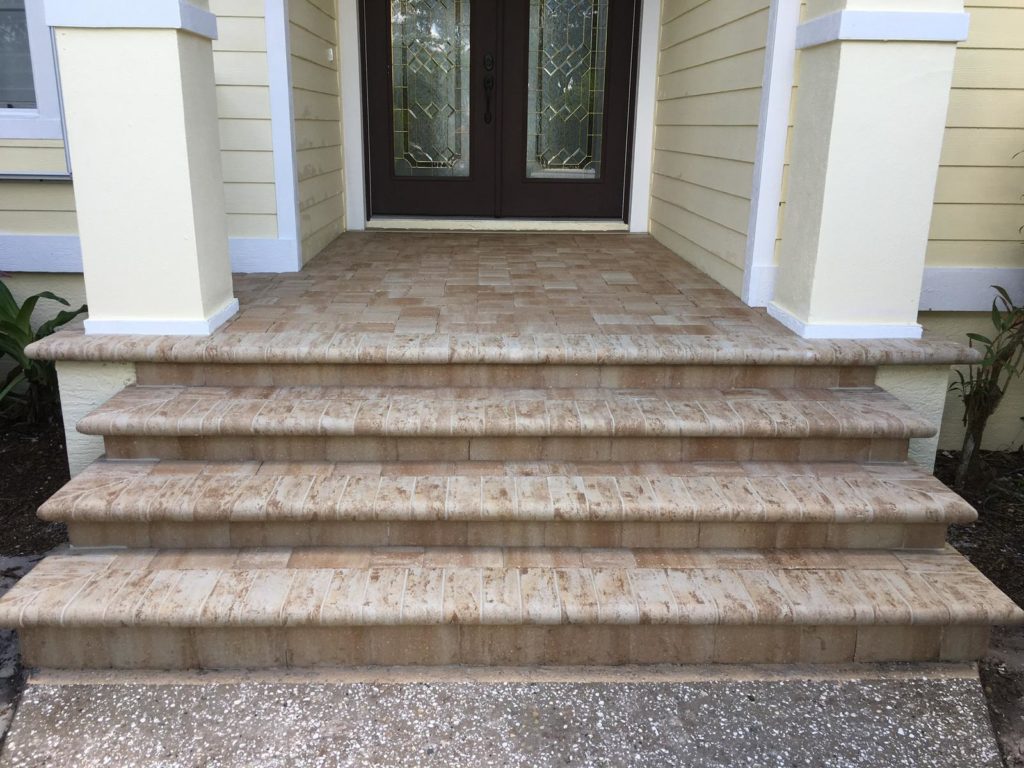
Pavers are the best material to use, especially outdoors – they can last for hundreds of years. Also, the wide variety of shapes and colors allows you to be creative in your design and favors installation in any space. Pavers match the design of your patio, or even your garden, especially if you choose a more natural color.
Pavers are, by far, your best choice for patio steps. However, understanding what your alternatives are – and why not to use them – can help reinforce that decision.
Other Common Materials For Patio Steps – And Why Not Use Them
There is a reason why paver is considered to be the best material to build patio steps. Let’s talk about the other options available, so you can better understand the reason for that.
Concrete Steps
Another quite common material for patio steps design is concrete. Similar to pavers, you can simply adapt concrete to any project by using molds to pour it. Concrete has reliable durability, but the benefits stop there.
Despite requiring little day to day maintenance, concrete patio steps are usually single pieces, unlike pavers, which are separate blocks fitted together. With weather effects (heat and cold), concrete, like pavers, tends to expand and contract. This movement promotes the appearance of cracks on the surface. Whilst with pavers, you simply replace a damaged block, for concrete, you have to remove it entirely so that you can build the patio steps again.
Although concrete represents a relatively cheaper initial investment, it is much more expensive when it comes to heavy maintenance.
Metallic Steps
Metal is an extremely resistant material, especially for extreme temperature changes and humidity, which makes it perfect for outdoor areas. No doubt that alloys like aluminum or steel are amongst the toughest, and they unquestionably find excellent applications when it comes to patio steps.
However, from an aesthetic point of view, metal is still inferior to pavers, especially outside areas. Pavers, in general, blend into the external environment in a much more natural and harmonious way. Alternatively, you can paint metal, but due to its exposure to weather conditions the paint will wear out over time. Even so, painting metal still doesn’t make it look natural, whereas pavers can look new again with a simple cleaning.
Wooden Steps
Despite being one of the materials that most easily adapt to the external environment – particularly the garden – it is also the one that needs more maintenance.
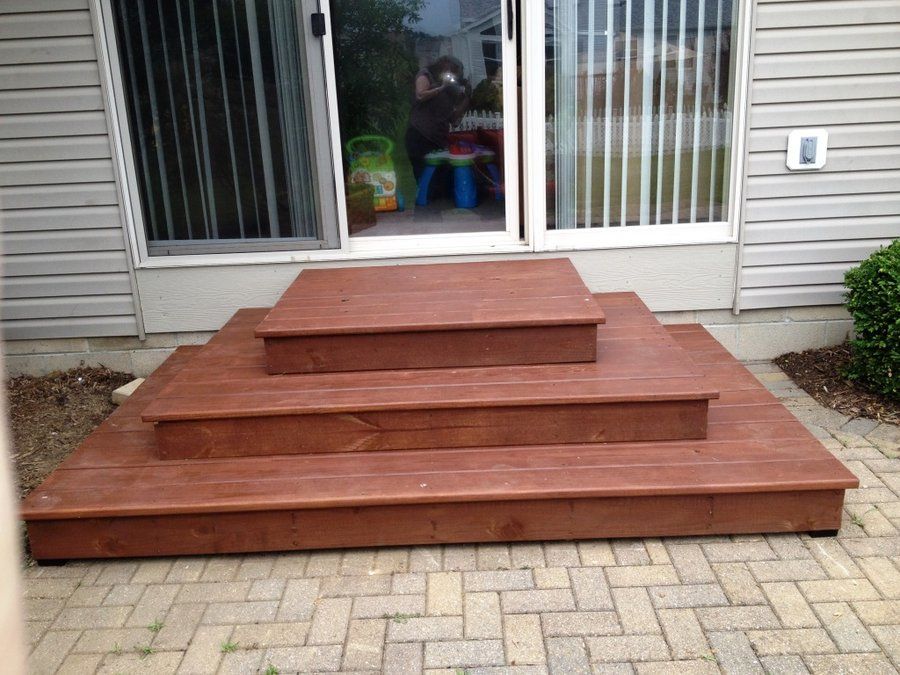
Wood, when exposed to weather, needs to be treated so that it can last longer. Besides, wood is much more susceptible to pests, such as termites, which can destroy the wood in a small-time. Even with the necessary care, though, it will not last as long as pavers, and you probably will have to replace it with some frequency.
How To Build Patio Steps With Pavers
The process of how to build patio paver steps should change based on what project you have in mind. That said, it’s important to note that there are two main ways for building patio paver steps: the “fill” method and the “cut-in” method.
For the “fill” method, you have to excavate the entire area of the stairway straight back, then place and compact a 6″ thick gravel base as a level foundation. Place multiple courses of SRW units to build the steps as you go.
If using the “cut-in” method, it is not necessary to excavate the entire area. Remove loose soil, place and compact a 6” thick base of gravel under every step. When building, the height, or rise, of each step must be consistent.
Planning the Patio Paver Steps
The first step in building your patio paver steps is to define the location and layout. Pavers give you the possibility to be creative with design. You can draw angles, use pavers of various shapes, colors, and textures. This way, your project will not only play its fundamental role but will also become part of the outdoor area decoration.
After defining your project, it is time to assemble the necessary instruments for the work. The tools may change according to each project, but overall, what you might need is:
- Pavers of choice
- Retaining wall bricks
- Sand
- Gravel, fine-grain
- Mortar
- Wheelbarrow
- Shovel
- Trowel
- Hammer, 3-pound
- Wooden stakes
- Block of wood
- Level
- Measuring tape
- Cut-off Saw
Building steps with pavers isn’t an easy task. Unless you have the necessary experience with both designing outdoor projects and handling tools, you should always contact a professional to do the job for you.
Excavating
There is a tricky aspect to this excavation phase: the slope. The slope is extremely important to contribute to the proper drainage of the installation.
You are in one of two situations: you either have a natural slope in your terrain that you want to follow, or you’re creating an “artificial” level with your steps. In both cases, proper drainage needs to be established.
To do that, you’re going to place a wooden stake both at the lowest and highest point of your installation. Then you’re going to measure the distance between those two stakes.
Following that, you’re going to tie a string to the highest-point stake, on the height want your highest steps to be, and then on the lowest-point stake, on the same height.
Now for the catch. For each 8 feet of distance between the stakes, you want to low the string on the lowest-point stake by 1 inch. This will create a perfect slope and contribute a great amount for the proper drainage of the installation.
The next stage of the project is to:
- Dig out the step and retaining wall areas below the lowest point on the path;
- Dump six inches of gravel into the excavation;
- And pack it solid with a hand tamper.
Now set the steps and the retaining walls around them. For stability and to prevent washouts, always excavate about twelve inches down and keep the base course level. Since ground-level varies, simply raise or lower the base course if it runs too deep or too shallow. In general, keep at least four inches of your six inches thick base blocks buried.
Setting The Steps
This section is where things get a little more complicated. Even if it were possible to explain the process in detail, it would still not be safe and ok on our part to allow people with little experience to perform this task. Nevertheless, we will highlight the main steps of the process:
- Set the first base course block for the stairs perfectly level.
- Level additional stair blocks to the first, butting them tightly together, and then add the wall blocks to complete the base course.
- Firmly tamp gravel around the base course.
- Then set the second course.
- Glue corner blocks and step blocks with two squiggly beads of polyurethane adhesive.
- Glue the second course of step blocks directly over the base with the front faces flush.
- Tamp more gravel around the base course and behind the step blocks as you build. Then level and glue the third course of step blocks.
- Now finish the flanking walls. Cut and glue on cap blocks as necessary to make a tight joint at the corners of the lower wall.
- Dig and continue the base courses for both walls and assemble them. This base course will determine the elevation of the base course for the two steps up to the patio and for other stairs at the other end of our path.
It’s likely that you’ll have to cut blocks for the corners, and you certainly will as you begin to mix block sizes in highly visible areas.
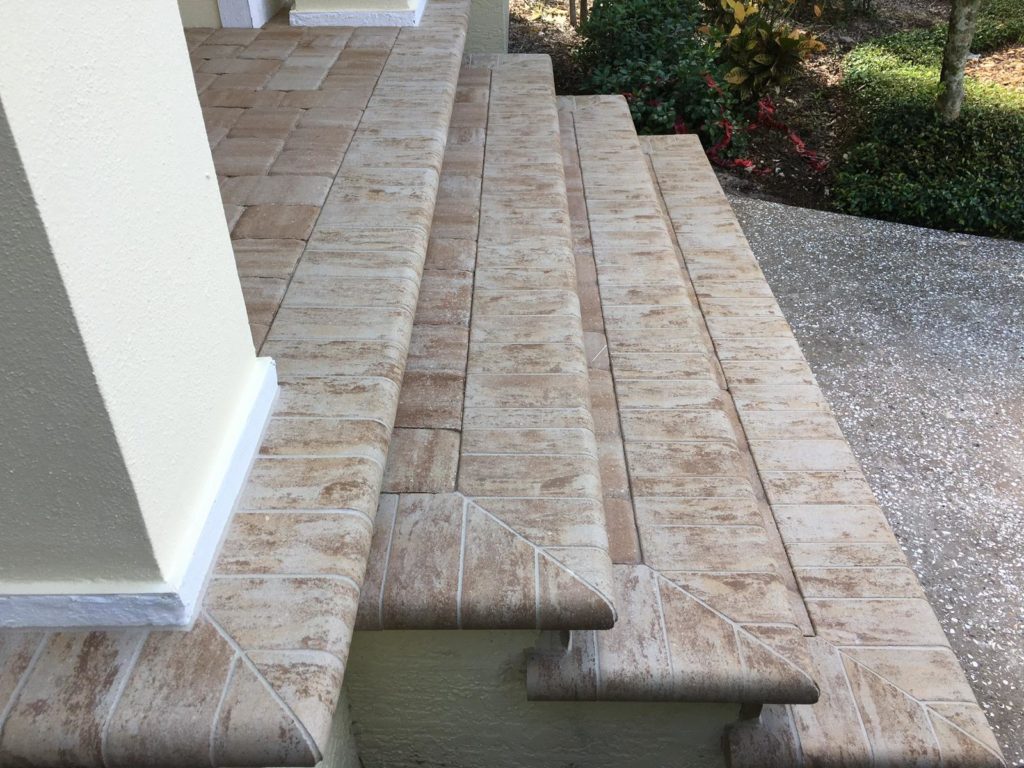
Can I Build Patio Paver Steps Myself?
We highly recommend you not to, unless you have experience and know-how to handle tools as the cut-off saw. The price of doing the project yourself is just not worth the risk. Besides, you’ll spend a lot of time just leveling the ground and paving stones.
Another important aspect to consider, as we mentioned, is the creation of a slope during the excavation phase and the proper drainage of the entire installation. Both of those things involve a tremendous amount of planning and calculation, all the more reason why you should leave it to professionals.
Whenever possible, hire qualified personnel or companies to work on your paver project. At JS Brick, we have 20+ years of experience providing paver installation, supply, and maintenance services in Sarasota and surrounding cities. For a free estimate on your patio paver step project, don’t hesitate in leaving us a message or a call.
FAQ
Yes, you absolutely can. In fact, they are one of the best materials for it.
You can, but it takes some preparation. Read this article for more information on how to install pavers on sand.
Approximately 1 inch, a little more if the area has a drainage problem.
Granite is considered to be the best option for stone stairs due to its sheer strength and versatility.
Yes, you can. There’s no problem with that. The pavers best recommended for that purpose are porcelain pavers.
That is not a recommended practice. Pavers can be a wonderful hardscape element, both structurally and aesthetically, but they need preparation. Never lay pavers directly on dirt.
You can, but it takes a whole different approach. Since you won’t be using the classic paving bedding structure, you’re going to need to create the levels of the steps using the pavers themselves. These pavers will need to be kept in place with mortar and/or construction adhesive.
The famous 7-11 rule is fail proof. The rule states that the maximum riser height should be 7 inches, while the minimum tread depth should be 11 inches. The risers should also reach around 4 inches in height.
36 inches is the minimum required, but people usually start at 48 inches, which is the recommended amount for a single person to pass through comfortably. For two people, the recommended width is 60 inches.
The recommended angle for steps in residential applications usually ranges between 30 degrees and 45 degrees.

