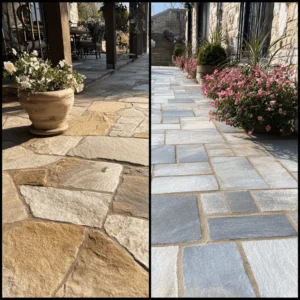
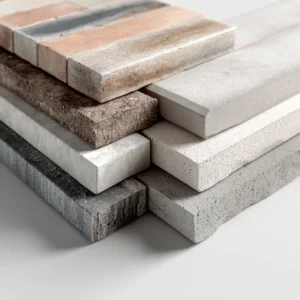
At first glance, planning the layout of a paver patio might seem like a straightforward job: choose your design, pick your materials, and get to work. What’s more to it?
Well, any seasoned installer knows that the devil is in the details – and one of the most commonly overlooked yet crucial aspects is the recommended slope for a paver patio. Without the correct slope, even the most beautiful patio can turn into a frustrating source of puddles, drainage problems, or even structural damage over time.
But don’t worry. In this article, we will guide you through why slope matters, what the standard recommendations are, and how to make sure your patio is built to last.
Read as well: How to create unique paver designs
Jump to:
The role of slope in patio construction
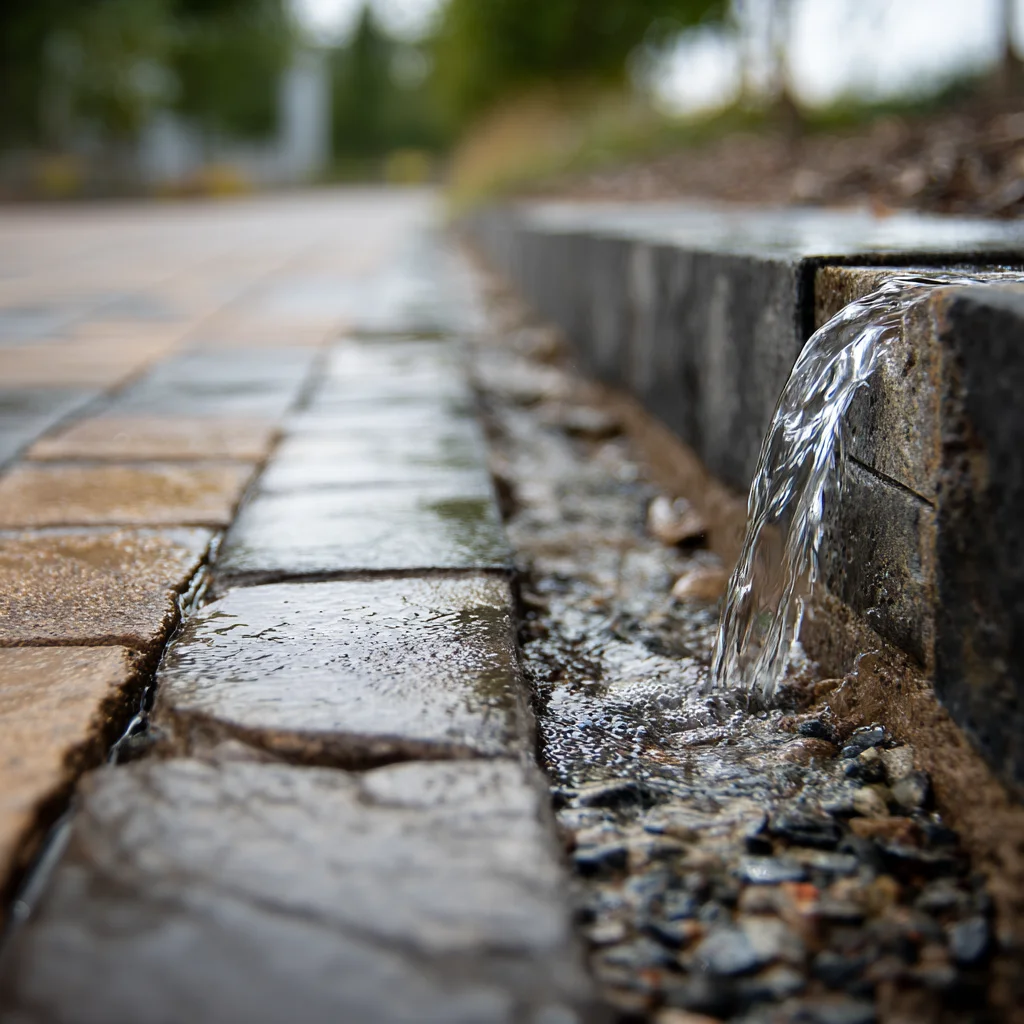
Every outdoor surface exposed to rain or irrigation needs a way to manage water. The slope of a paver patio refers to the slight angle at which the patio is graded, allowing water to flow away from buildings and other structures. Without this slope, water can pool in unwanted areas, seep into foundations, or promote the growth of mold and mildew between the pavers.
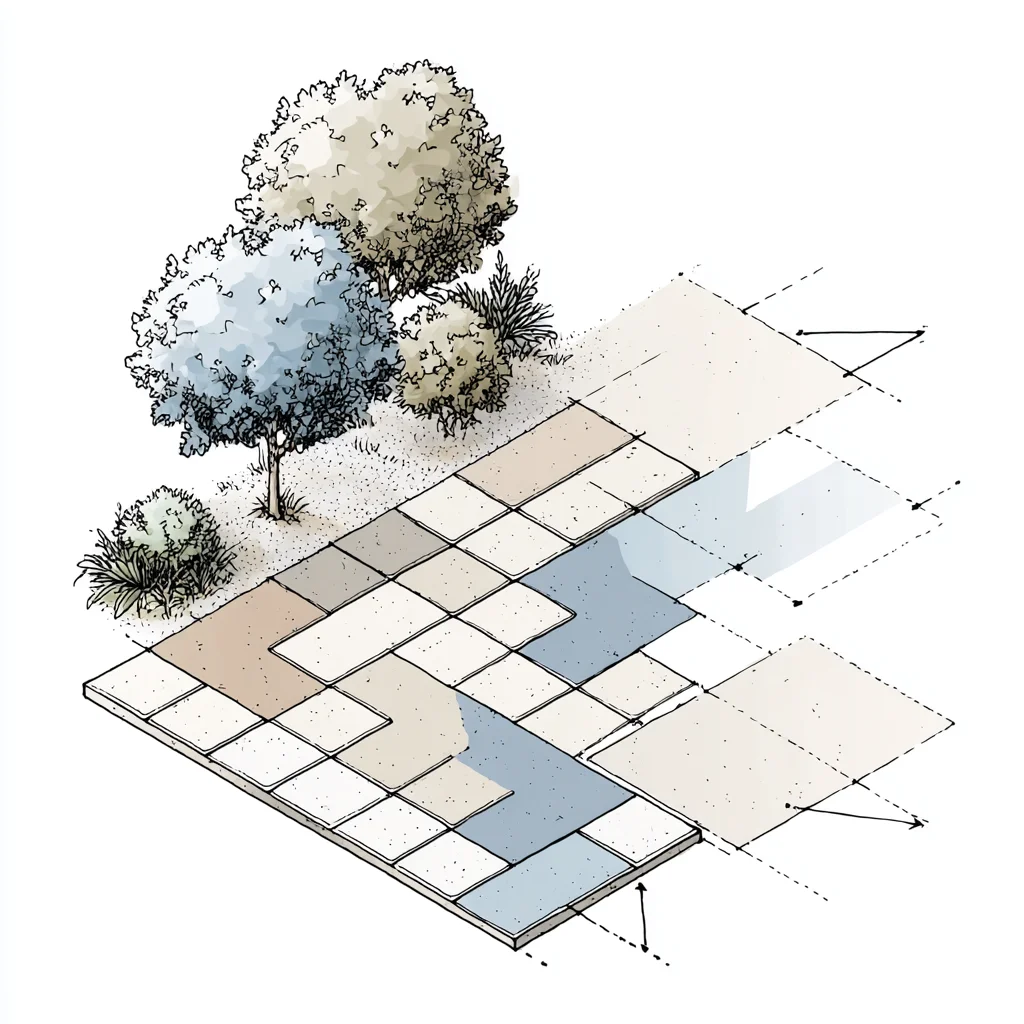
The recommended slope for a paver patio ensures that water runoff is properly controlled, which is especially vital in areas prone to heavy rain, such as Florida. Proper grading is not only a matter of protecting the patio itself, but also of safeguarding the home, landscaping, and long-term usability of the outdoor space.
This is the recommended slope for a paver patio…
To achieve effective drainage, the industry-standard recommended slope for a paver patio is typically 1/4 inch per foot. This means that for every foot the patio extends away from the house or a structure, the surface should drop by 1/4 inch.
This slight grade is usually enough to guide rainwater off the surface and into a proper drainage system or the surrounding landscape. If this sounds like a negligible amount, consider this: over a 10-foot distance, that translates to a full 2.5 inches of slope. Skipping this detail can cause significant issues, particularly in a state like Florida, where storms are frequent and intense.
How to calculate and implement the right slope
Getting the slope right starts with understanding the total length of the patio and the direction in which you want the water to flow.
For patios adjacent to a home or building, the slope should move away from the structure to avoid water damage. To calculate the grade, multiply the total length by 1/4 inch per foot. For example, a 12-foot-long patio needs a 3-inch drop from the highest point to the lowest.
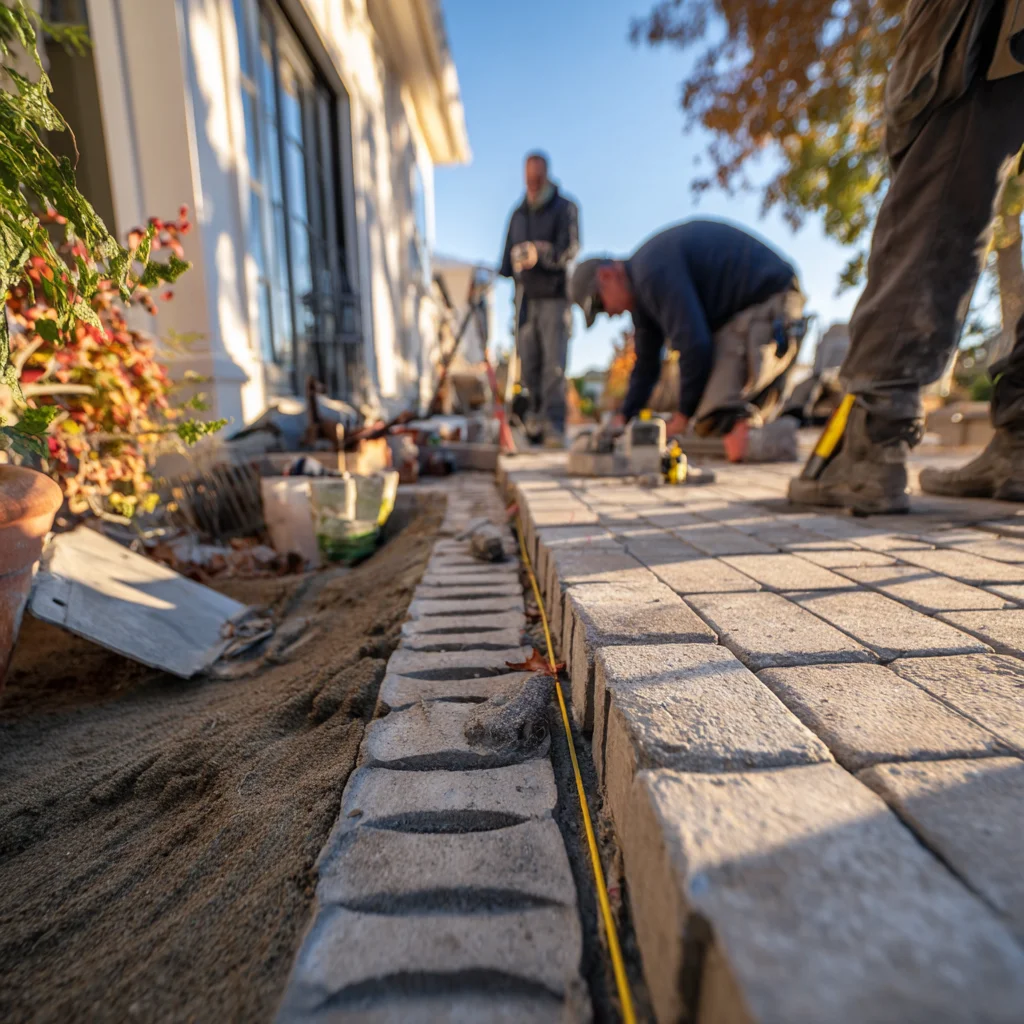
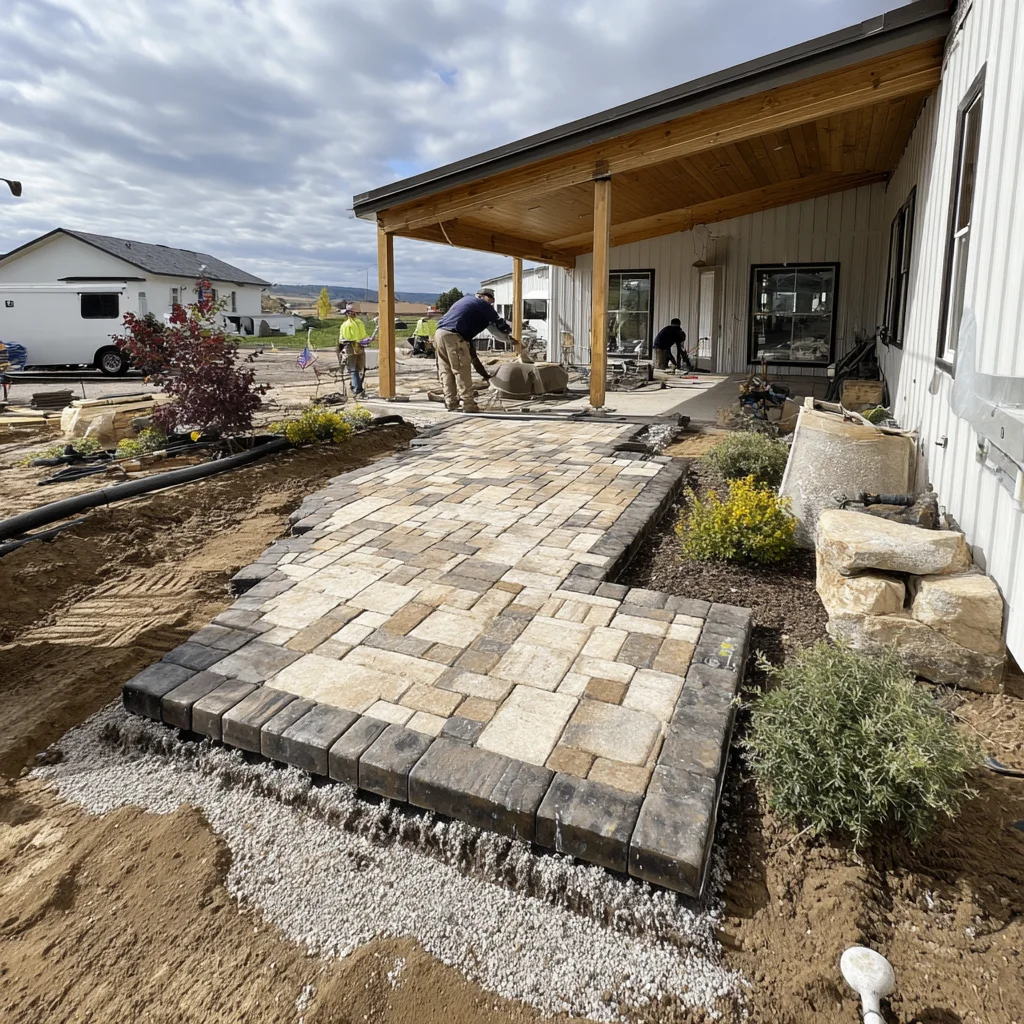
String lines, levels, and laser levels are common tools used to guide this process. As professional hardscape installers, we often mark the highest point at the foundation and then measure and mark the proper drop distance at the outer edge – with adjustments made during the base preparation stage. This involves compacting layers of gravel and sand to achieve the correct angle.
This part of the job is meticulous, but essential. The base must be compacted evenly while still preserving the slope. The final paver installation should match the base’s angle, ensuring that the entire patio maintains consistent drainage.
Consequences of ignoring these parameters
When the recommended slope for a paver patio is not followed, water-related issues begin to surface almost immediately. Puddles will form, particularly in the center of the patio where the surface is flat or concave. These standing water areas can lead to staining, weakening of the base layer, and an increased risk of frost heave in colder climates.
Over time, water trapped between the pavers may cause the joints to erode, resulting in shifting or uneven stones. Even worse, if the patio is next to a home, improper drainage can direct water toward the foundation, leading to leaks, cracks, and mold growth in basements or crawl spaces.
These issues not only compromise the aesthetic and structural integrity of your patio but also significantly reduce its lifespan. What could have been a durable, low-maintenance investment turns into a recurring headache.
Adjustments based on site conditions
While the 1/4 inch per foot rule is the general standard, it’s important to note that not every site is the same. Certain conditions may call for adjusting the slope. For example, patios located in areas with heavy clay soil, which drains slowly, may require a slightly steeper slope. On the other hand, sandy soils might allow for a more standard grade.
The patio’s proximity to other landscape elements also plays a role. If the patio is surrounded by planting beds, it’s critical to ensure that the water flows into areas that can absorb it or direct it to a drainage system, rather than flooding the plants.
Local building codes can also influence the recommended slope for a paver patio. In some municipalities, codes may specify maximum or minimum gradients, particularly in new construction developments. It’s always wise to consult with a professional who understands both the engineering and aesthetic sides of paver installation.
Beyond slope: holistic patio drainage planning
Even with the correct slope, the job isn’t done without a broader drainage strategy. A well-designed patio will incorporate drainage channels, gravel trenches, or even permeable pavers to aid in water management. These features work together with the slope to prevent erosion and water accumulation.
Permeable pavers, in particular, offer an environmentally-friendly option. They allow water to seep through the joints and be absorbed by the ground, reducing runoff and promoting groundwater recharge. This solution is ideal for homeowners looking to implement sustainable landscaping practices without sacrificing performance.
Installing edging restraints is another technique that works hand-in-hand with maintaining slope and stability. Without proper edging, pavers can shift over time, altering the original slope and inviting water problems.
Why professional installation matters for slope accuracy
Due to a simple reason, really: while it’s possible for a handy homeowner to install a paver patio, achieving the perfect slope takes more than just enthusiasm. Professionals like us bring experience, tools, and precision that ensure the slope is correct from the very start.
Contractors know how to evaluate a site, consider soil conditions, account for tree roots, and avoid common grading mistakes. They are also equipped to make quick on-the-fly adjustments if the terrain proves more complex than initially expected.
The recommended slope for a paver patio is not just a technical standard; it’s an art backed by science. We understand how to blend this function with the desired look of the patio, delivering a finished space that is both beautiful and built to last.
Ready to build your patio the right way?
When done right, a paver patio with the proper slope becomes a long-term investment in your property. It enhances curb appeal, supports landscape health, and provides a low-maintenance surface for relaxation and entertainment. Even though it’s not the most glamorous detail in the design process, it’s the one that ensures everything else functions as it should.
Our team has been providing expert paver installation services since 2000 in Sarasota – and we understand that attention to detail, especially when it comes to slope, makes all the difference. So wait no more!
From assessing your site’s drainage needs to executing a flawless design, we ensure your patio stands strong for years. Explore our blog for more expert tips, visit our services page to start planning your next outdoor project with confidence or even get a free estimate here!