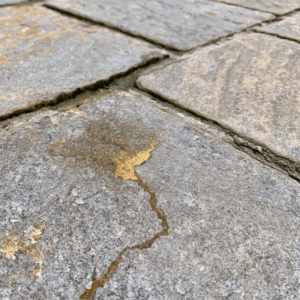
Drainage problems can be a huge headache. They are the number one enemy of many hardscape projects, as they can easily compromise its whole structure. So what are the alternatives? Is it possible to build a permeable driveway?
Other than contributing to drainage, nowadays, we are much more aware and concerned about the importance of affecting the environment positively. A permeable driveway can also help with that.
So let’s talk about what options you have when it comes to permeable driveways and what is the best way to go about it.
Jump to:
Permeable Driveway: Permeable Pavers
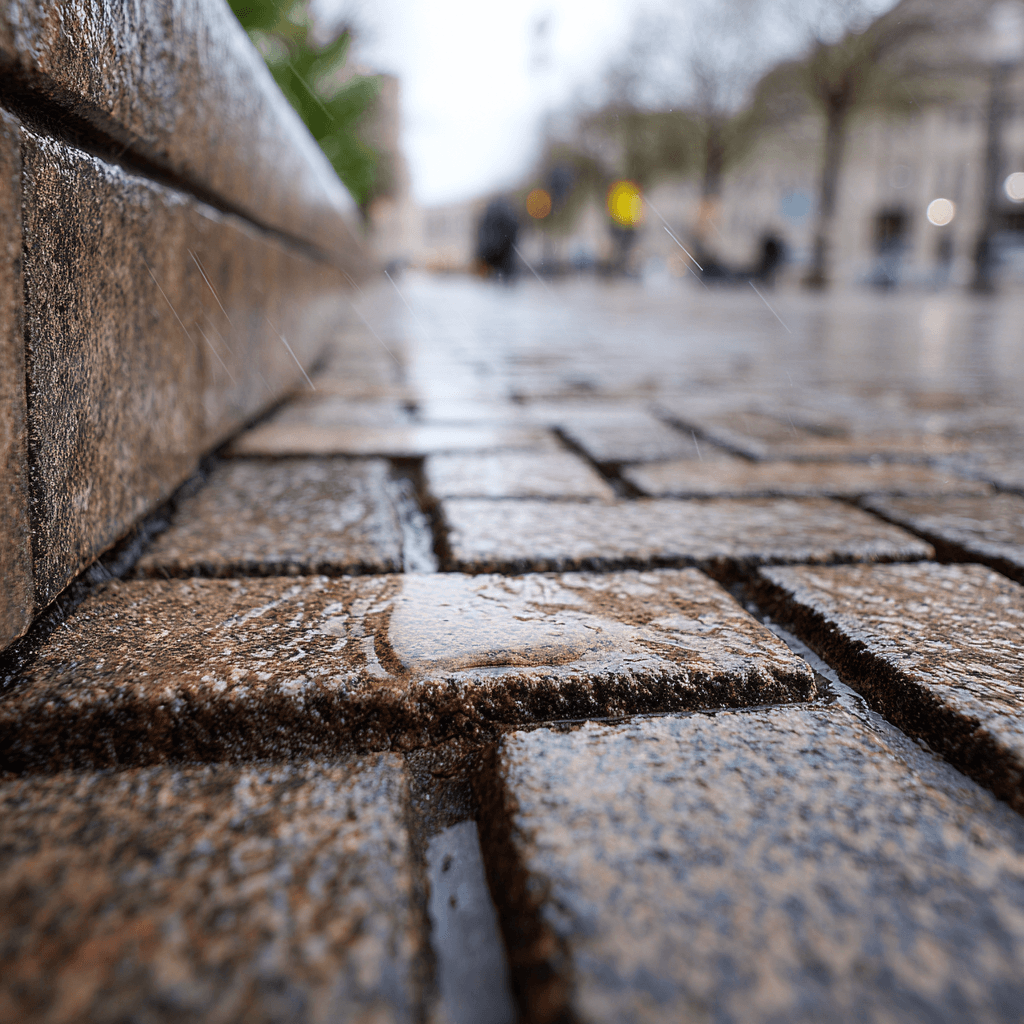
Permeable pavers are currently considered to best the best option for permeable driveways in hardscape business.
Pavers, by their very nature, work in an interlock structure, with several pieces creating a complete structure. When properly established and designed for that purpose, that makes them an ideal alternative for allow to water drainage.
Permeable pavers work by simulating the way natural land absorbs water. They are installed with several layers of varying sizes of stones and aggregates underneath.
That allows the water to freely flow to underground aquifers. In fact, they can even be used to harvest and recycle rainwater, when working in conjunction with a proper system for it.
Permeable pavers are a perfect sustainable landscape solution, not only helping with water draining, but reducing erosion and not forming puddles, where mold and mosquitos can grow.
Installation of Permeable Pavers
The installation of pavers is not exactly difficult, but it can be tricky, and it is a time-consuming matter. A regular paver installation would already be a challenge, so a permeable paver installation is even more so.
Still, we are going to give you a simple guide on how to do it if you feel like challenging yourself. Just keep in mind that the best course of action is to hire professionals to make the installation for you, so the result will not be as perfect as you would expect.
Step 01 – Understanding Your Soil Type
Things get complicated already, as the type of soil on our yard is not something we usually stop to think about.
The permeable paver system needs to be designed according to your type of soil, so here a few of the most common types of soil you can find:
- Sandy Soil – Sandy soil is light, acidic and low in nutrients. They are the ones who dry faster, with high amounts of sand in its composition.
- Clay Soil – This soils is always wet, even during the winter. They hold high amounts of water and have very poor drainage.
- Silt Soil – Silt soils are still sandy, but not as much as the actual sandy soil. They hold moisture fairly well, but can also be washed away by rain, being a good balance between the two previous ones.
- Chalk Soils – These are the ones who are highly alkaline, usually identifiable be the presence of rocks. Also drain
Step 02 – Excavation and Geotextile Fabric
With your soil identified, you’re going to start the excavation of your area. Excavation should be simple and smooth, no need to compact anything just yet.
To make things easy, we’re going to consider you’re working with clay soil and instruct you to dig a minimum of is 15 inches deep, and you have to create a slope of 1 inch every 10 feet to ensure proper drainage.
Once the excavation is done, you’ll need to cover the entirety of it with a geotextile fabric. That will prevent the rocks from mixing with the soil.
Step 03 – Rock Base
To make the bedding of your paver installation, you’re going to need three types of rocks: 1/2″ clear rocks, 3/4″ clear rocks and 3/8″ clear rock.
Those three types of rocks work in conjunction to allow the water to slowly infiltrate into the soil.
First, you’re going to add a 6-inch layer of the 1/2″ clear rock. Spreading evenly and compacting it twice afterwards.
Following that, you’re going to add a 4-inch layer of 3/4″ clear rock, also spreading it and compacting it.
And finally, you’re going to add the third and final 1-inch layer of 3/8″ clear rock. But this time you won’t compact it.
Instead, with the help of 2″ pipes and a screed board, you’re going to smoothly make your final layer as even as possible.
Simply place the pipes on the top of the 3/4″ clear rock layer and slowly pour the 3/8″ clear rock, screeding it along the pipes as you go.
Step 04 – Place the Pavers
Finally, time to place the pavers.
It is important to remember never to shift the pavers once they are in place, always the lock and drop method.
Start at the lowest corner and slowly make your way through the installation.
Once it is all finished, spread 3/8″ clear rock around the installation and sweep it into the grout lines between the pavers until they are all filled.
At this point, you can consider your installation to be done.
Professional Help With Permeable Driveway
As we mentioned, this is a very basic and general approach to installing permeable pavers.
In reality, every permeable paver installation is different, as it is highly dependable of type of soils and configurations of buildings and drainage lines preset in a place.
We highly encourage you to hire professionals qualified to do that job for you. You don’t want to spend time and money tackling it DIY only to find out your installation is full of problems at the end.
If you happen to be around the Sarasota and Manatee counties, we here at JS Brick would be happy to help you with that, as well as with any other hardscape need you might have.
Give us a call right now at +1 941 586 9140 or email us at [email protected]. We would be happy to hear from you.