As a hardscape specialist with over a decade of experience, I’ve seen firsthand how a well-designed paver outdoor entertainment area can redefine a home. It’s not just about aesthetics – though that’s a big part of it – but about creating a functional, durable space where memories are made.
In this article, I’ll share why pavers are the ultimate choice for outdoor living zones and walk you through the process of building one. You’ll learn how to blend practicality with creativity, ensuring your project stands the test of time and becomes the heart of your home.
Read also: How to get rid of old pavers – a complete guide
Jump to:
Why go for a paver outdoor entertainment area?
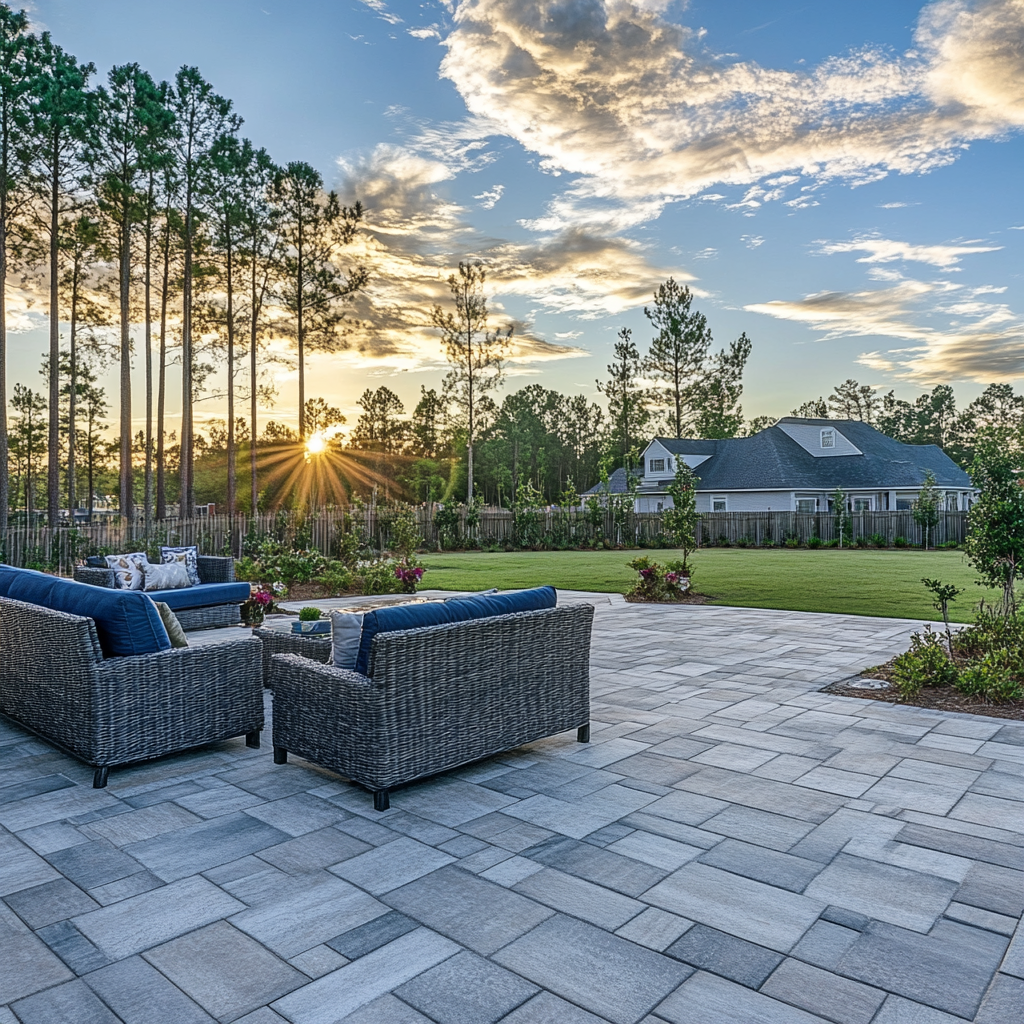
Paver outdoor entertainment areas are more than a trend; they’re a lifestyle upgrade. Unlike poured concrete or wooden decks, pavers offer unmatched versatility.
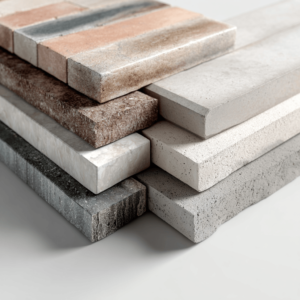
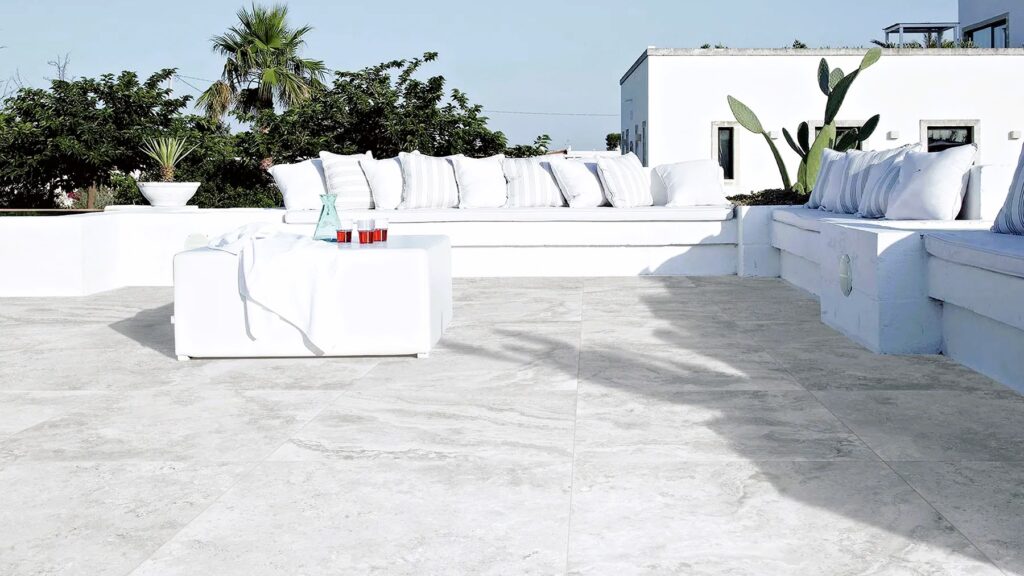
They come in materials like concrete, natural stone, brick, and porcelain, each with unique textures and colors to match your home’s architecture. For instance, natural stone pavers lend a rustic charm, while sleek porcelain tiles create a modern vibe.
But the benefits go deeper. Pavers are engineered to handle heavy loads, making them perfect for hosting gatherings with outdoor kitchens, fire pits, or even hot tubs. Their interlocking design allows for natural expansion and contraction, preventing cracks during freeze-thaw cycles.
Plus, their porous surface reduces slipping, a critical feature around pools or wet areas. Maintenance is a breeze: occasional sweeping and rinsing keep them looking new, and individual units can be replaced if damaged without the need to redo the entire patio.
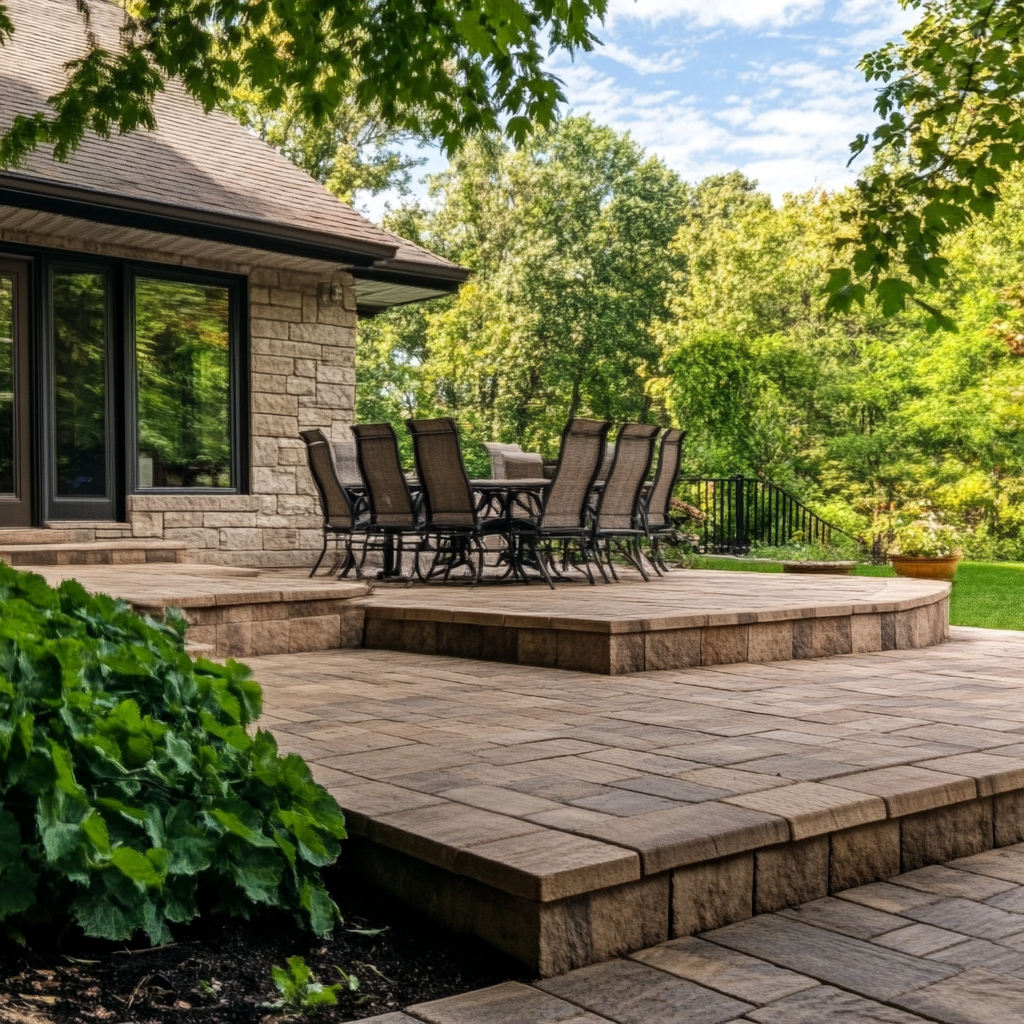
Financially, pavers are an investment that pays off. Studies show they can boost home value by up to 20%, thanks to their curb appeal and durability. Imagine hosting summer barbecues or cozy winter nights by a fire pit, all on a surface that grows more elegant with age.
How to design your paver outdoor entertainment area: step-by-step guide
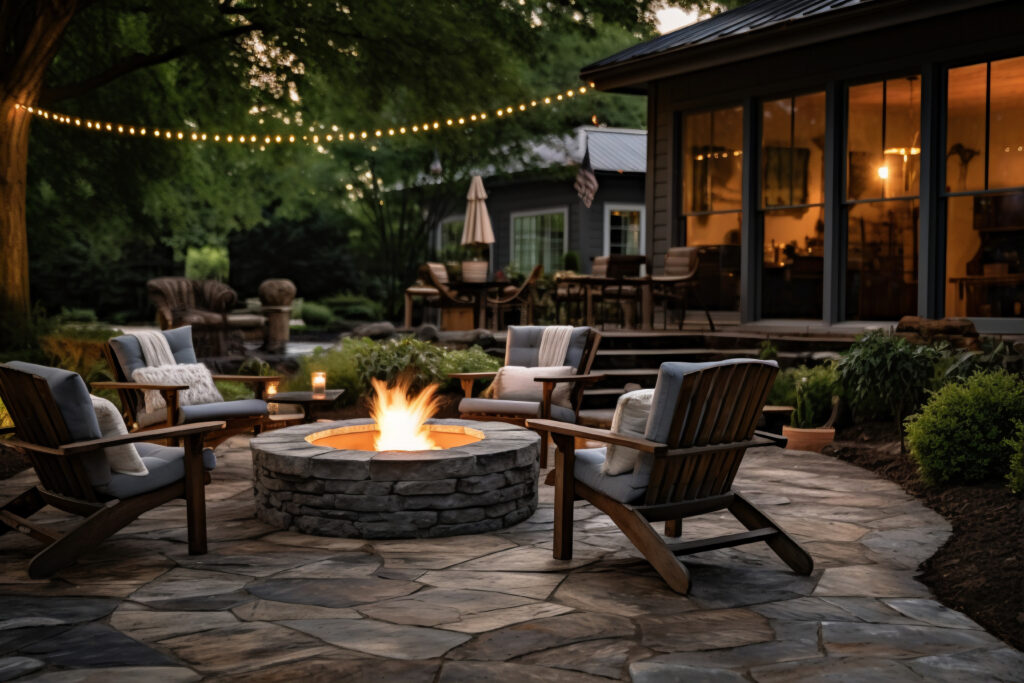
Every great project starts with a vision. Ask yourself: How will this space be used? A family-focused area might include a fire pit and seating, while an entertainer’s paradise could feature an outdoor kitchen or wet bar. For inspiration, check out these 40 paver patio ideas to spark your creativity.
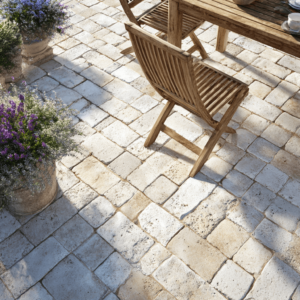
Pro Tip: Blend materials for contrast. Pair travertine pavers with a brick fire pit, or use stamped concrete to mimic natural stone at a lower cost. If sustainability matters, consider permeable pavers that reduce runoff – ideal for eco-conscious homeowners.
1. Plan and Prepare
Start by marking your area with stakes and string. Ensure the space slopes away from your home (1/4 inch per foot) to prevent water pooling.
2. Excavate and Layer the Base
Dig 6–8 inches deep to accommodate the base layers. A sturdy foundation is key:
- Gravel Base: Spread 4–6 inches of crushed gravel, compacted in 2-inch layers. This prevents shifting and improves drainage.
- Sand Layer: Add 1–2 inches of leveling sand. Use a screed board to create a smooth, even surface.
3. Lay the Pavers
Begin at a corner, working outward in your chosen pattern. Herringbone and running bond are timeless, while circular designs add visual interest. Use a rubber mallet to settle each paver and ensure tight joints. For curved edges, consider our guide on creating a curved walkway without cutting pavers.
4. Secure and Finish
Install edge restraints (plastic or metal) to prevent spreading. Sweep polymeric sand into the joints – it hardens when wet, locking pavers in place and deterring weeds. Seal the surface for added stain resistance, especially if using natural stone.
5. Add the Final Touches
Incorporate hardscape features like a fire pit or outdoor kitchen. For safety, use heat-resistant pavers around cooking areas and ensure proper ventilation. Furnish with weather-resistant furniture, and consider a pergola for shade.
Common pitfalls to avoid when building your paver outdoor entertainment area
Designing and installing a paver outdoor entertainment area is an exciting project, but even small oversights can lead to frustration, wasted time, and costly repairs down the line.
Over the years, I’ve encountered recurring issues that homeowners often overlook. Let’s dive into these pitfalls so you can sidestep them and ensure your project thrives for decades.
Skipping the Base
A sturdy base isn’t just a recommendation, it’s the foundation of your entire project. I’ve seen DIYers eager to start laying pavers only to skip this critical step, assuming soil or grass is “good enough.”
Spoiler: It’s not. Without a proper base, pavers shift, sink, or develop uneven surfaces as the ground settles.
Here’s what you need:
- Excavate 6–8 inches deep to remove organic material (like roots or soft soil) that decomposes over time.
- Layer 4–6 inches of crushed gravel (¾-inch angular stone works best), compacted in 2-inch intervals with a plate compactor. This creates a stable, load-bearing layer that resists erosion.
- Top with 1–2 inches of coarse sand, leveled with a screed board. The sand allows minor adjustments during installation and ensures pavers sit evenly.
Skipping these steps might save a weekend, but it’ll cost you years of headaches. For example, a client once laid pavers directly on soil to save money. Within six months, the patio resembled a rollercoaster track after heavy rains eroded the ground beneath. Rebuilding it cost triple the original budget.
Ignoring Drainage
Water is the nemesis of any outdoor structure. Even the most beautiful paver outdoor entertainment area will fail if water pools or flows toward your home. I’ve repaired patios where improper grading caused basement flooding or cracked foundations. And, trust me, this is a nightmare no homeowner wants.
Your slope should drop 1/4 inch per foot away from your house. Use a laser level or string line to verify this gradient during the base preparation phase. For larger areas, consider a French drain or channel drain to redirect water.
Permeable pavers are another smart solution, especially in regions with heavy rainfall. These allow water to seep through joints into the ground, reducing runoff. I once worked on a hillside project where permeable pavers combined with a gravel base eliminated erosion entirely.
Pro Tip: Always check how water flows during a rainstorm before breaking ground. Adjust your design to work with nature, not against it.
Overlooking Permits and Local Codes
Permits might seem like bureaucratic red tape, but they exist for safety, and ignoring them can lead to fines or even forced demolition. For instance, fire pits often require 10–25 feet of clearance from structures, and outdoor kitchens may need gas line inspections.
Start by contacting your local building department or searching their website for “residential hardscape requirements.” Some areas regulate patio size, height of retaining walls, or materials near property lines. In coastal regions, environmental permits might apply to protect dunes or wetlands.
One client learned this the hard way: They built a stunning paver patio with a built-in fire pit, only to discover it violated setback rules. The city required them to dismantle part of the project, which added months of delays.
Cutting Corners on Edge Restraints
Edge restraints, often plastic or metal strips anchored into the ground, are the unsung heroes of paver projects. Without them, pavers gradually spread outward, creating gaps and uneven edges. I’ve repaired patios where homeowners used flimsy materials like untreated wood, which rotted within a year.
Invest in commercial-grade restraints made from galvanized steel or polymer. Secure them with spikes every 12 inches, and ensure they sit flush with the paver height. For curved designs, flexible PVC restraints are ideal.
More details in: How to lay paver edgers: a simple 6-step guide
Using the Wrong Sand for Joints
Not all sand is created equal. Play sand or fine-grained sand might seem like a budget-friendly choice, but it washes away easily, leaving gaps for weeds to thrive. Instead, use polymeric sand, which contains binders that harden when wet, locking pavers in place and resisting pests.
Apply it on a dry day, sweep it into the joints, and mist with water to activate the binders. Avoid overwatering, as it can wash out the sand before it sets.
Your hardscape endeavors start here!
A paver outdoor entertainment area isn’t just a project: it’s the backdrop for birthdays, quiet mornings with coffee, and starlit dinners.
That’s why, here at JS Brick Corporation, we’ve helped hundreds of homeowners turn their visions into reality. Whether you’re dreaming of a Mediterranean-inspired courtyard or a sleek modern retreat, our team brings expertise and passion to every design.
Ready to begin? Explore our blog for more tips. And when you’re ready to take the next step, reach out to us. Let’s build a space where your story unfolds.