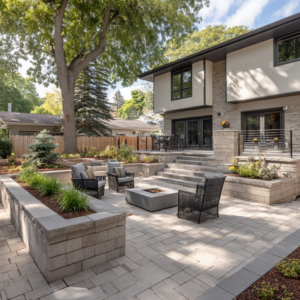
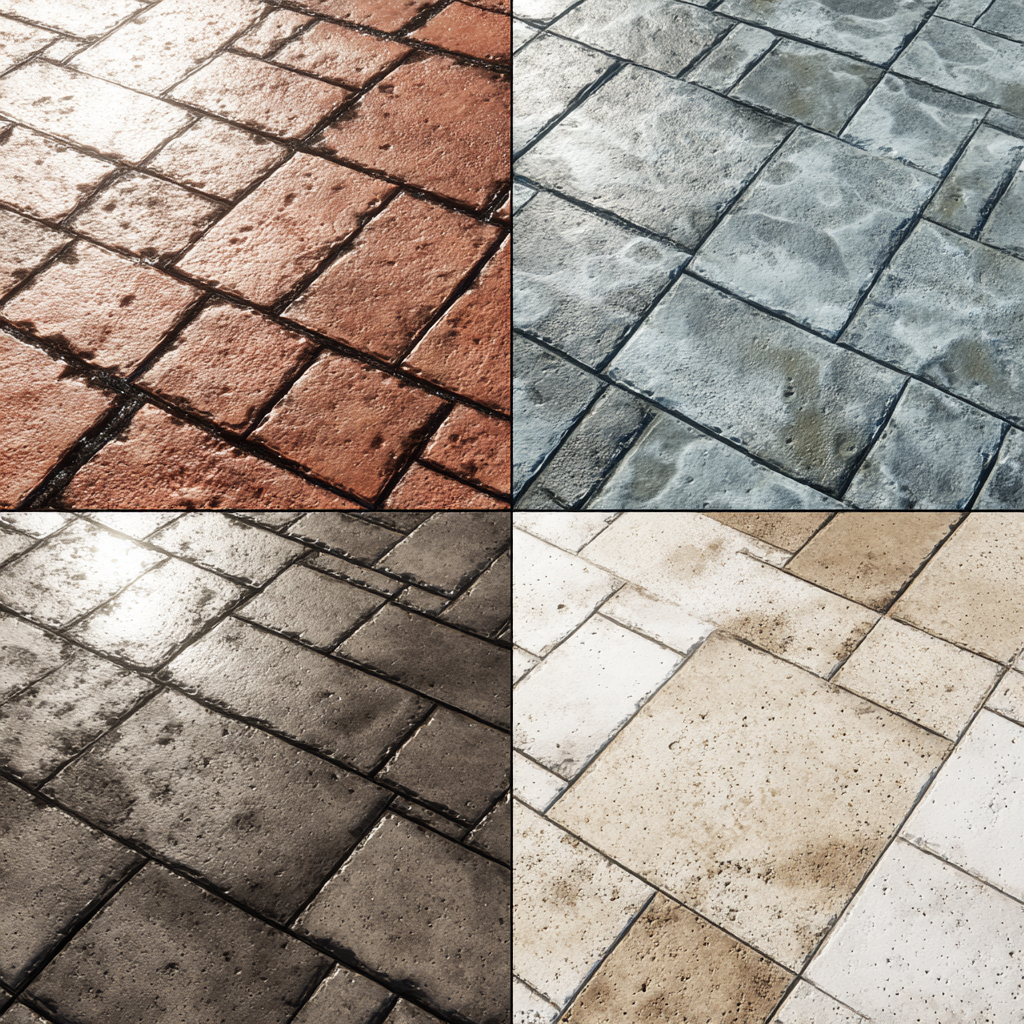
The mold in between pavers is a common concern among homeowners – especially in hotter climates, where heat and humidity create perfect conditions for mold and mildew growth. Seeing dark green, black, or brown streaks in the joints between pavers can be discouraging, but understanding why this happens and what can be done about it makes all the difference in maintaining clean and safe outdoor spaces.
But don’t worry! In this article, I’ll teach you how to deal with this problem once and for all. We will explore what causes mold to grow in the narrow gaps between pavers, how to remove it safely, and the most effective long-term strategies for prevention.
You may also like: How to Clean Mold off Retaining Walls?
Jump to:
Mold in between pavers: why does it happen?
Mold, algae, and mildew thrive in environments that are damp, warm, and shaded. The joints between pavers, the narrow spaces where sand or polymeric sand sits, are especially prone to these conditions because moisture can easily get trapped there.
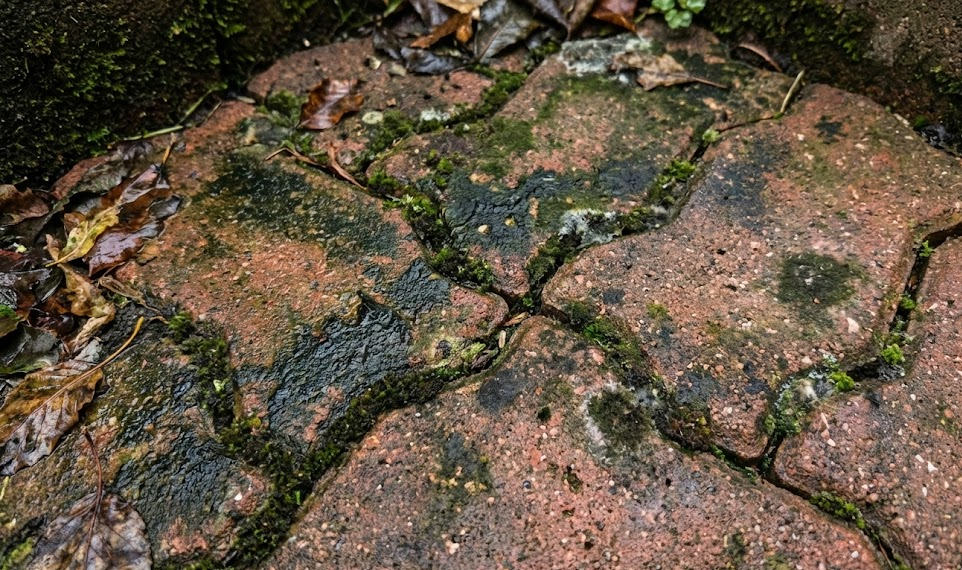
When water doesn’t evaporate quickly, mold spores present in the air begin to grow and spread. This is especially true in regions where humidity levels are high for most of the year. Without good drainage or sufficient sunlight, those tiny gaps become a breeding ground for molds and algae that are visible as discoloration or slippery surfaces.
Another factor is organic debris. Leaves, dirt, grass clippings, and pollen that collect on a paved area trap moisture and provide nutrients that help mold take hold. That’s why shaded patios or driveways under trees often develop mold faster than those exposed to sunlight.
Pavers laid over areas with poor water runoff or those installed without proper base layers are even more vulnerable. If water pools in certain sections or takes longer to dry, those areas are likely to develop persistent mold over time. This kind of issue typically starts small but can become widespread if not addressed early.
Understanding the environment and how moisture behaves in joint lines is the first step toward effective prevention and maintenance.
How to clean the mold in between pavers
Addressing the mold between pavers requires a step-by-step approach that’s safe for the pavers and effective at removing the growth. Tackling it early not only improves appearance but also protects the integrity of the paved surface.
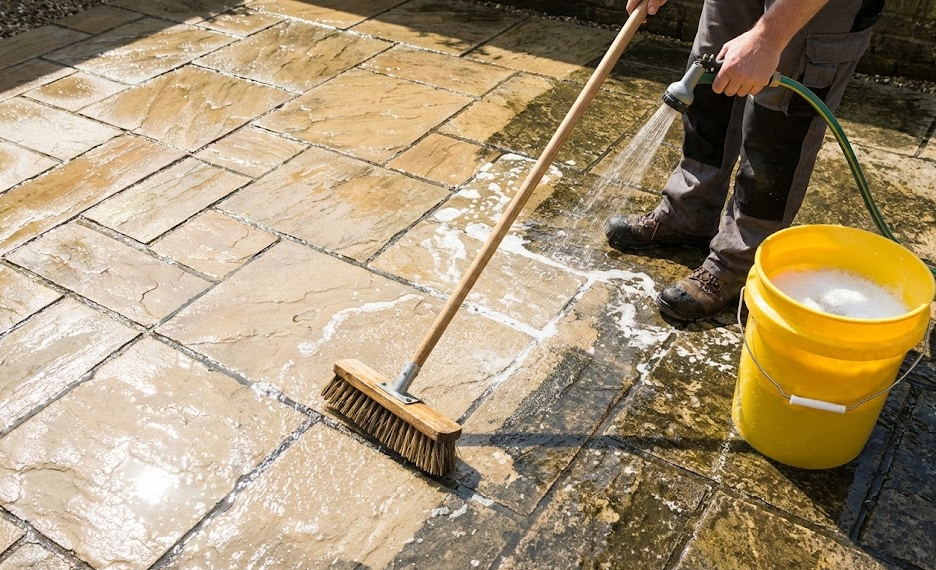
In light cases, a simple cleaning solution such as a diluted bleach or vinegar mixture can do the trick. For tougher or widespread mold stains, a garden hose and a low-pressure wash can be used to loosen the growth, followed by gentle brushing to remove it without disturbing joint sand.
Using too much pressure with a pressure washer can remove the sand between pavers, the material that stabilizes the surface, so it’s important to use low pressure and work methodically. This step is often overlooked, but it makes a major difference in long-term surface stability.
A general cleaning process includes:
1. Surface Preparation
Sweep the surface thoroughly to remove loose debris, leaves, and fine soil that can feed mold growth. This step also helps identify heavily affected areas that may require more attention.
2. Cleaning Application
Spray a cleaning solution, such as a mild bleach mixture, onto the affected areas and let it sit briefly to penetrate into the joint lines. Some solutions also include surfactants that break down organic material more efficiently.
3. Gentle Scrubbing
Use a stiff brush to scrub affected areas, focusing on the joints where mold has accumulated. Take care not to disrupt the existing sand too much if you’re not planning to re-sand immediately.
4. Rinsing and Drying
Rinse thoroughly to remove any residue and allow the area to dry in sunlight if possible. Avoid rinsing with high-pressure nozzles, which can dislodge joint material. Sunlight helps naturally disinfect the area and discourage immediate regrowth.
If the surface still feels slippery or discolored after cleaning, a second round may be necessary. In some cases, enzymatic cleaners or specialized mold removers might be more effective, particularly for surfaces like natural stone or older installations.
Many homeowners handle small-scale cleaning themselves, but if mold returns quickly or covers a large area, professional cleaning and sealing services are often the best solution. Professionals (such as my colleagues and I at JS Brick) have access to commercial-grade cleaners and techniques that can deliver longer-lasting results.
Check out some long-term prevention strategies
Cleaning addresses the symptoms, but prevention tackles the root cause. Here are the most effective strategies for keeping pavers mold-free:
Improve Drainage
Trapped water is a major contributor to any mold between pavers. Ensuring proper slope and drainage helps water flow away instead of settling into the joints. This may involve correcting grading or adding drainage solutions during installation. French drains or gravel beds may be used in areas prone to pooling.
Increase Sunlight and Airflow
Trimming overhanging branches or removing structures that block sunlight can help keep surfaces dry. Sunlight naturally reduces moisture and inhibits mold growth. This is especially important for shaded courtyards or covered patios.
Routine Maintenance
Regular sweeping removes debris that traps moisture. After heavy rains, a quick rinse can prevent sediments from settling into joints and creating breeding grounds for mold. Establishing a routine maintenance schedule makes a significant difference over time.
Re-Sand and Seal the Joints
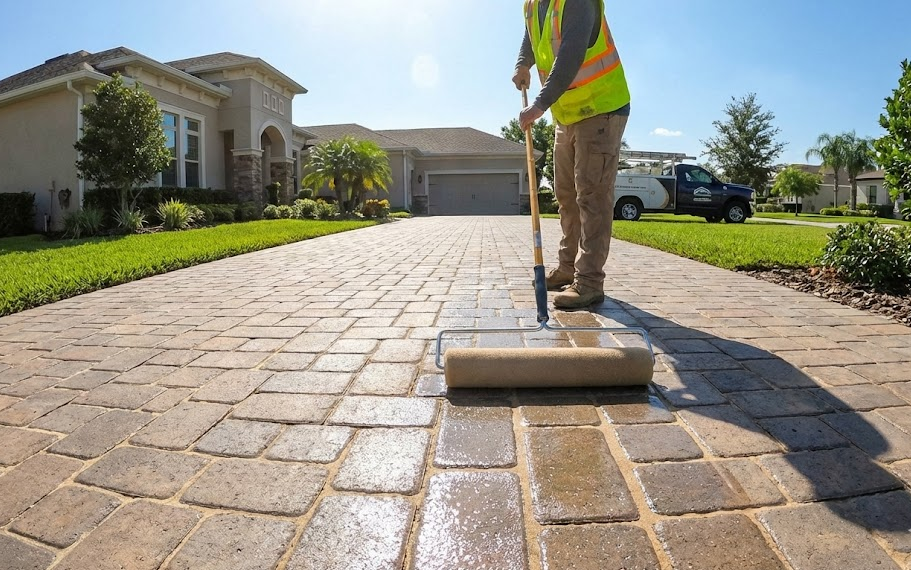
After a thorough cleaning, re-sanding the joints with polymeric sand can help reduce water infiltration. This type of sand hardens slightly when activated with water, forming a barrier against moisture. Applying a high-quality sealer creates a protective film over the pavers, helping to repel water, prevent staining, and reduce the chances of mold taking hold again.
Sealers come in various finishes, matte, satin, and glossy, and many also enhance the color of the pavers, giving them a refreshed appearance. Some even have built-in mold and mildew inhibitors, which add another layer of protection.
For older pavers, stripping any old sealant before reapplying may be necessary to ensure proper adhesion and appearance. This is something professional services can manage efficiently.
When to call a professional (and why count on JS Brick)
If mold is widespread, recurring, or difficult to remove, it may be a sign of deeper issues such as inadequate drainage, improper slope, or aging materials. In these cases, professional help is not just convenient – it’s essential.
After all, professionals can assess the installation, identify problem areas, and perform a complete cleaning, re-sanding, and sealing treatment tailored to the type of pavers in use. They may also suggest improvements to grading or recommend better materials for long-term resilience.
Routine professional maintenance once a year can extend the life of your paved areas and minimize future issues. It’s also an opportunity to catch early signs of other damage, like cracking or sinking, before they become costly repairs.
So find a professional you can trust in your area to help you! And if you happen to be around Sarasota, here in Florida, don’t hesitate to contact us here at JS Brick. We offer personalized solutions to keep your pavers clean, strong, and stunning.