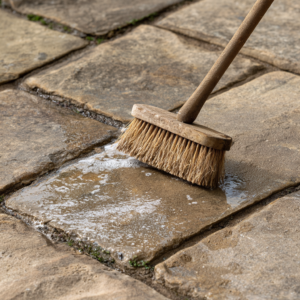
Having to cut pavers is often what precludes people from tackling a paver project by themselves. Handling a saw is a hard, expensive, and dangerous business that most people choose to shy away from. So, how to avoid that and make a curved paver walkway without cutting pavers?
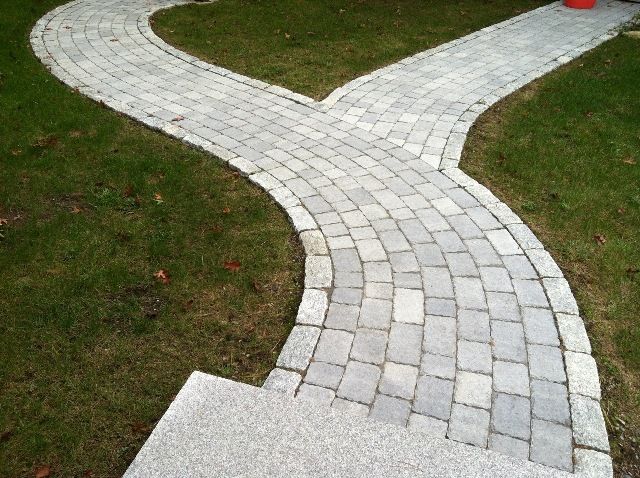
Curved walkways and patios can bring an extra dose of refinement to your hardscape project. Choosing to use pavers alone is elegant enough already, but choosing to use them on a curved design can add a whole other level to your project.
However, cutting pavers, especially not in a straight line, is a complicated business. There’s no way around it, it can only be done with the help of a saw, like a masonry or demolition saw.
There’s also an aesthetic reason to skip the saws. A walkway made without cuts often looks more natural. It flows like a garden path rather than a paved road.
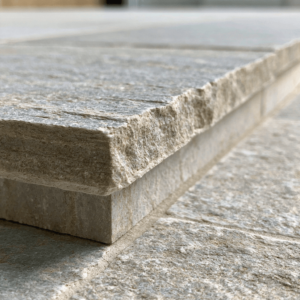
You can even lean into the rustic charm by using reclaimed bricks or pavers with aged finishes. Using these kinds of materials enhances the old-world elegance of your hardscape, especially when set in curved, imperfect paths.
There are a few other types of saws you can use, some more expensive and dangerous than others. But maybe you don’t feel like wasting money renting one, or just don’t want the risk of having to handle them.
Don’t worry – you have options. With a bit of planning, you can design a curved walkway accounting for the curves and use math to avoid having to cut any pavers at all.
In this article, learn how to make the right calculations and choose the right pavers to avoid any cuttings along with your project.
Jump to:
Curved Paver Walkway Without Cutting Pavers — Math is All You Need
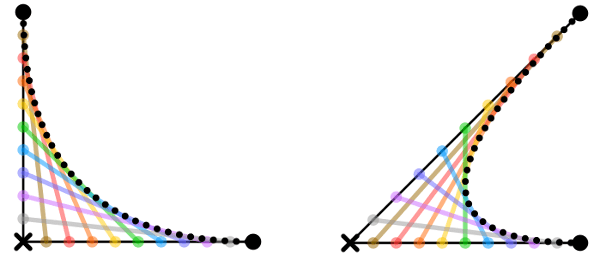
It all comes down to math and geometry. And, most of all, to something called curve stitching.
Curve stitching is an optical illusion where you create an image that appears to be curved, but using only straight lines, and the same idea can be applied to the design of your curved walkway. With a little planning, you can use straight pavers at the right angles and create the same illusion.
Curved Paver Walkway — Step by Step
To create that illusion, the first thing you are going to need is a measuring tape. Go outside and measure the area where you want your curved walkway to be, if possible, even sketching the walkway on the floor using chalk or something similar.
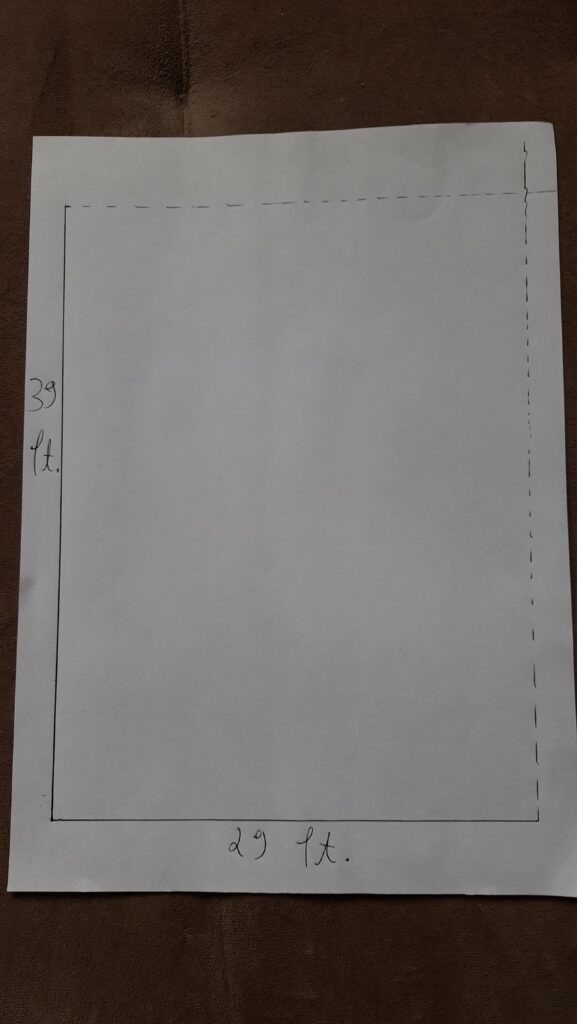
Once you have the measurements, time to come back inside and start working with paper and pen. Draw an outline of your walkway and all its majestic curves.
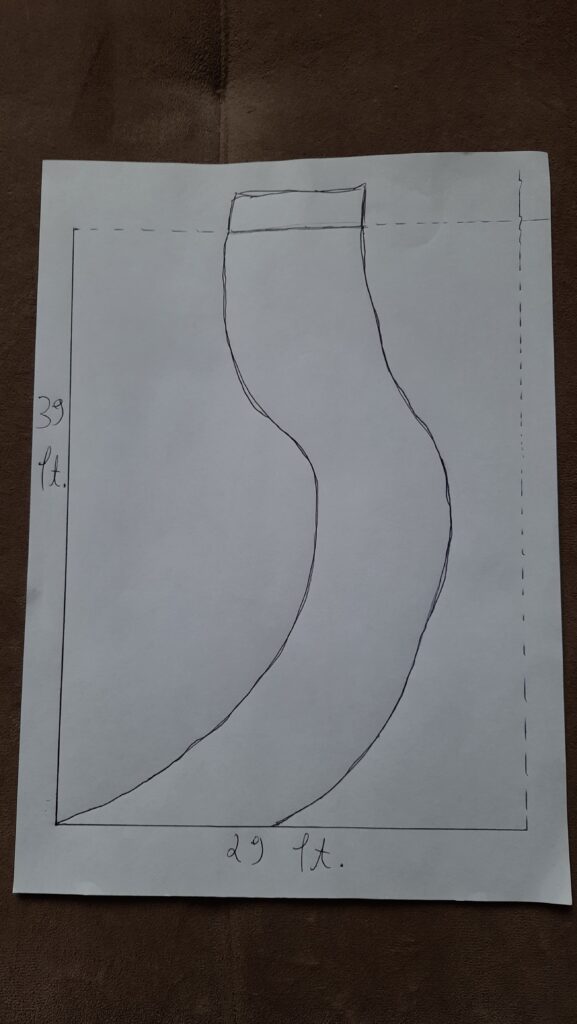
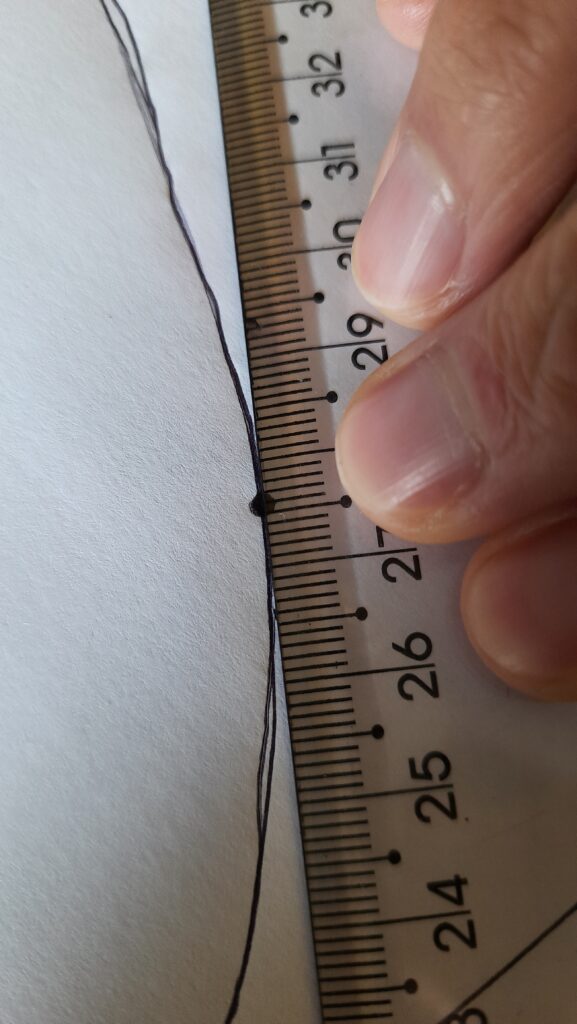
Now for the fun part. Choose a “point” in your pathway and mark it on the paper. It cannot be too big, but it also shouldn’t be too small, otherwise, you will take a long time to finish the sketch.

For the next step, a few colored pencils will be handy.
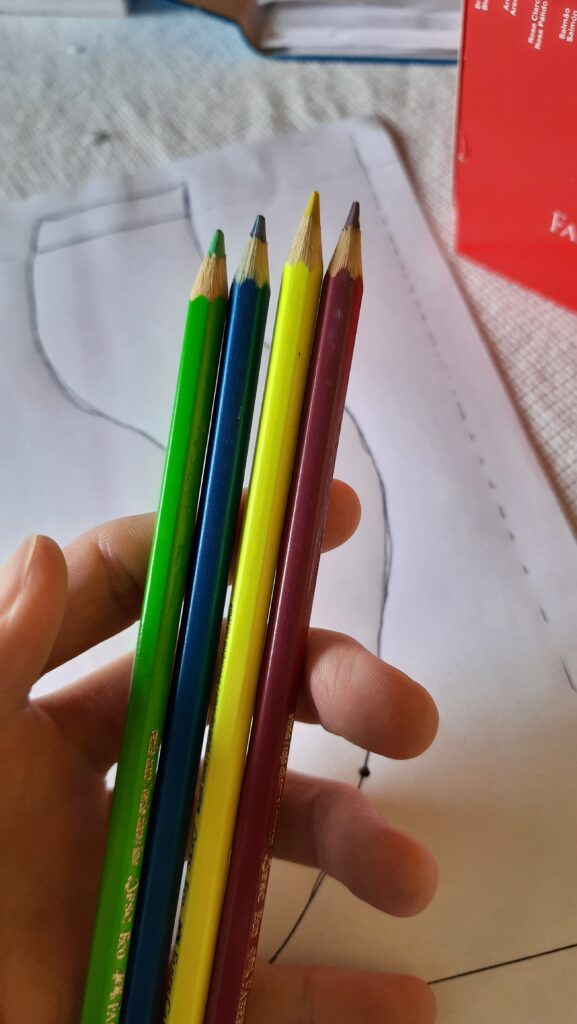
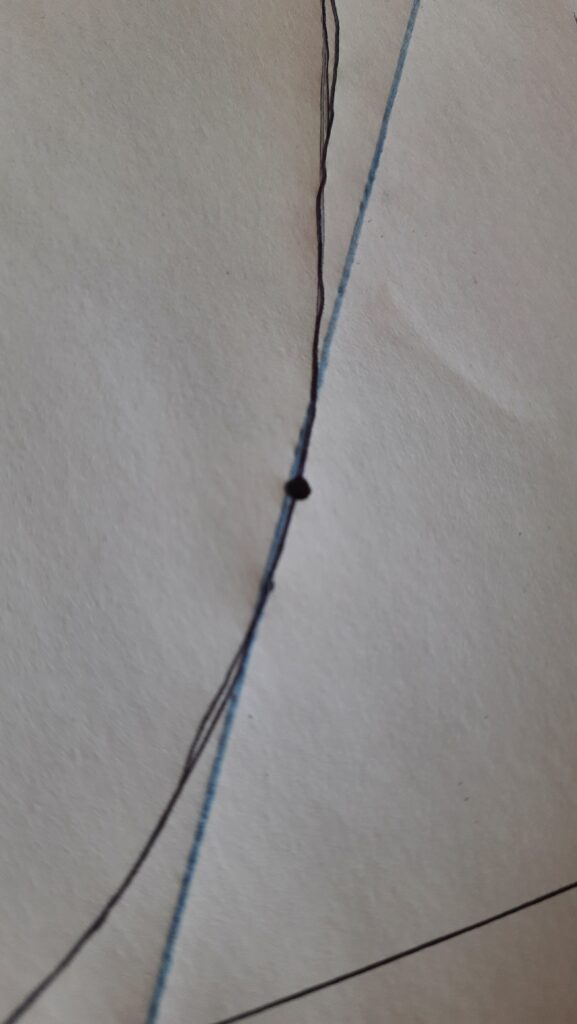
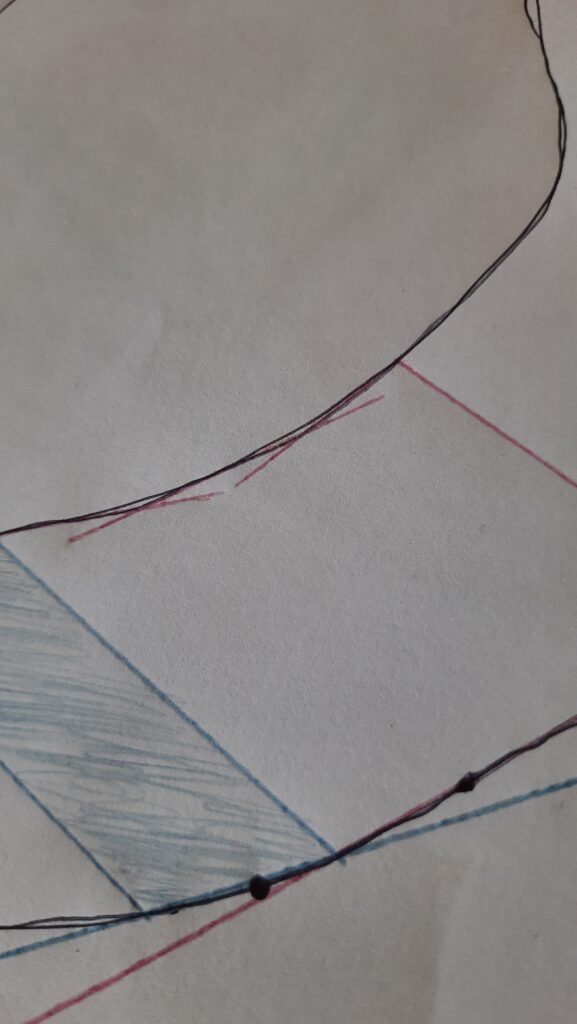
Place a ruler at the point you picked on your walkway and move it around a bit to cover as much of the walkway line as you can.
And then, using one of the colored pencils, mark the line.
Notice that a part of the line goes outside your walkway, while another part stays inside it. Take the highest point where the line is still inside your walkway and, again with the help of the ruler, draw a straight line from one end of your walkway to the other.
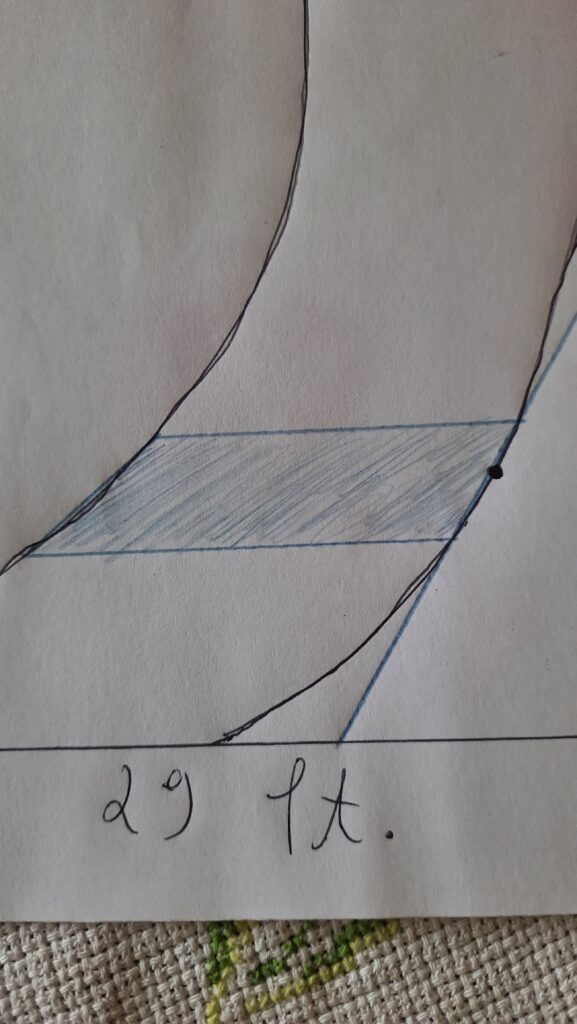
Do the same thing with the lowest line, and finish this section by drawing a final straight line linking the lines at the other end of the walkway. You can color the entire section to help you visualize it better.
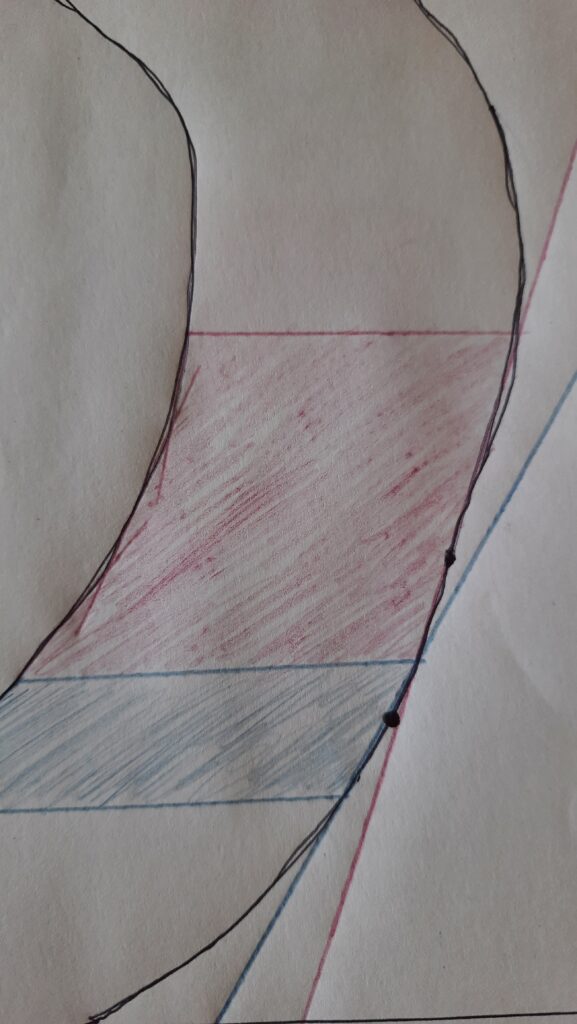
From this point on, you want to keep doing this process until your entire walkway is colored. It might happen that a single straight line cannot be drawn from the highest to the lowest point of a section.
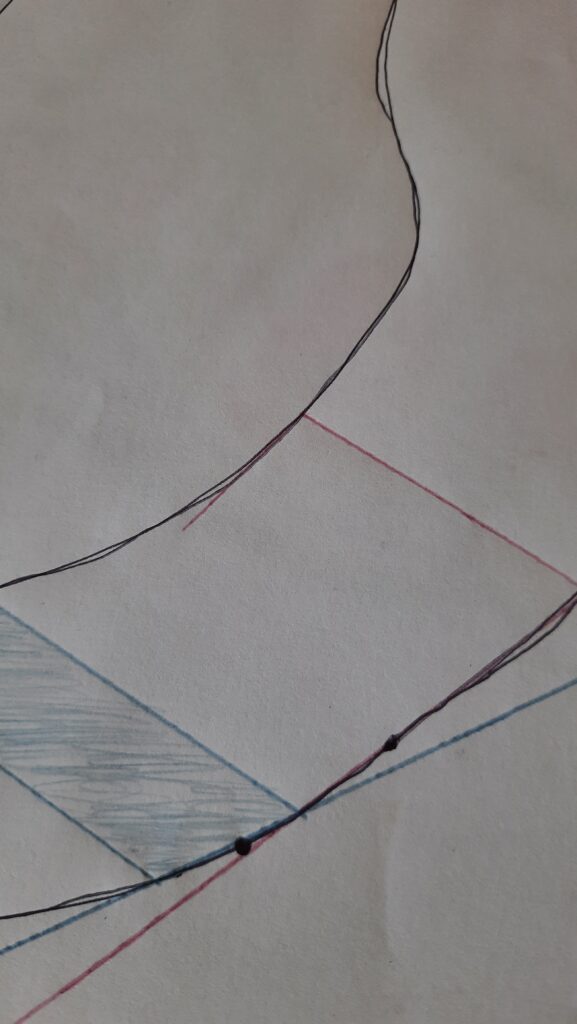
If that happens, divide the edge into subsequent straight lines.
Finish this section with a different color, and keep going until your entire paver walkway is colored.
How to Use This Drawing
The drawing will give you an idea of how to place your pavers to create the curved paver walkway without cutting them. And here is an important disclaimer!
The more precise you are with your measures, the better your final product is going to be.
Here, we made crude measurements just to set an example. But if you use real measures, translate them into paper using the right scale, and know the dimensions of your pavers beforehand, you can do a way better job.
You can even divide your walkway to make for a more precise sketch. Pretend like you’re “zooming in” on the walkway and divide it into two pieces of paper instead of one.
So, if you calculate really well during the planning phase, your project will be pretty much perfect. You can even draw the pavers themselves on the sketch!
Imagine standing in your backyard, chalk in hand, ready to trace the gentle arc of your future walkway. You’re not just sketching a path – you’re engineering it.
Curve stitching lets you take that vision and transfer it to reality with no saws needed.
Each straight paver becomes part of a larger geometric illusion. You might not notice it at first glance, but each paver’s position has been carefully planned to follow the curve’s suggestion rather than force it through cuts.
How to Choose the Right Pavers
Not all pavers are equal when it comes to building a curved paver walkway without cutting. Some shapes are naturally more forgiving in curved layouts.
For example, rectangular bricks arranged in a fan or radial pattern can hug curves without gaps. Similarly, tumbled pavers with irregular edges help disguise spacing and can give a natural look even when not perfectly aligned.
Smaller pavers are also key. The smaller the paver, the easier it is to follow a curve without cutting. That’s because the angle between each paver can be more easily absorbed across smaller units.
Mistakes to Avoid
One of the most common missteps in building a curved paver walkway without cutting is rushing the layout. People often eyeball the curve and just start laying pavers. But without precise measurements and a scale plan, the walkway may not align properly, and you’ll be forced into making cuts later.
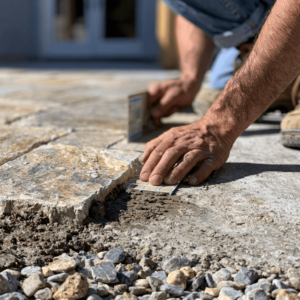
Another issue is not giving the paver base the attention it needs. Even when you’re avoiding cuts, the integrity of your project starts from the ground up. A proper gravel and sand base, compacted and leveled, is critical.
The key to a long-lasting walkway is how well the base is installed. Good drainage, a tight edge restraint system, and no shifting mean your no-cut curved pavers will stay in place. We discuss all these aspects in this other article.
And speaking of edge restraints, don’t skip them! You might be skipping saws, but you still need those edges locked down to maintain the design over time.
If you’re going for a curved walkway without cutting pavers, expect wider joints between pavers at the outer edge of the curves. However, this is a flaw that can easily be turned into a feature.
These gaps can be filled with polymeric sand or gravel for a finished look. This technique is used in classic European fan patterns where bricks are laid in sweeping curves, often without cuts.
For a more visual breakdown of joint options and fillers, read this guide to undergo the process with ease.
Of Course, You Can Always Hire Professional Help!
If all this math made your head hurt and you don’t feel like doing all that, you can leave the work for professionals.
They can make all those calculations for you if you really want to have a curved walkway without cutting pavers. Or they can bring professional tools and saws, skip all that, and start a curved walkway right away!
The professionals at JS Brick have been providing the highest quality services on paver installation and maintenance around Sarasota for more than 20 years.
If you’re lucky enough to be around, give them a call at +1 941 586 9140 and schedule a visit.