Learning how to use a paver mold is a smart and cost-effective way to create customized concrete pavers for walkways, patios, or garden paths. When done correctly, it allows homeowners and contractors to produce uniform, durable stones in the shapes and styles desired.
This method empowers anyone to bring creativity and craftsmanship into their landscaping, creating their own personalized pavers. However, this strategy needs to be very well planned and executed, as any mistake can leave you with a bad product.
But don’t worry! That’s what this article is for. Today, you’ll learn exactly how to use a paver mold, from site preparation to finishing touches. I’ll cover what molds are, how to work with them effectively, what common errors to avoid, and how to ensure your project results in high-quality, long-lasting pavers.
Whether you’re creating a simple path in your garden or designing a more intricate patio layout, this step-by-step guide will help you gain the confidence and know-how to tackle it yourself. So let’s get right to it.
You may also like: How to make cobblestone pavers – a DIY guide
Jump to:
Understanding paver molds
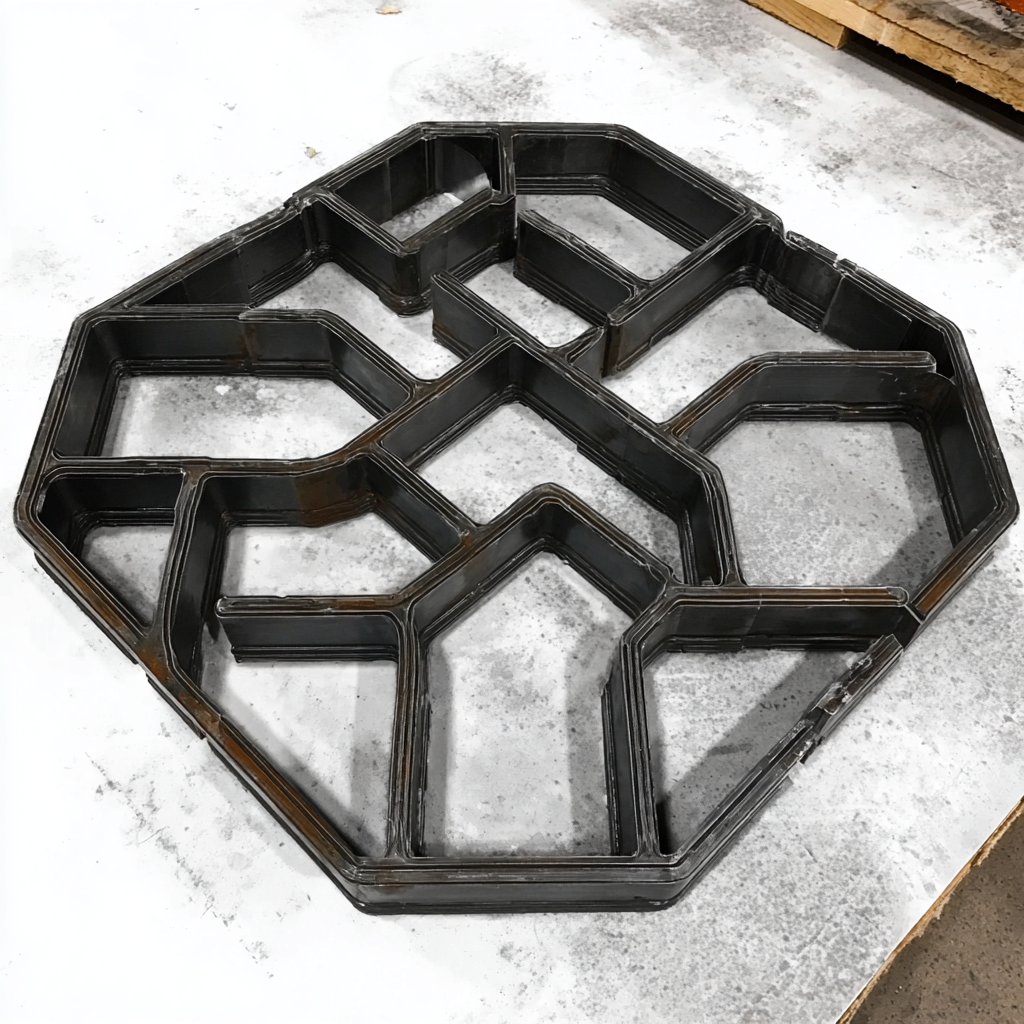
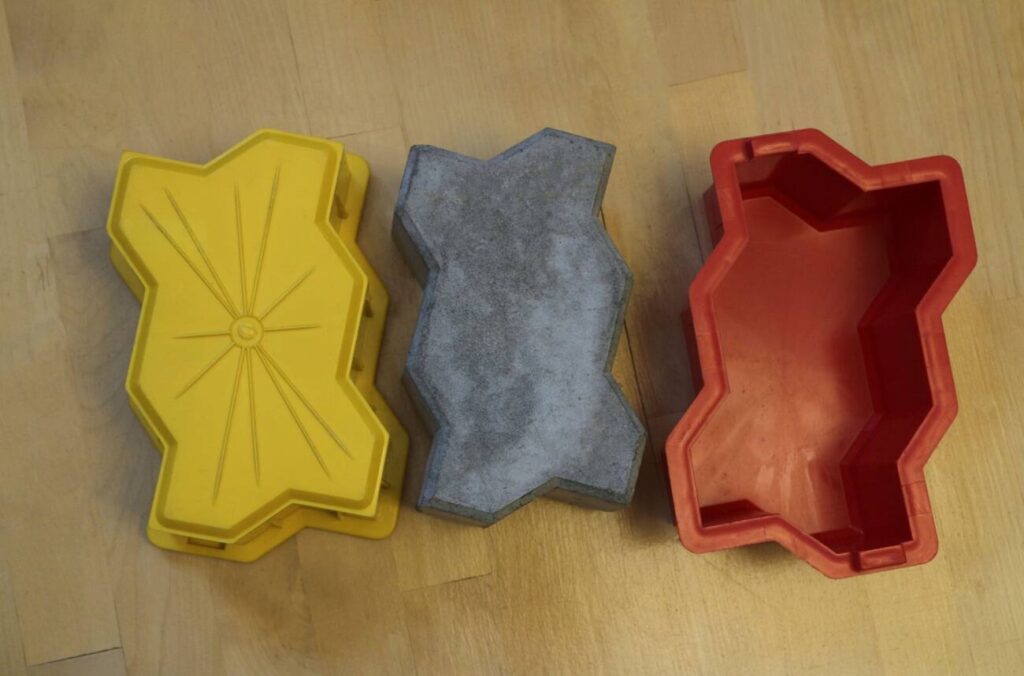
A paver mold is a reusable form, usually made of heavy-duty plastic or durable rubber, but sometimes also wood, that shapes wet concrete into a predetermined pattern or design.
Rather than purchasing pre-cast pavers, one can place the mold on prepared ground, fill it with concrete, let it cure, and then remove the mold to reveal a custom paver. This method offers flexibility in design and can reduce costs for small to medium areas.
Using a mold gives you control over color, pattern, and size. It’s ideal when you want a custom look, perhaps a winding garden path, a decorative border, or pavers with unique texture. Moreover, molds allow you to produce pavers on site, reducing transport costs and breakage risks.
However, to get good results, one must follow correct procedures: preparing the base, mixing concrete properly, releasing the mold surface, curing, and demolding carefully. Without these, you can end up with cracked, uneven, or weak pieces.
How to use a paver mold: step by step
Prepare the base and site
Start by clearing and leveling the area where you want your pavers. Remove about one inch (or more, depending on your design) of topsoil or debris.
Place a compacted base of crushed stone or sand to ensure drainage and stability. A level surface is crucial so that the mold sits flush without rocking or tilting.
Apply mold release
Before pouring concrete, brush a light layer of mold release or form oil (or a suitable alternative) onto the interior surfaces of the mold. This prevents the concrete from sticking and makes demolding much easier. It’s important to remove excess oil so you don’t affect the finish.
Mix the concrete
Use a concrete or mortar mix that’s workable but not overly wet, something like the consistency of thick batter. If you want colored pavers, add a pigment (iron oxide or similar) at this stage. Mix thoroughly to eliminate lumps or dry pockets.
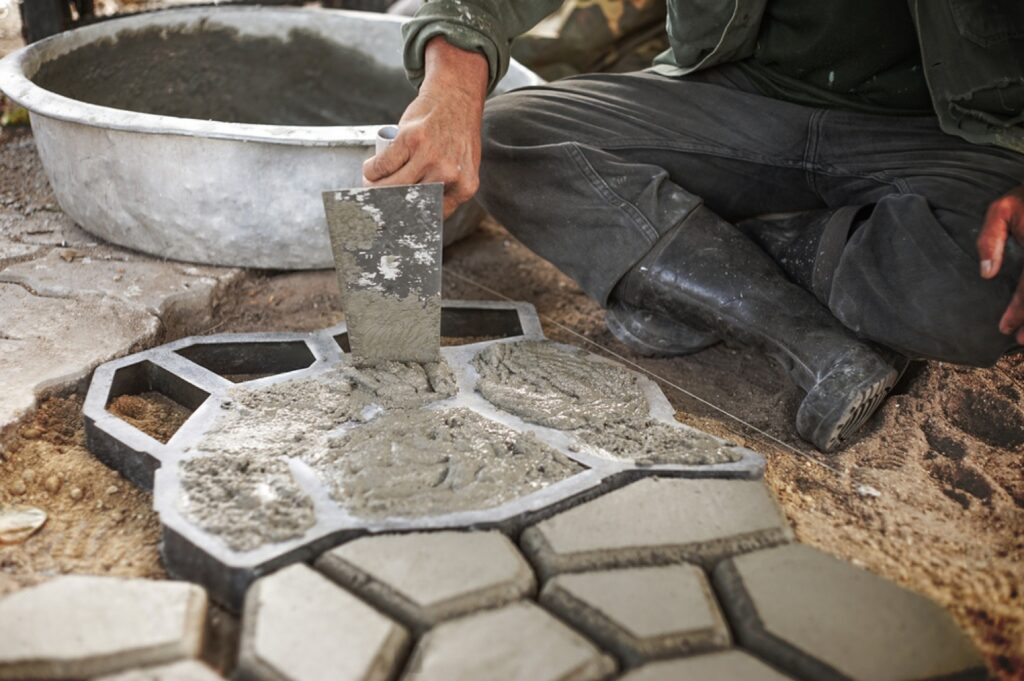
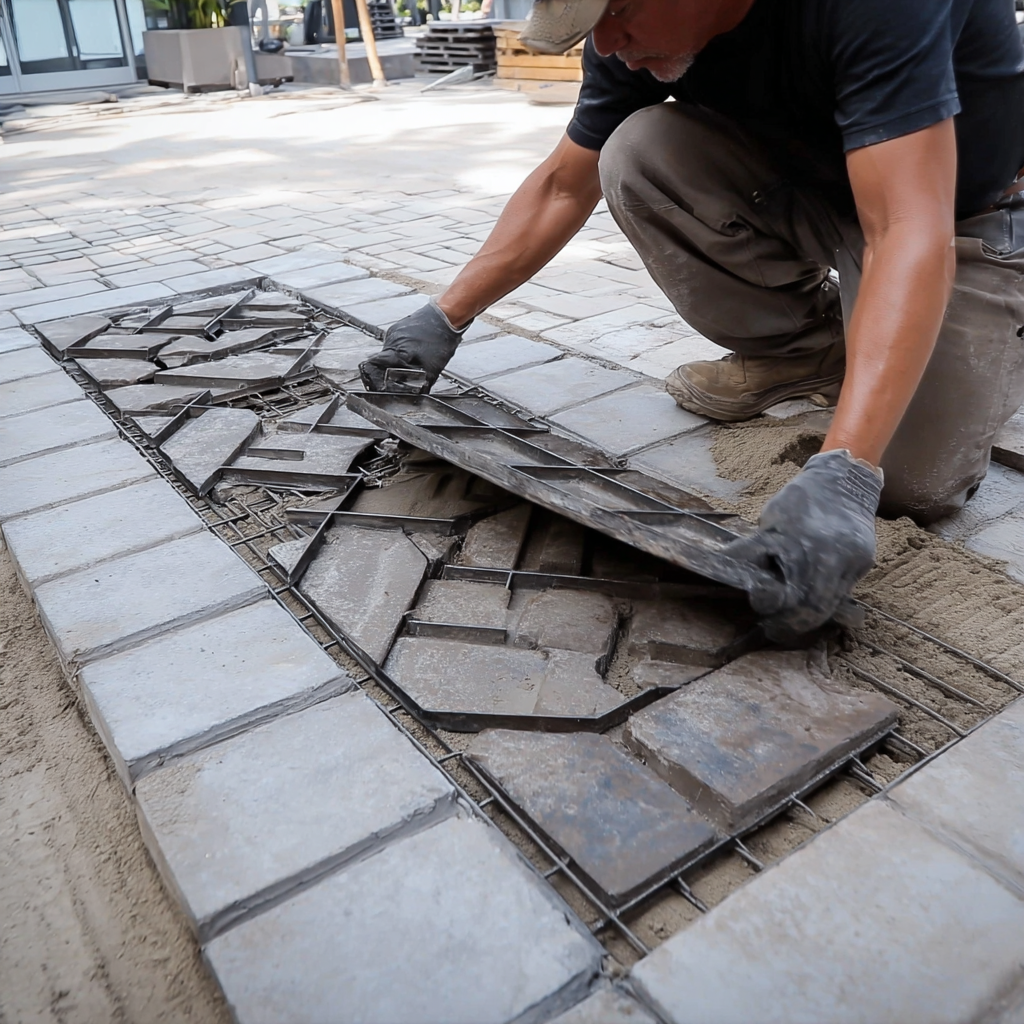
Pour and fill the mold
Pour a small amount (1/4 to 1/2 inch) into the mold first, then gently tap or vibrate to remove trapped air. Rotate and tap from different sides. Gradually fill to the top, again tapping to settle the mix. Level off excess material with a trowel.
Allow to cure and demold
Cover the mold with plastic sheeting to retain moisture and allow the concrete to cure in a cool, stable environment. Wait at least 24 to 48 hours before attempting to remove the mold, depending on ambient temperature.
After demolding, allow the paver to cure further (ideally up to one week) before placing under load. Once cured, install the pavers on prepared ground, adjusting with sand below if needed.
Common mistakes to avoid – and tips for better results
One frequent error is over-watering the concrete mix, making it too soupy and prone to cracking. This not only weakens the paver but can also cause uneven setting. Stick to the recommended water ratio and mix only what you’ll use within 30 minutes to avoid waste and drying out.
Neglecting mold release is another mistake that leads to chipping during demolding. Always apply a thin, even coat to all interior surfaces. Some people skip this step, thinking it’s optional, though it’s essential for clean removal and mold longevity.
Be gentle when removing the mold. Pulling or twisting too forcefully can deform the paver or break edges. I found that sliding a thin plastic wedge between the mold and concrete helps ease the process without damage.
To ensure consistent results across multiple pours, measure your concrete and pigment amounts carefully. Inconsistent mixing results in pavers with uneven color or strength. It’s also a good idea to clean your mold between each use, especially if working outdoors, where dust and debris build up quickly.
Read also: Do pavers get hot in the sun? Best materials and design techniques
How to use a paver mold: additional tips to customize your pavers
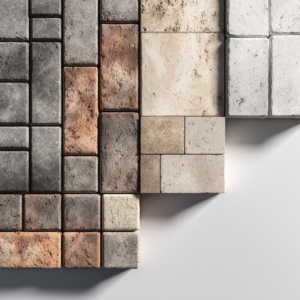
One of the great things about using a paver mold is the opportunity to create something truly unique. Whether you’re adding texture, color, or layout variations, customization transforms a standard concrete paver into a design element that enhances your space.
Pigments are one of the easiest ways to personalize your pavers. Iron oxide powders are ideal because they are stable and fade-resistant. You can also use two or more shades to create marbled or layered effects. Be sure to mix the pigment thoroughly into the dry mix before adding water for even color distribution.
Another idea is to embed decorative elements into the surface while the concrete is still wet. Small stones, broken tile pieces, or even shells can be gently pressed into the top layer for added texture and visual interest. Just remember to plan your placement before pouring, especially if working with multiple molds at once!
Pattern also plays a role in customization. By rotating or offsetting your mold between pours, you can break the monotony of repetition and create a more natural-looking path. Some people even pour pavers in slightly different shades and arrange them in a gradient for a dynamic effect.
Get professional help at JS Brick and build your project without stress
And there you go. Learning how to use a paver mold can be a fun DIY activity, and one that can help you decorate or renovate some parts of your hardscape installation. But be warned: that’s pretty much where the usage ends.
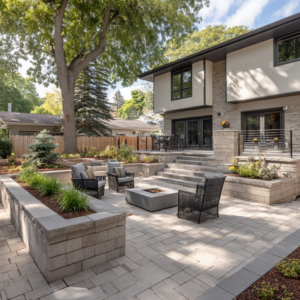
This technique is not a proper substitute for a regular paver installation, as DIY pavers are not nearly as effective. They are much more fragile and porous – and don’t withstand even a fraction of the weight and pressure a proper paver installation can.
That’s why I only recommend them for small pieces of the installation, to complement the design. And absolutely never as the centerpiece of it, especially if they need to support the weight of a car, for example.
In those cases, you need to go for a proper paver installation from a professional hardscape contractor. So find one in your area you can trust.
And if you happen to be around our area of activity, the Sarasota County, in FL, you can always count on us here at JS Brick to help you. Reach out to us anytime for a free estimate on our services so we can help you with any hardscape project you might have!