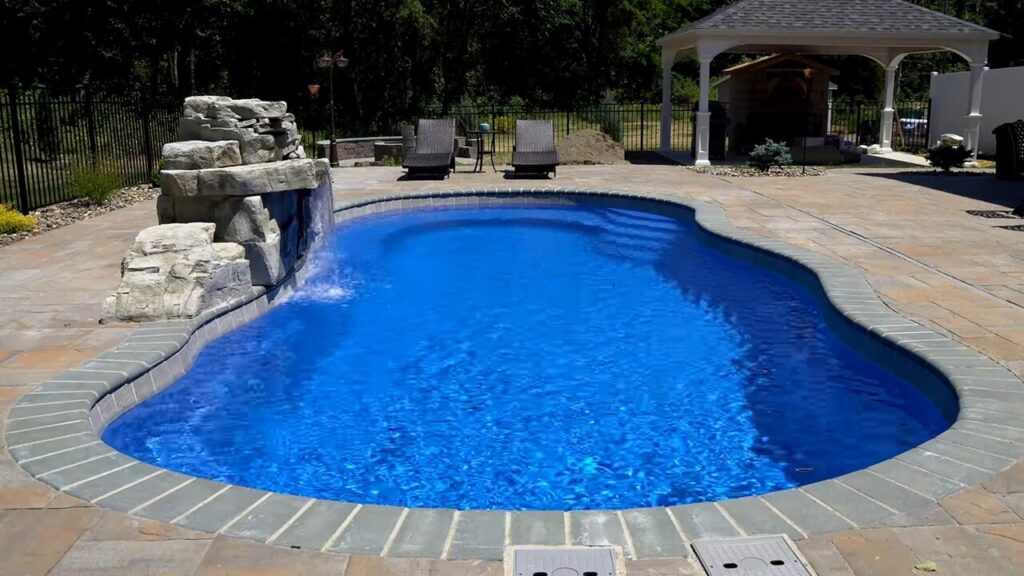
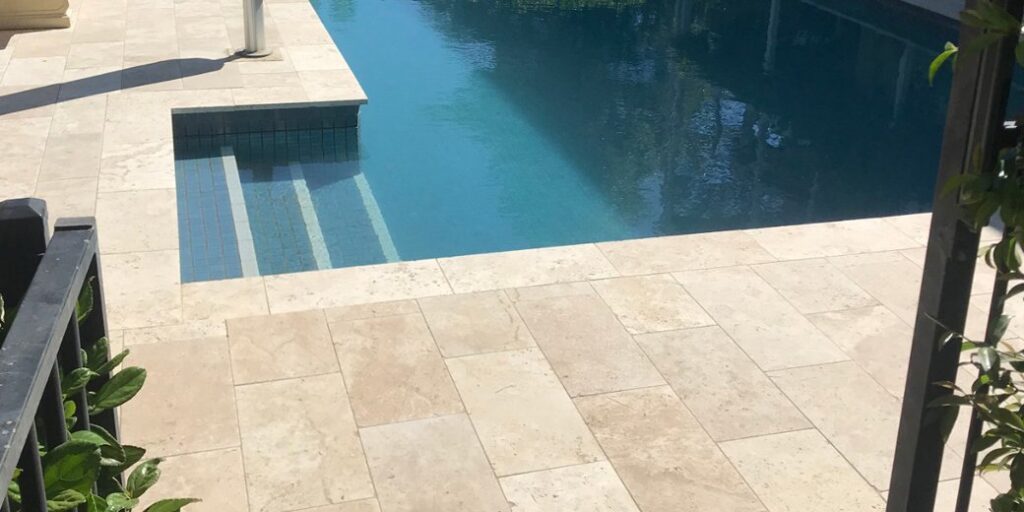
Anyone who has ever worked with pools knows the importance of paver coping, especially on fiberglass pools. Coping not only adds a decorative touch but also serves as a protective edge for your pool. So today, we want to teach you how to install paver coping on a fiberglass pool.
Installing paver coping on a fiberglass pool is a great way to enhance the aesthetics and functionality of your pool area. Whether you’re embarking on a DIY project or hiring professionals, this step-by-step guide will help you understand the process of installing paver coping on your fiberglass pool.
Jump to:
How to install paver coping on a fiberglass pool: tools and materials
Before you begin, here is a list of all the materials you’re going to need:
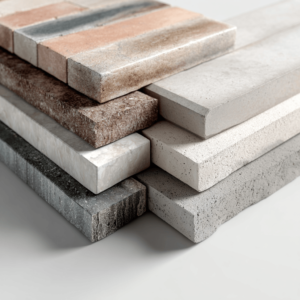
- Paver coping stones
- Concrete adhesive
- Measuring tape
- Level
- Rubber mallet
- Masonry saw
- Trowel
- Notched trowel
- Safety goggles
- Dust mask
- Gloves
Step 01 – Measuring and planning
The initial step in how to install paver coping on a fiberglass pool involves careful measurement and meticulous planning. This phase lays the foundation for a successful and visually pleasing coping installation.
Begin by measuring the entire perimeter of your fiberglass pool. Accurate measurements are crucial for determining the quantity of coping stones required. Measure along the waterline, as this is where the coping will be installed.
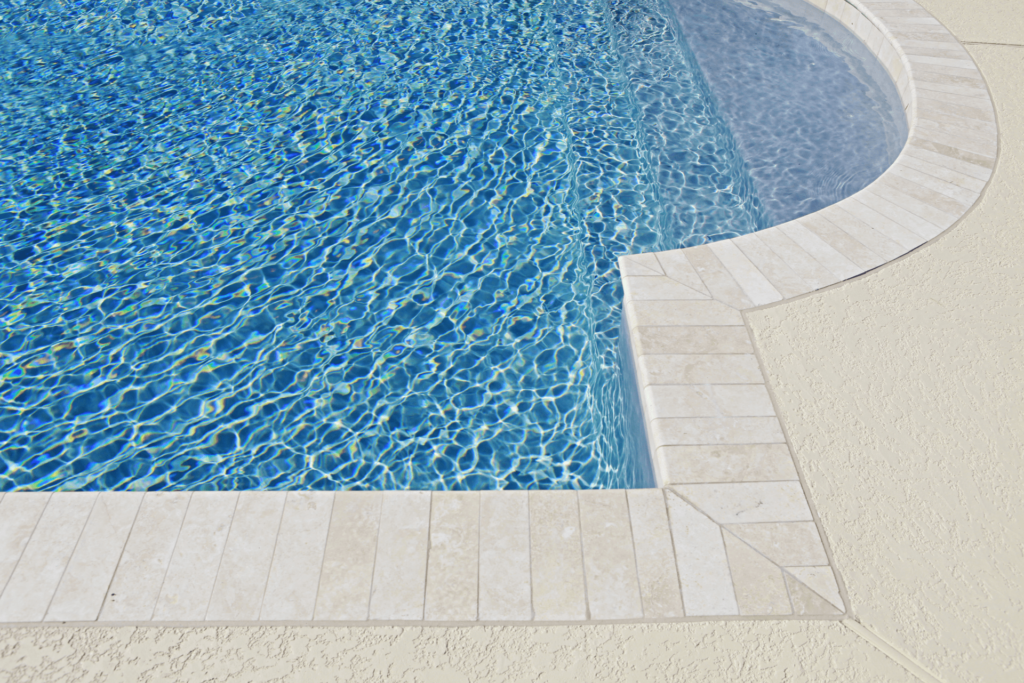
To achieve a visually appealing look and ensure the coping stones provide adequate coverage for the pool’s edge, consider an overhang of 1 to 2 inches.
This overhang not only adds aesthetic value but also serves a functional purpose by preventing water from splashing behind the coping. Mark this overhang measurement on your notes.
Fiberglass pools often have unique shapes, corners, and curves. So when measuring them, pay close attention to these areas. For corners, measure from the edge to the corner point.
For curves, use a flexible measuring tape or a string to follow the contour of the pool’s edge accurately. Record these measurements separately.
To determine the total length of coping required, add up the measurements you’ve taken for each straight section, corner, and curve, and add the recommended overhang to each straight section’s length. This sum will give you the total linear footage of coping needed.
However, it’s always a good idea to order a bit more coping than your exact measurements to account for potential mistakes, future replacements, or adjustments during installation. Most suppliers recommend adding an extra 5 to 10% to your total linear footage to ensure you have enough coping stones.
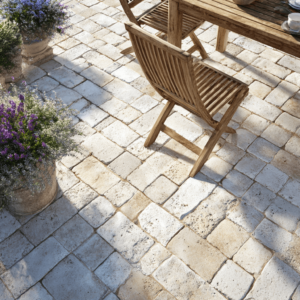
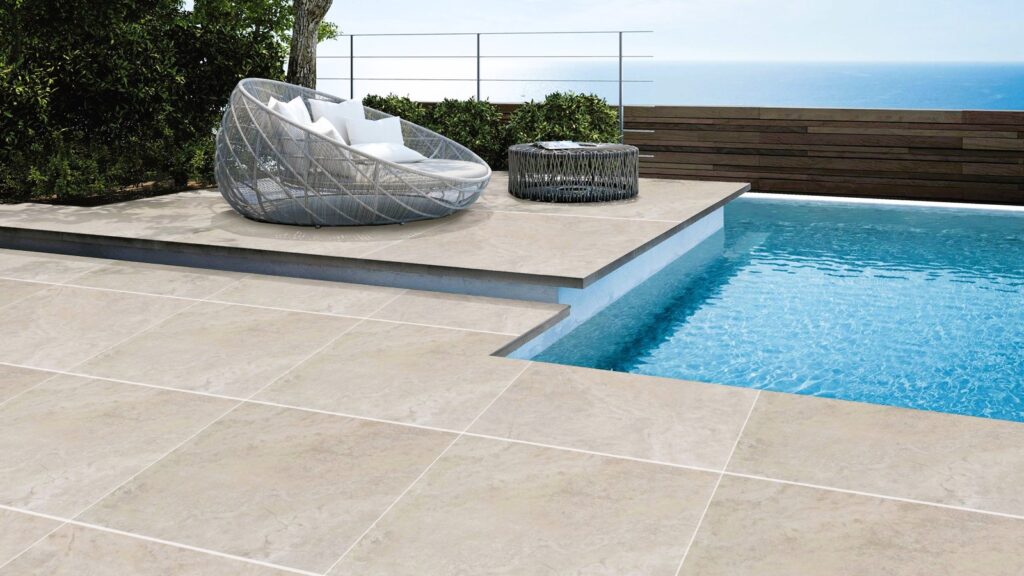
While in the planning phase, consider the style, color, and material of the coping stones you want to use. There are many options to choose from, so make sure they complement the overall design of your pool area.
Step 02 – Preparing the pool edge
A critical (and, unfortunately, often overlooked) aspect of ensuring the successful installation of paver coping on your fiberglass pool is to meticulously prepare the pool’s edge. Proper preparation guarantees a clean, sturdy foundation for your coping stones.
Before you start, prioritize safety. Equip yourself with gloves and safety goggles to protect your hands and eyes from any debris or chemicals you might encounter during the cleaning process.
Clear the immediate area around your pool. Remove any furniture, toys, or other items that might obstruct your access to the pool’s edge. Ensure there are no obstacles in your path.
Take a moment to inspect the pool’s edge for any signs of damage or deterioration. This includes cracks, chips, or any areas where the old coping material might be loose or crumbling. Address any structural issues as necessary before proceeding with the coping installation.
With the area cleared, and any necessary repairs completed, it’s time to clean the pool’s edge. Start by using a broom or a leaf blower to remove loose debris, leaves, and dirt from the edge and surrounding areas. Pay particular attention to the junctions between the pool and the ground.
For a more thorough cleaning, consider using a pressure washer with a suitable nozzle attachment. This will help remove stubborn stains, algae, or grime. Be cautious with the pressure to avoid damaging the fiberglass surface.
Allow the pool’s edge to dry completely before proceeding with the installation. Moisture can interfere with the bonding of the coping stones and adhesive, so this step is crucial.
Step 03 – Applying concrete adhesive
An important aspect of how to install paver coping stones on a fiberglass pool is the application of concrete adhesive. This will ensure the proper installation and long-term stability of the coping stones.
Follow the manufacturer’s instructions to mix the concrete adhesive. Typically, you’ll need to combine the adhesive with water in a clean container and stir thoroughly until you achieve a smooth, lump-free consistency. Be sure not to over-mix, as this can affect the adhesive’s performance.
Using a trowel, scoop a generous amount of adhesive onto the top edge of the fiberglass pool. Begin at one end and work your way across, applying an even layer of adhesive. The goal is to create a consistent base for the coping stones while ensuring the adhesive thickness is uniform.
For optimal adhesion, use the notched trowel to comb through the adhesive layer. Hold the trowel at a 45-degree angle and make even, parallel grooves in the adhesive. This notching process helps create a strong bond between the pool edge and the coping stones.
Step 04 – Laying the first row of coping
So now it is finally time to start setting up your pavers. Begin by selecting the corner or the specific point where you want to commence laying your coping stones. This choice will dictate the alignment of the entire installation, so consider factors like aesthetics, drainage, and structural integrity when making your decision.
Lay it gently on top of the adhesive, ensuring that it aligns with your starting point. Check the alignment of the first coping stone both horizontally and vertically.
You can use a level to ensure that it sits flush with the surface and maintains a consistent angle, creating a neat and visually pleasing finish. Adjust the stone as needed to achieve the desired level.
A rubber mallet can be a valuable tool in this process. Gently tap the coping stone into place, exerting even pressure to ensure that it adheres securely to the adhesive below. Avoid using excessive force, as this could damage the stone or result in an uneven installation.
With the first coping stone securely in place, move on to the next one.
Repeat the process of carefully selecting, leveling, and tapping each stone into position. Maintain uniform gaps between the stones, typically about 1/4 to 1/2 inch, depending on your design preferences and the type of coping stones you’re using.
As you progress, it’s essential to regularly check the alignment of the coping stones to ensure that they maintain a consistent level and are aligned with your desired pattern. Make any necessary adjustments along the way.
Depending on your project, you may need to fill the gaps between the coping stones with grout or mortar for added stability and a polished appearance. Follow the manufacturer’s recommendations for the specific product you’re using.
Step 05 – Curing and sealing
Now you need to allow the adhesive used in the installation process to cure thoroughly, adhering to the specific guidelines provided by the manufacturer.
This period of curing is pivotal in how to install paver coping on a fiberglass pool, as it allows the adhesive to reach its optimal strength and bond the stones securely in place.
The curing process typically spans a duration of 24 to 48 hours, although it’s essential to refer to the manufacturer’s instructions for the precise time frame, as it may vary depending on the type of adhesive used and environmental conditions.
Once the curing process finishes, now is time to finish the installation and seal your coping pavers.
Begin by choosing a high-quality paver sealer that’s specifically designed for the type of coping stones you’ve installed. There are two common types of sealers: penetrating sealers and topical sealers.
Penetrating sealers soak into the stone and offer a more natural appearance, while topical sealers create a glossy finish. Your choice depends on your aesthetic preference and the type of stone you’ve used.
Carefully read the manufacturer’s instructions that accompany the sealer you’ve chosen. Different sealers may have varying application methods, drying times, and recommended weather conditions for application. Adhering to these instructions ensures the best results.
Before sealing, ensure the pool coping stones are clean and free from any dust, debris, or residue from the installation process. Sweep the surface thoroughly and consider using a leaf blower to remove any lingering particles.
Choose a day with suitable weather conditions for sealer application. Typically, it’s best to seal your coping when there’s no rain in the forecast and the temperature is within the range specified by the manufacturer (usually between 50-90°F or 10-32°C).
Using a clean, low-nap roller or a sprayer designed for sealers, apply a thin, even coat of sealer to the coping stones. Ensure you cover the entire surface, working from one end to the other. Be cautious not to leave puddles or streaks, as these can affect the final appearance.
Allow the initial coat to dry according to the manufacturer’s recommendations. This typically takes a few hours. Once the first coat is dry, consider applying a second coat for added protection and a more polished appearance.
How to install paver coping on a fiberglass pool: professional help
And there you go. By following those steps, you now know how to install paver coping on a fiberglass pool. However, if it sounded a little too complex for a DIY project, you’re not wrong.
Paver installation can be complicated – especially for people with no previous experience working on hardscape projects. That’s why we always recommend hiring professionals to help you with yours!
And if you happen to be around Sarasota, FL, we here at JS Brick can provide that help for you. With 23 years of experience in the hardscape business, we can help you with your pool paver coping installation and any other needs you might have.
So feel free to contact us anytime for a free estimate on our services. We would be glad to hear from you and add you to our long list of satisfied customers.