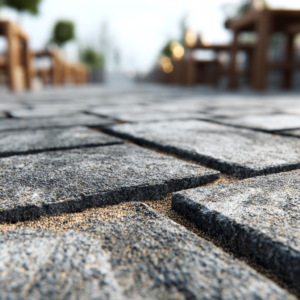
Anyone who has invested in a beautiful paver installation knows how satisfying it is to see clean lines, firm placement, and overall harmony between each stone. But over time, especially in areas like Sarasota, where the weather can fluctuate and landscaping settles, paver edges start to fail. That’s when the pressing question arises: how to fix paver edging?
In this guide, we will walk you through the process of identifying problems with paver edging, understanding why it fails, and executing the necessary steps to repair it effectively. Whether you’re a homeowner who enjoys doing things yourself or someone looking to understand what professionals will do when they show up at your driveway, get yourself some grounded advice on how to fix paver edging.
And don’t miss: How to install paver edging – a DIY guide
Jump to:
Why paver edging fails in the first place
Before diving into how to fix paver edging, it’s crucial to understand why it gets damaged or displaced over time. Paver edging is more than just a decorative border; it’s a functional element that holds the integrity of the paved area together. When it gives way, the entire structure becomes vulnerable.
One of the most common reasons for edging failure is the lack of proper installation techniques. If the edge restraint wasn’t anchored correctly or the base material beneath it wasn’t compacted thoroughly, it becomes susceptible to movement. Add to that heavy rains, root intrusion from nearby plants, and pressure from vehicles or foot traffic, and you’ve got the perfect conditions for a breakdown.
Another frequent culprit is the natural shifting of the ground due to temperature changes. While Florida doesn’t experience deep freezes, for example, the combination of rain and heat can still alter soil compaction, especially if drainage is poor. So, when thinking about how to fix paver edging, one should also think about preventing future problems.
Step-by-step: how to fix paver edging like a pro
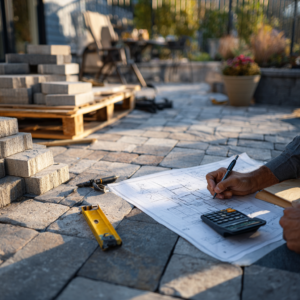
Step 1: assess the damage thoroughly
The first and most crucial step in learning how to fix paver edging is performing a thorough inspection. Walk along the length of the paver installation and take note of any sections where the edge has shifted, lifted, or completely detached. Pay attention to any sunken or misaligned pavers as these are often signs of deeper issues underneath.
Look for signs of erosion around the edges and test the stability of the existing edge restraint. If it moves with light pressure, it’s no longer doing its job. In this stage, it’s also important to determine how far the damage has spread. A small issue can quickly become a major repair if left unattended.
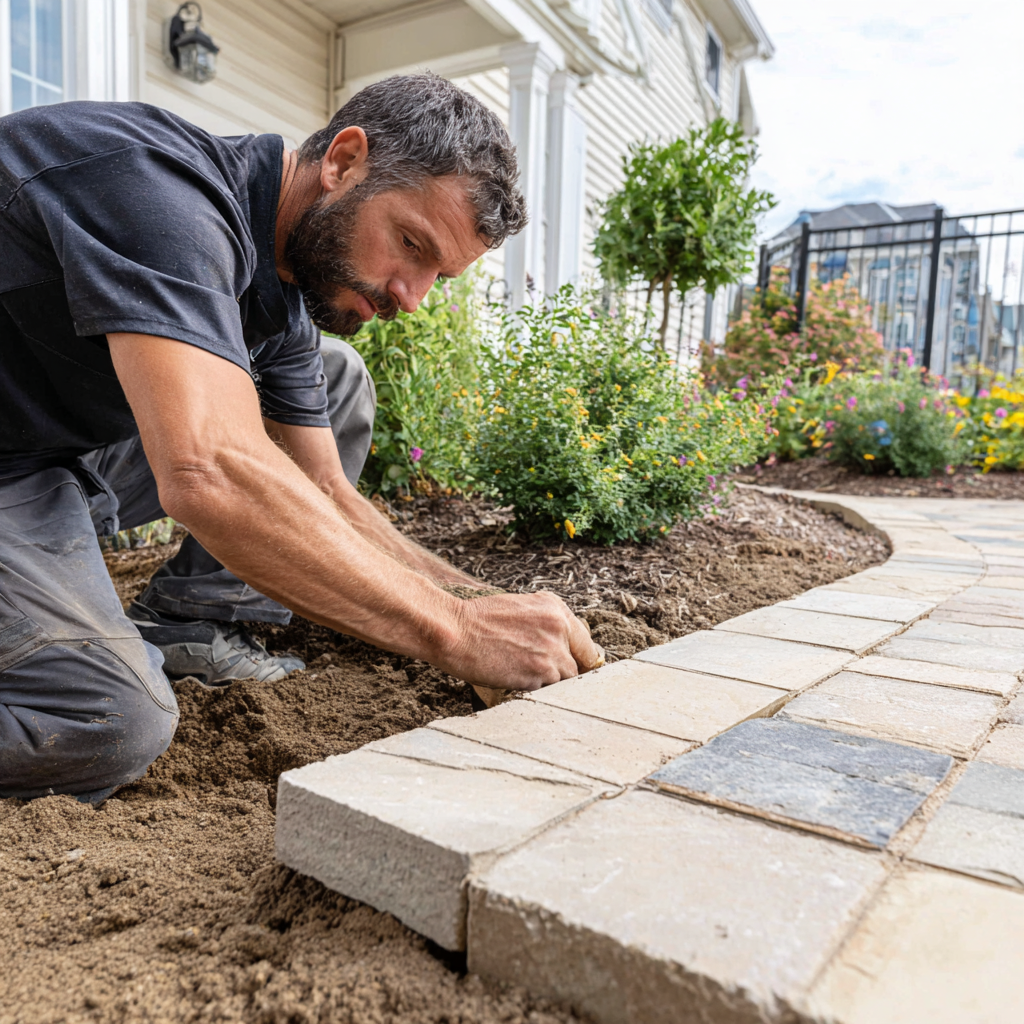
Step 2: remove the affected pavers and edging
After assessing the damage, carefully remove the affected pavers using a flat pry tool or spade. The key here is to avoid cracking or damaging the bricks so they can be reused. Set them aside in a logical order to make reinstalling easier later. Next, dig out the compromised edge restraint. This might involve removing spikes, concrete, or plastic strips that have shifted or broken over time.
Once the edge restraint is removed, dig about 6 inches past the paver border and a few inches down into the base layer. This ensures that you’re not just applying a quick fix, but actually restoring the foundational support that keeps the edging stable. Any soft or washed-out base material must be replaced before proceeding.
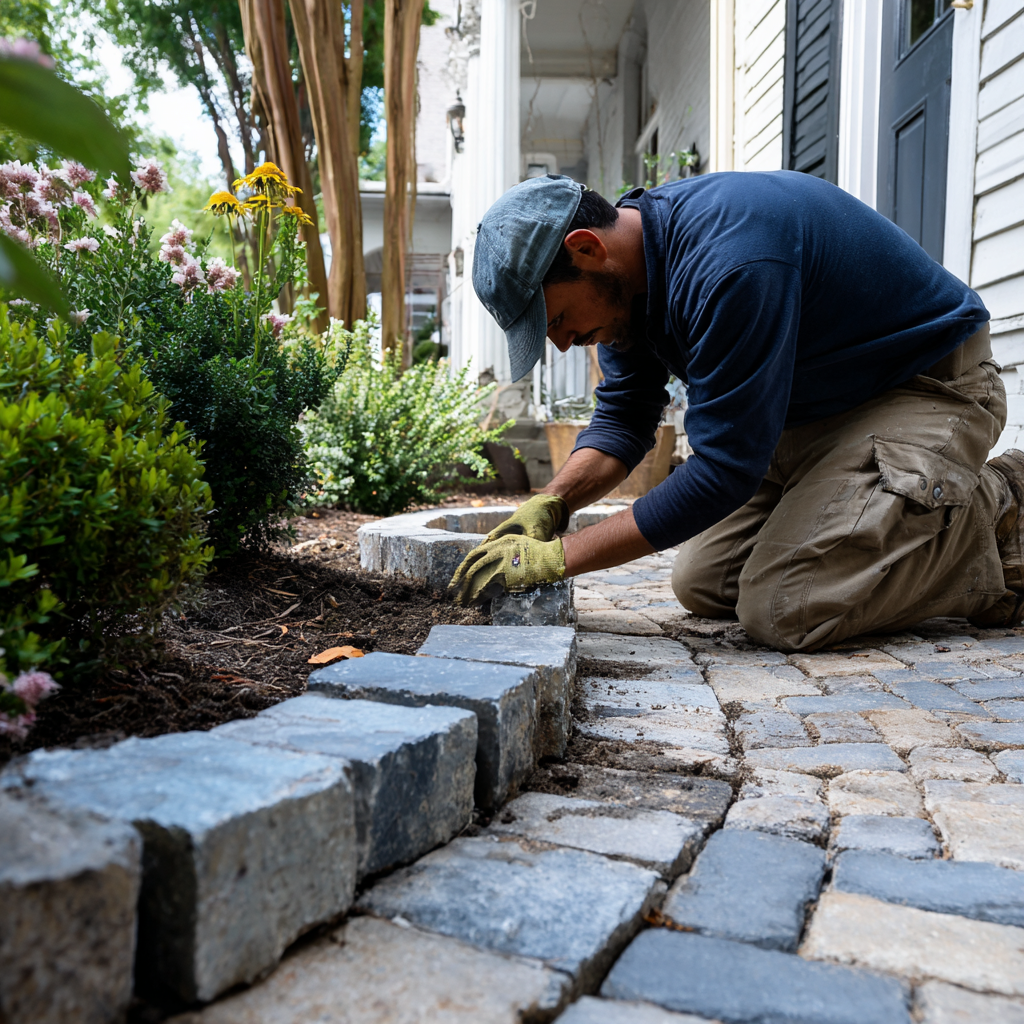
Step 3: rebuild and reinforce the base
The durability of any paver edging repair lies in a well-compacted base. Start by refilling the edge trench with a high-quality crushed stone base. This material should be layered in increments and compacted thoroughly with a hand tamper or plate compactor to create a strong and level foundation.
The base should extend at least 6 inches beyond the paver edge to accommodate the new restraint and to support lateral pressure. At this point, take the opportunity to check the level of the entire border. Any unevenness here will impact how the edge restraint sits and how the pavers align once they are put back in place.
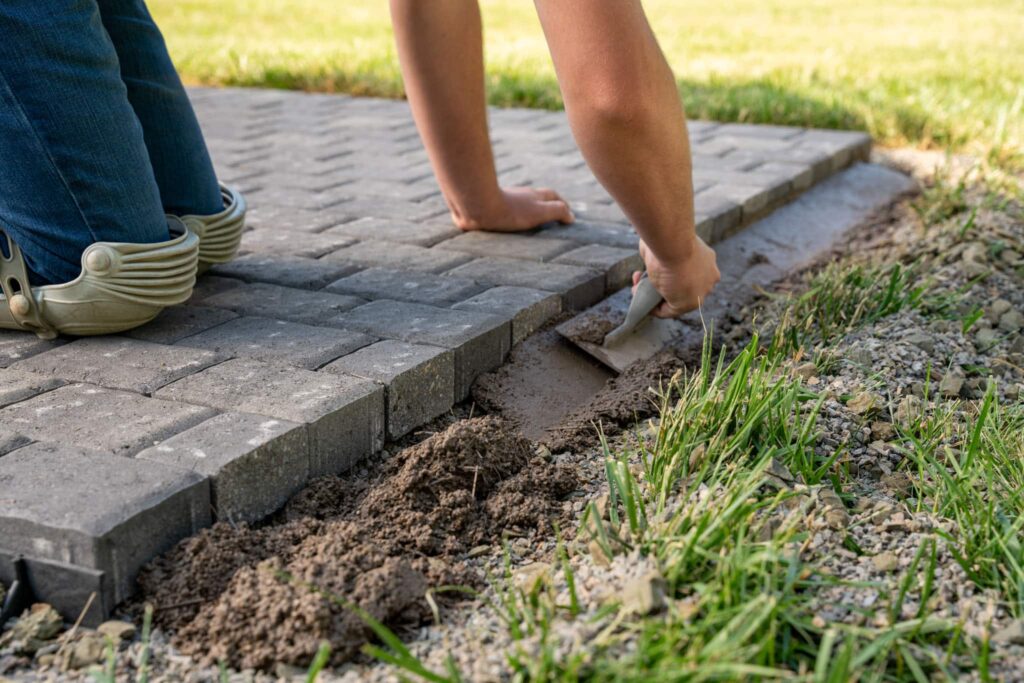
Step 4: install the new edging material
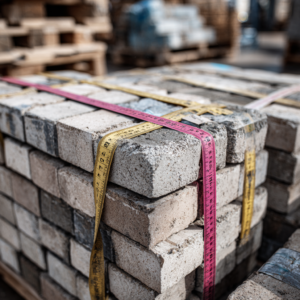
Choose the type of edging that best suits your layout. Plastic edge restraints are flexible and ideal for curved walkways or patios. Concrete edge restraints, though more rigid, offer superior durability in high-traffic zones such as driveways.
Place the new edging flush against the compacted base and anchor it securely using landscape spikes spaced about every 12 inches. For additional strength, especially in areas subject to frequent water flow, consider using galvanized steel spikes instead of standard plastic ones. Make sure each spike is driven down until the head is flush with the restraint to avoid movement.
Step 5: reinstall the pavers
With the edge restraint locked in place, it’s time to reinstall the pavers. Return the bricks to their original pattern, ensuring each one is tightly fitted against the edge and its neighbors. Use a rubber mallet to gently tap them back into place, adjusting the sand layer underneath as needed to maintain a uniform height and pitch for water runoff.
Take your time during this step. Even slight misalignments can affect the appearance and longevity of the entire installation. Once the pavers are back in place, double-check the alignment to ensure a straight, clean edge.
Step 6: apply polymeric sand and final compaction
With the pavers reinstalled, sweep polymeric sand into the joints. This specialized sand contains additives that harden when exposed to water, helping to lock the pavers in place and prevent weeds from growing between them. Ensure the sand fills the joints completely by sweeping it in multiple directions.
Once the joints are filled, you can use a plate compactor to vibrate the surface, allowing the sand to settle deeper into the gaps. Add more sand as needed and repeat until all joints are tightly filled. Finally, lightly mist the entire area with water to activate the polymers. Avoid over-saturating, as too much water can wash the sand away before it sets.
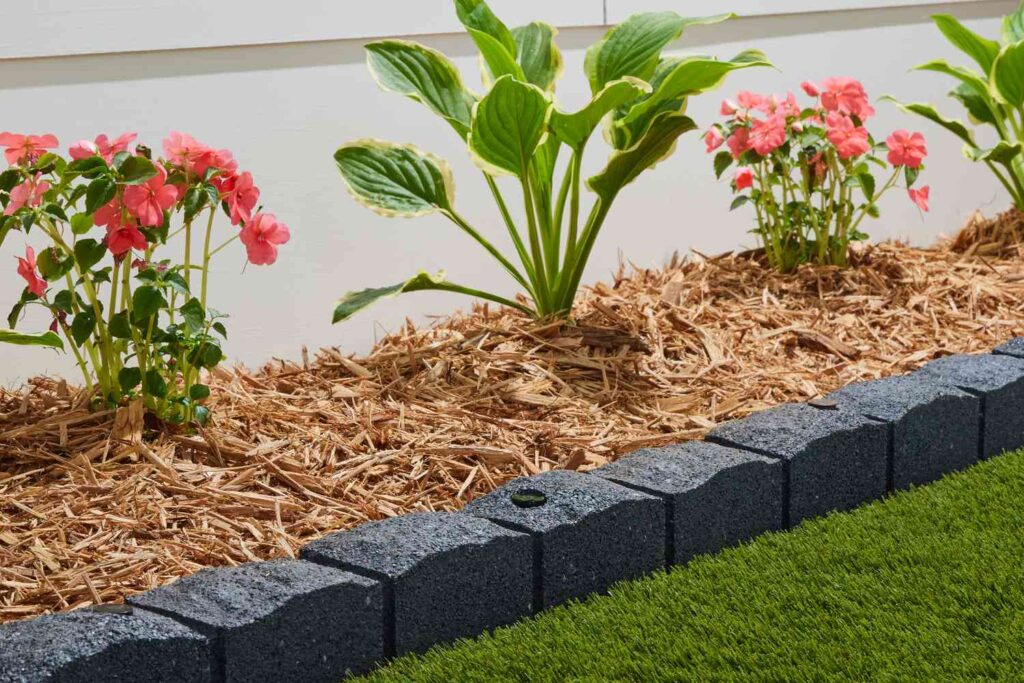
Maintaining edging after it’s fixed
Fixing paver edging is only half the battle – the other half is keeping it that way. After the repair, make sure to regularly inspect the area, especially after heavy rainfall. Watch for any shifting or separating between the edge and the surrounding surface.
Also, keep an eye on landscaping near the edges, given how roots from plants or trees can apply pressure and eventually cause lifting. If mulch or dirt builds up against the edge, this can also destabilize it over time. Simple maintenance like trimming roots, cleaning out debris, and checking for movement can prolong the life of your paver system.
For those who are more detail-oriented, investing in proper drainage solutions or even root barriers may be worth it. These small additions go a long way in preventing future headaches related to how to fix paver edging.
When to call a professional for paver edging repairs
Sometimes, despite best efforts, the repair job becomes more complex than anticipated. If the base layer beneath the pavers is eroded across a wide area, or if multiple sections of edging are compromised, it might be time to bring in professionals.
A seasoned team like ours at JS Brick can not only handle the heavy lifting but also offer insights that come from decades of experience. We’ll evaluate the condition of your current pavers, assess soil compaction, and implement long-lasting solutions tailored to your unique environment.
Moreover, don’t forget some key details: professional repair work often includes warranties and follow-up maintenance options that give peace of mind. In most cases, the cost of professional help can be less than the cumulative cost of DIY materials, equipment, and potential rework!
Final thoughts on how to fix paver edging
Whether the damage is slight or substantial, fixing paver edging is an empowering skill for any homeowner. It blends technical knowledge with a bit of elbow grease and an eye for detail. The payoff? A refreshed and reinforced outdoor space that holds its shape and charm over time.
From identifying weak points to reinstalling edging with precision, every step contributes to the overall resilience of your paver project. And when the job requires a bit more than DIY solutions, remember that help is just a call away.
For those in Sarasota and surrounding areas, JS Brick is always ready to assist with anything from minor repairs to full installations. Visit our blog for more helpful articles and get in touch when you’re ready to take your outdoor spaces to the next level.