At first glance, paver base panels look like simple sheets of foam or plastic meant to replace the traditional gravel and sand foundation. But when it comes to actually fitting them around curves, edges, or tight corners, you realize that cutting them properly is a craft of its own. So – how to cut paver base panels?
Just like everything else in the hardscape business, doing it right will save you time, reduce material waste, and ensure a solid and long-lasting paver installation.
That said, the process may become tricky, especially considering the atypical nature of the job. Today, we’ll explain how to cut paver base panels with precision by using the right tools and the different types of panels. Most importantly, we’ll teach you how to achieve seamless integration of these panels in your outdoor space, whether you’re a homeowner or a professional seeking to broaden your expertise.
Don’t miss out: How to fix paver edging – a 6-step restoration guide
Jump to:
Why cutting paver base panels is important
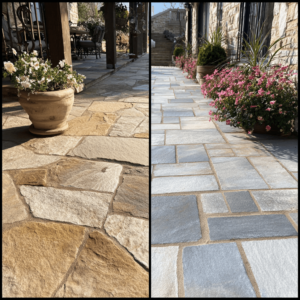
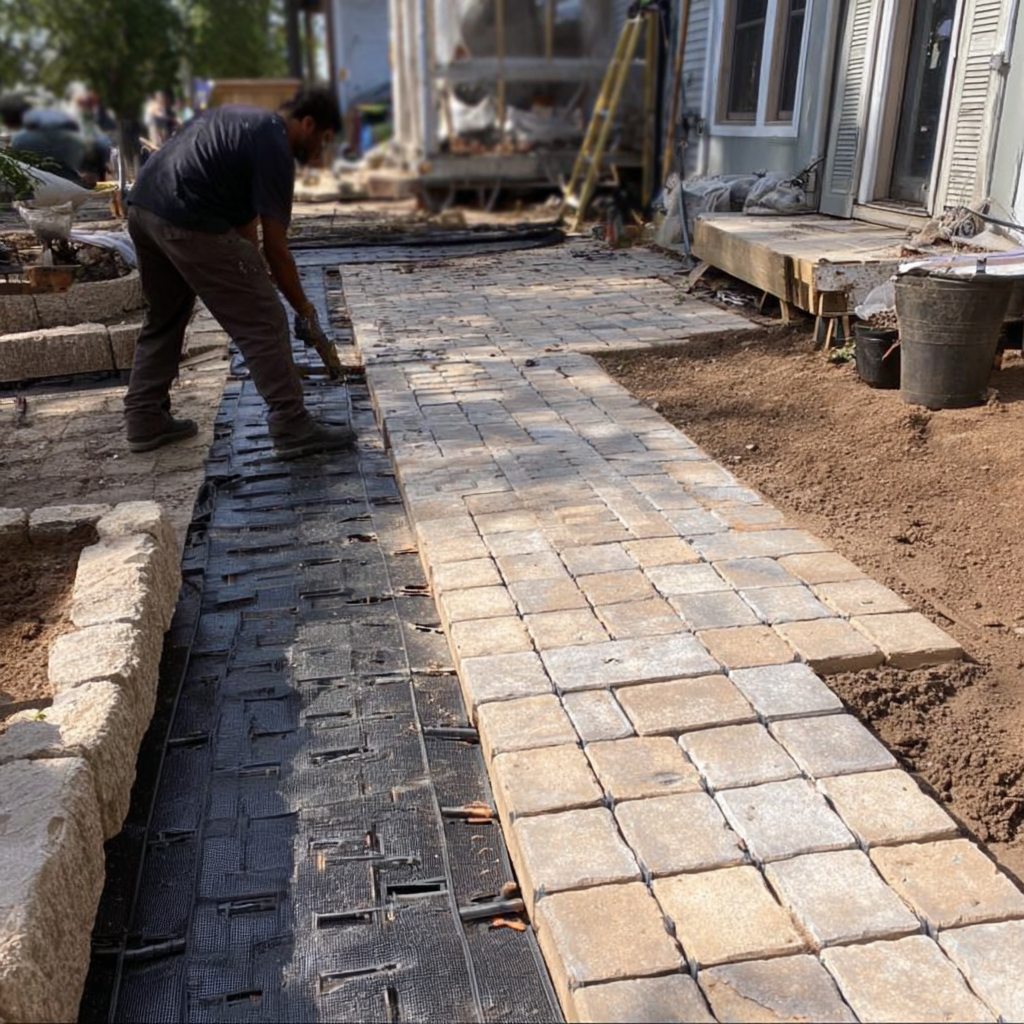
Paver base panels are engineered to create a stable base for walkways, patios, and driveways. These panels offer excellent drainage, prevent soil erosion, and provide a level surface that evenly distributes weight. However, their true potential only shows when they are installed properly.
Cutting the panels is necessary when the area to be paved includes curves, steps, garden beds, or other obstacles. Improper cuts can lead to instability, gaps, or even future displacement of the pavers. In other words, understanding how to cut paver base panels means fewer headaches later.
Besides functionality, well-cut panels enhance the aesthetics of the entire space. They allow you to maintain clean lines, tight joints, and a professional look. With a little planning and the right approach, anyone can learn the task with confidence.
So let’s get straight into it.
The tools you need to cut paver base panels
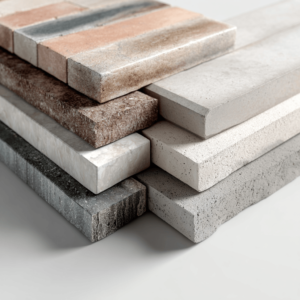
Before making any cuts, it is essential to understand the type of paver base panels you are working with. Most high-quality panels are made from lightweight, rigid foam or high-density polypropylene. These materials are durable but also forgiving when it comes to shaping. To begin the process, you will need:
- A utility knife with a sharp blade
- A straight edge or metal ruler
- A measuring tape
- A marker or pencil for outlining cuts
- Safety gloves and eye protection
These basic tools are usually enough to handle most panel types. Some professionals also use jigsaws or circular saws with fine-toothed blades when dealing with thicker or tougher materials. However, for most DIY applications, a simple utility knife will do the job.
Our tip? Always start with a fresh blade. Dull blades can tear the material instead of slicing it cleanly. Make several passes with the knife instead of trying to cut through in one go – this technique provides more control and helps prevent jagged edges.
Step-by-step: how to cut paver base panels
Simply put, it goes like this.
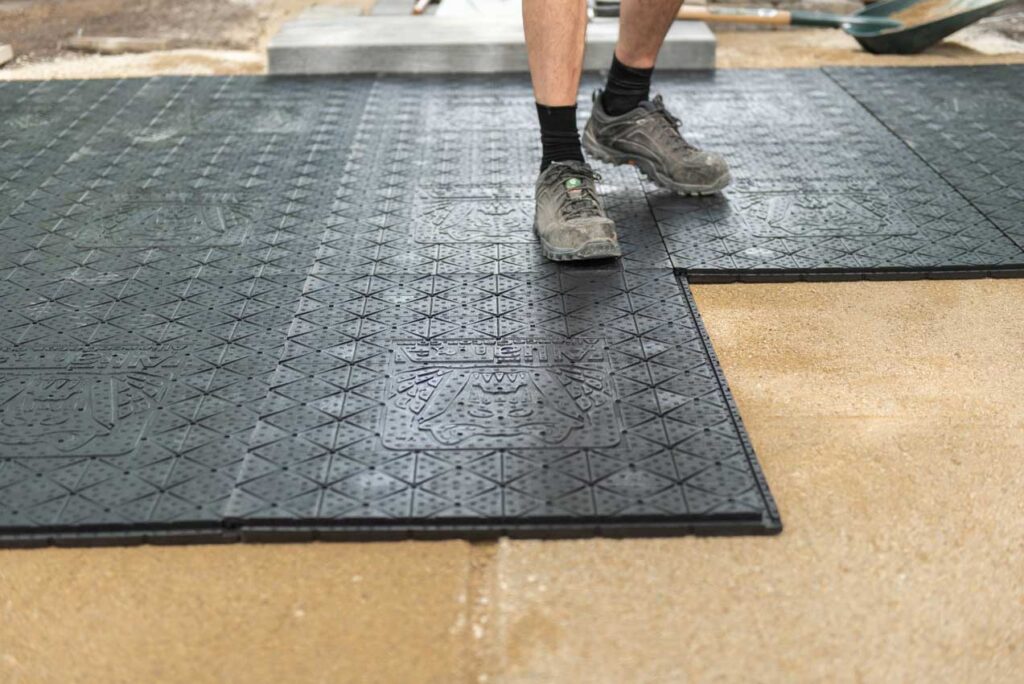
Start by placing the panel on a flat, stable surface. Mark the cutting line clearly using your tape measure and straight edge. Double-check measurements before making any cuts. Inaccuracies at this stage can compound over the course of the installation.
Position your straight edge along the line and make your first pass with the utility knife. Apply firm, even pressure, and follow the guide to keep the cut straight. Repeat the pass several times until the blade has gone through the material. If needed, gently snap the panel along the scored line.
For complex shapes or curves, a template made of cardboard can be helpful. Trace the shape onto the panel, and then follow the outline carefully with your knife. If you’re using a jigsaw for intricate cuts, make sure the panel is securely clamped to avoid movement.
Understanding how to cut paver base panels also means anticipating where the cut pieces will fit. Try to make cuts that leave enough material for the panel to maintain its structure and support. Avoid creating thin strips that might break under pressure.
Common mistakes to avoid when cutting paver base panels
A common mistake is rushing the process – cutting too quickly or with too much force can lead to inaccurate lines or even injury. It’s also important to avoid making assumptions about fit. Always measure and dry-fit your panels before committing to a cut.
Another issue is not accounting for expansion. Some paver base panels expand slightly in response to temperature changes; so leaving a small gap between panels and fixed structures allows for this movement and prevents buckling.
Ignoring safety is another risk. While these materials are not overly hazardous, small fragments or particles can still cause irritation. Always wear gloves and safety glasses. As usual, keeping your tools clean and your workspace organized also contributes to better results.
Where cutting paver base panels makes a difference
Mastering this technique can transform the quality of your installation. Around curved garden beds, trimming the panels allows for a snug fit that traditional gravel simply cannot achieve. Near steps or pool edges, precise cuts provide the needed support and keep the pavers from shifting.
In driveways or high-traffic paths, well-cut panels ensure that the paver system holds up under stress. Even subtle elevation changes across a yard become easier to manage when the base panels fit the terrain perfectly.
Learning how to cut paver base panels also pays off when doing repairs; you see, instead of replacing large sections, you can remove and reshape individual panels to fix specific issues, saving time and money.
Final considerations for a seamless installation
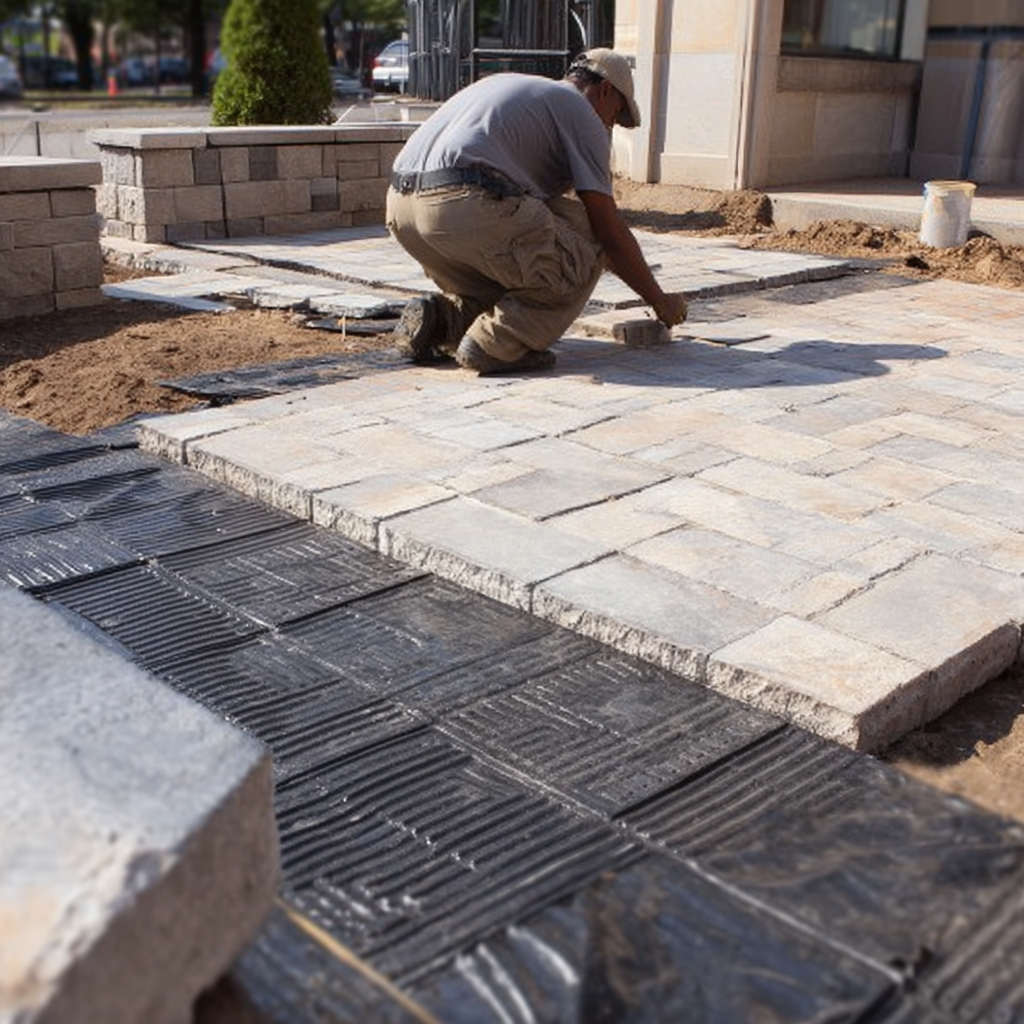
Cutting is only part of the story. After the panels are shaped, they should be laid in a staggered pattern to distribute weight evenly. You can use a level to verify the surface before placing the pavers – and once the pavers are installed, you can start filling the joints with polymeric sand to lock them in place.
If you’re also working with paver edging, make sure it accommodates the shape of the cut panels. A cohesive layout enhances both the strength and the look of your project. And don’t forget drainage: good planning avoids water pooling, which can compromise even the best-cut base panels.
In the end, the full potential of paver base panels is realized only when every step is done with care, including the cutting. However, that’s precisely why it can be a time-consuming and detailed task. If you want to make sure your outdoor project looks clean, performs well, and lasts for years, it’s worth getting a second opinion or even professional support.
At JS Brick Corporation, we’ve been helping homeowners in Sarasota since 2000 with everything from paver installation to repairs. Our blog also features helpful articles to make your planning easier, so make sure to check that out.
Over here, we’re committed to doing the job right from the start. So wait no more: if you happen to be around Sarasota County, FL, we’re here to help with anything hardscape-related.