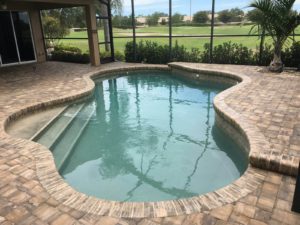
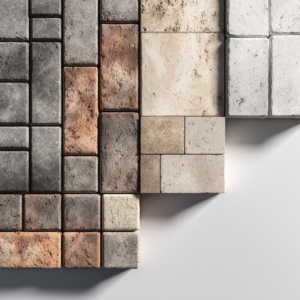
Porcelain pavers have been dominating the market in recent years. They are an excellent choice for outdoor flooring due to their durability, low maintenance requirements, and aesthetic appeal. Today, we want to focus our attention on how to clean porcelain pavers.
To ensure they retain their beauty and longevity, regular cleaning is essential when it comes to porcelain pavers. In this article, we will provide you with a step-by-step guide on how to effectively clean porcelain pavers, helping you maintain a pristine outdoor space for years to come.
Jump to:
How to clean porcelain pavers: tools and materials
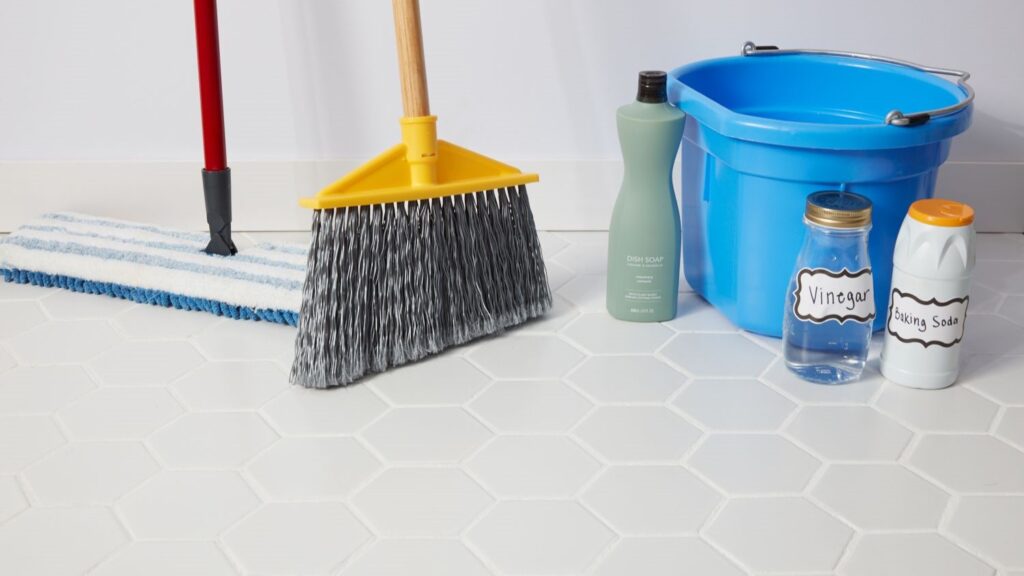
The best place to start is to gather the necessary tools and materials before embarking on the cleaning process. Ensuring that you have the right equipment will make the task more efficient and effective.
- Soft-bristle broom
Choose a broom with soft bristles to avoid scratching or damaging the surface you’re cleaning. The soft bristles are ideal for sweeping away loose dirt, debris, and weeds before moving on to more intensive cleaning. - Garden hose or pressure washer
Depending on the size and condition of the area you’re cleaning, you can use either a garden hose or a pressure washer. A garden hose with a spray nozzle attachment can provide sufficient water pressure for most cleaning tasks.
However, if you’re dealing with stubborn stains or heavy grime, a pressure washer with adjustable pressure settings will offer more power to tackle the job effectively. - Mild detergent or specialized porcelain cleaner
To effectively remove dirt, stains, and grime, you’ll need a cleaning solution. A mild detergent, such as dish soap or a gentle all-purpose cleaner, is suitable for general cleaning purposes. However, it’s always advisable to use a specialized porcelain cleaner that is formulated to remove tough stains without causing damage. - Scrub brush
A scrub brush with medium bristles will help you effectively scrub away stubborn stains and grime. Look for a brush with a comfortable grip and durable bristles that can withstand vigorous scrubbing without losing their shape. - Rubber gloves
It’s important to protect your hands during the cleaning process, especially if you’re using cleaning agents or dealing with potentially dirty surfaces. Rubber gloves provide a barrier between your skin and the cleaning solution, preventing any skin irritation or chemical contact. - Protective eyewear
Safety should always be a priority when cleaning. Wear protective eyewear, such as safety glasses or goggles, to shield your eyes from splashes, debris, or cleaning agents that may cause irritation or injury.
How to clean porcelain pavers in 5 steps
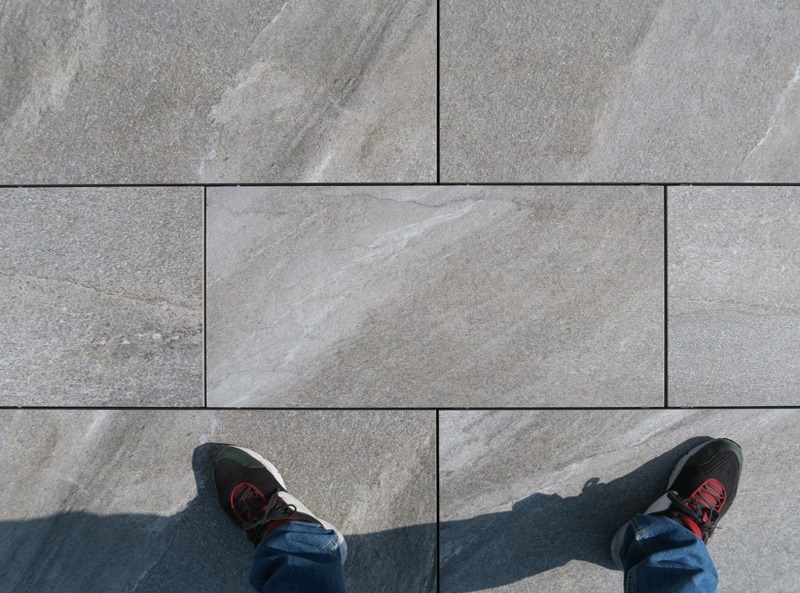
Step 01: Preparing the area
Preparing the area properly before cleaning the porcelain pavers is crucial for achieving optimal results.
Begin by removing any furniture, plants, or other items from the porcelain pavers. This includes chairs, tables, pots, or any other objects that may obstruct your cleaning path.
Take a moment to assess the condition of the porcelain pavers. Look for any major stains, spills, or areas with stubborn dirt or grime. Identifying these areas will help you plan your cleaning strategy and determine if any additional cleaning methods or products are required for specific spots.
Once the surface is clear, use a soft-bristle broom to sweep the porcelain pavers. This step removes loose dirt, leaves, or debris that may have accumulated on the surface.
Start at one end of the area and work your way methodically, sweeping the debris towards the edge or a designated collection area. Pay attention to corners, edges, and any gaps between the pavers, as these areas tend to accumulate more dirt.
While sweeping, keep an eye out for any weeds or vegetation that may have grown between the porcelain pavers. Weeds can be unsightly and may disrupt the integrity of the paved area. Use a small hand tool or weed remover to carefully extract any weeds or plants that are growing between the pavers.
Step 02: Rinsing the surface
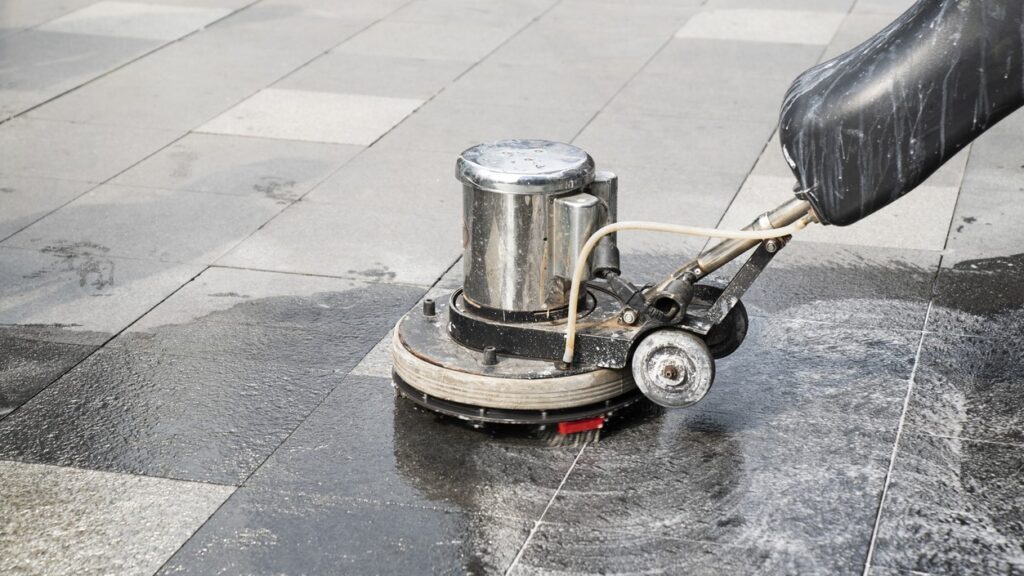
Choose either the garden hose or the pressure washer for this step. Whatever you prefer.
A pressure washer can provide more power, but make sure to use the lowest pressure setting to avoid damaging the pavers. If you opt for a garden hose, attach a spray nozzle that provides a gentle, even flow of water.
Begin by spraying the water evenly across the surface of the pavers. Hold the nozzle or pressure washer wand at a slight angle, ensuring that the water covers the entire area you wish to clean. The gentle pressure from the water will help dislodge the initial layer of dirt and grime.
If you’re using a pressure washer, pay attention to how the water interacts with the pavers. If you notice excessive splashing or the pavers shifting or becoming dislodged, reduce the pressure immediately. The goal is to remove dirt and grime without causing any damage to the porcelain pavers.
Continue rinsing the surface until you’re satisfied that the initial layer of dirt and debris has been removed. Take a step back and inspect the pavers from different angles to ensure all areas have been covered. Pay particular attention to corners, edges, and hard-to-reach spots.
Step 03: Preparing the cleaning solution
As we mentioned, specialized porcelain cleaners are always better, but if you’re using a detergent, select one that is specifically labeled as non-abrasive and suitable for outdoor surfaces.
Follow the recommended dilution instructions on the packaging. Typically, a small amount of detergent, such as 1/4 to 1/2 cup, is mixed with a gallon of warm water. Use a measuring cup if necessary to ensure accurate proportions. If using a specialized porcelain cleaner, follow the manufacturer’s instructions regarding the appropriate amount to use.
Before handling any cleaning solutions, it’s important to protect yourself. Put on rubber gloves to shield your hands from potential skin irritation or chemical reactions. Wear protective eyewear to prevent any splashes or sprays from coming into contact with your eyes.
Be cautious when handling cleaning solutions, especially if they contain chemicals. Follow the instructions provided on the packaging or by the manufacturer to ensure safe handling and usage. Never use harsh chemicals or acidic cleaners, as they can damage the surface of the porcelain pavers.
Step 04: Applying the cleaning solution
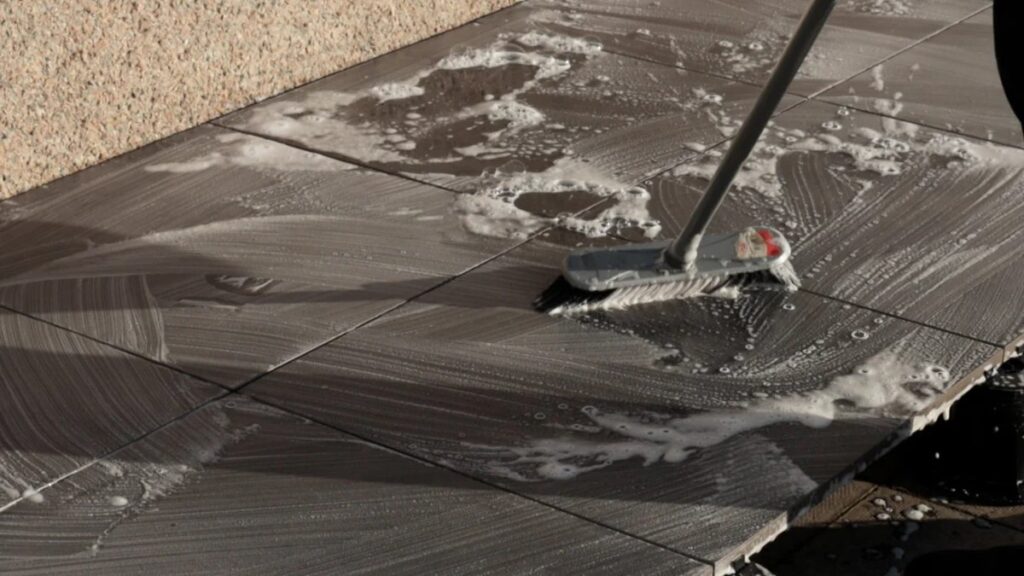
First, divide the cleaning area into manageable sections. This will help you work systematically and ensure that each section receives proper attention. Smaller sections are easier to manage and allow for more thorough cleaning.
Dip the scrub brush into the cleaning solution, making sure to saturate the bristles. Start applying the solution to the porcelain pavers in the first section, working from one end to the other. Use gentle pressure to evenly distribute the solution over the entire surface. Pay extra attention to areas with visible stains or heavy dirt buildup.
Once you have applied the cleaning solution to a section, allow it to sit on the pavers for a few minutes. This dwell time allows the solution to penetrate the surface and effectively loosen any embedded dirt, stains, or grime. Refer to the detergent or cleaner manufacturer’s instructions for the recommended dwell time.
After the cleaning solution has had time to work, use the scrub brush or broom to agitate the surface of the pavers. Scrub in a circular motion or back and forth, applying moderate pressure. This agitation helps to dislodge and lift the dirt, stains, and grime from the surface of the porcelain pavers.
For particularly stubborn stains, you may need to repeat the application of the cleaning solution and increase the intensity of your scrubbing.
After that, rinse the entire area the same way you did before.
Step 05: Drying the pavers
Once you have rinsed the pavers, it is crucial to avoid walking on them until they are completely dry. Walking on wet pavers can cause slips, accidents, and potential damage to the surface. Create clear boundaries or use temporary barriers to prevent any accidental foot traffic during the drying process.
The best method for drying porcelain pavers is to allow them to air dry naturally. This means letting them dry without any external aid such as fans or heaters. Natural air drying ensures that the pavers dry uniformly and minimizes the risk of uneven drying or damage caused by excessive heat.
Keep in mind that the drying time for porcelain pavers can vary depending on the weather conditions. Factors such as humidity, temperature, and sunlight exposure can affect the drying process. In warmer and drier climates, the pavers may dry more quickly, while in cooler or more humid conditions, drying time may be longer.
Professional cleaning of porcelain pavers
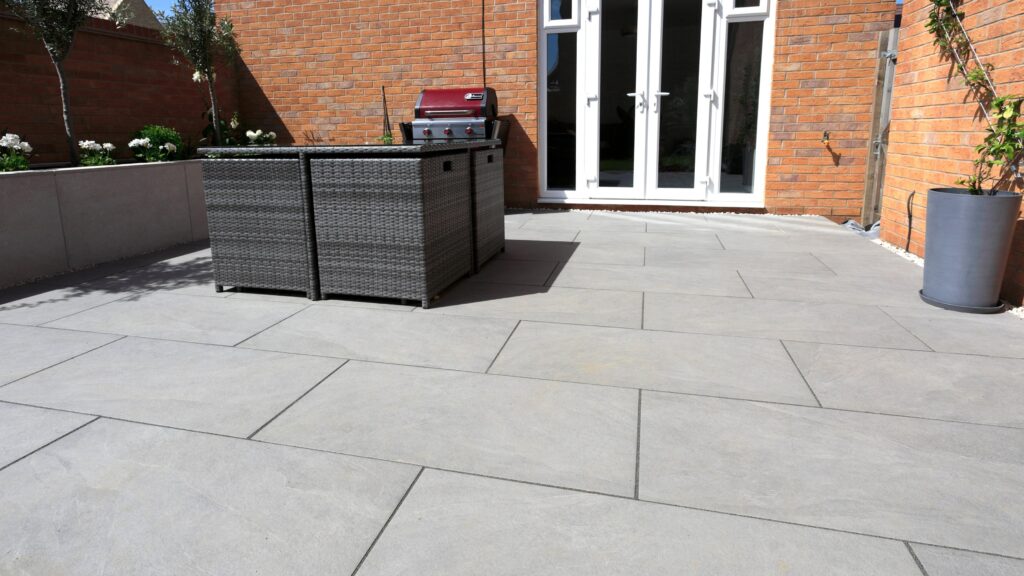
And with that, you’re done – and now you know how to clean porcelain pavers.
Properly cleaning and maintaining your porcelain pavers is crucial for preserving their beauty and longevity. By following the step-by-step guide provided in this article, you can ensure that your outdoor space remains pristine and inviting for years to come.
Remember to regularly sweep, rinse, and scrub the pavers, and address any stains promptly for optimal results. With a little care and attention, your porcelain pavers will continue to enhance the beauty of your outdoor area.
And if all of that sounds like too much of a hassle, your best course of action is to hire professional hardscape contractors to help you.
We here at JS Brick have performed countless porcelain cleaning jobs over our 23 years of activity, so we know how tricky it can sometimes get and how many homeowners are afraid to tackle it from a DIY perspective.
Therefore, if you are around Sarasota County, FL, you can always give us a call to provide that same job for you! Contact us anytime for a free estimate on our services and get your porcelain pavers cleaned today.


