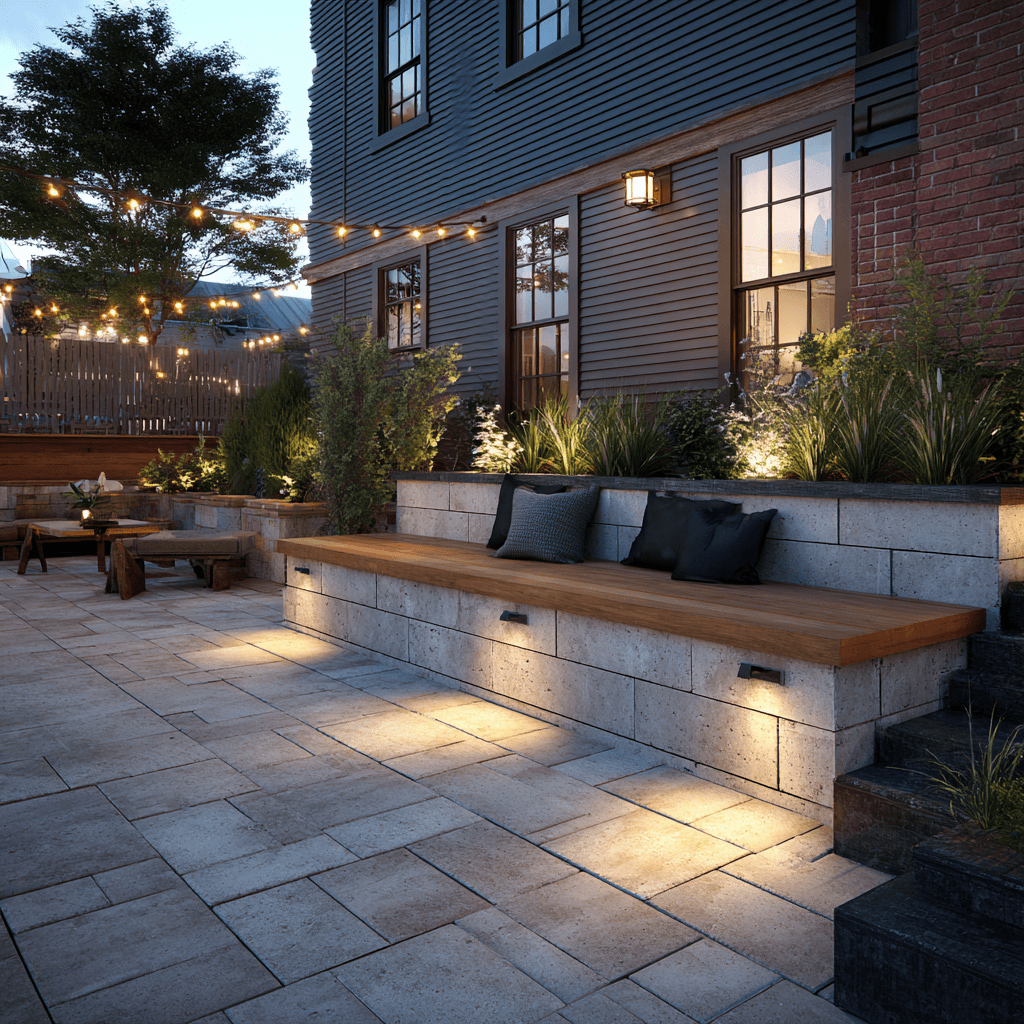
A paver seating wall can add both functionality and aesthetic appeal to your outdoor space. Whether you’re looking to create a cozy nook in your garden or a stylish seating area on your patio, learning how to build a paver seating wall can be a rewarding DIY project.
Well, at least if you have the right tools and time. In this guide, we’ll take you through the step-by-step process of constructing a durable and visually pleasing paver seating wall.
Don’t miss: How to anchor a pergola to pavers – Complete guide
Jump to:
How to build a paver seating wall: step by step
First of all, it’s important to note how crucial expertise and technique are for hardscape projects, regardless of size. Knowing this, make sure to call for professional help near you if any step seems tricky or too much to handle. You don’t want your precious budget going to waste – and experts can make the best out of your dream project without hassle.
Step 01: planning and design
The first and most important step in how to build a paver seating wall is to plan the layout and design of your project.
Begin this process by evaluating the dimensions, shape, and optimal location to seamlessly integrate the seating wall into your surroundings. Assess the available space and determine the dimensions of your seating wall.
Consider the intended purpose of the wall – whether it is for casual seating, as a retaining structure, or to define specific areas within your outdoor space. Pay careful attention to the height, width, and length of the wall, ensuring it aligns harmoniously with the overall landscape design.
Explore various shapes that could complement your existing outdoor features and personal preferences. Rectangular or curved designs, for example, can provide distinct visual interest, while strategic angles may contribute to a dynamic and modern look.
Selecting an appropriate location for the seating wall is crucial. Consider factors such as sun exposure, views, and proximity to other features like patios or gardens.
Ensure that the placement maximizes both comfort and functionality, creating a space that is not only visually appealing but also practical for gatherings and relaxation.
Once you have a clear vision of the design, create a detailed sketch or use design software to visualize the seating wall in the context of your outdoor space.
Use this sketch to calculate the number of pavers needed based on the dimensions of your seating wall. Take into account the size and shape of the pavers you’ve chosen, considering any additional materials for the foundation and jointing.
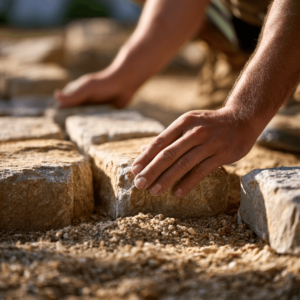
Step 02: excavation
To establish a solid foundation for the paver seating wall, start by excavating the soil to the desired depth.
This excavation should extend to a depth that accommodates the specific requirements of your project, taking into account factors such as the type of soil, load-bearing capacity, and the dimensions of the paver seating wall.
Clear the area of any unwanted vegetation, roots, rocks, stones, or other kinds of debris that might hinder the uniformity of the foundation. Focus on achieving a level and even surface.
If necessary, utilize appropriate tools, such as a level and a compactor, to ensure that the ground is uniformly flat.
Step 03: base preparation
Once the excavation is done, spread a layer of finely crushed gravel or purpose-made paver base material evenly across the excavated area. Employ a sturdy rake to distribute the material, guaranteeing a consistently level surface and uniform thickness.
Compact the base using a tamper to fortify the integrity of your foundation, and invest time in compacting the base material thoroughly. Take the time to achieve a well-prepared and compacted base.
To finish your base, lay landscape fabric over the compacted base material to prevent weed growth. Trim the edges to fit the designated area.
Step 04: install edge restraints
Enhance the structural integrity and longevity of your seating wall layout by implementing edge restraints along its perimeter. These edge restraints play a pivotal role in effectively containing and supporting the pavers, ensuring they remain in place even under various environmental stressors.
Choose high-quality materials for the edge restraints, such as durable metal or composite materials, to withstand the elements and provide long-term stability.
Consider opting for restraints with interlocking features, enhancing their ability to resist lateral movement and preventing the shifting or dislodging of the pavers over time.
Ensure that the restraints are securely anchored to the ground, using appropriate anchoring mechanisms like stakes or adhesive, to resist any potential upheaval caused by soil movement or external forces.
Step 05: add a layer of sand
Spread a layer of fine sand over the landscape fabric, taking care to evenly over the entire area designated for your paver installation.
Once the sand is uniformly spread, employ a straight board or level to meticulously level the surface. This process guarantees that your paver foundation is flat and smooth, providing a solid base for the pavers to rest upon.
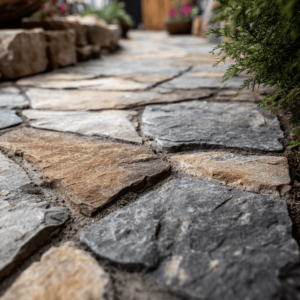
Step 06: placing and securing pavers
Begin laying the pavers for the first course, starting from one corner and working your way across. Utilize a level to ensure each paver is even and level with its adjacent counterparts.
Continue building upward, adding adhesive between layers to securely bond the pavers. This not only enhances the structural integrity of the installation but also minimizes the chances of movement over time. Be attentive to the alignment and spacing between the pavers.
Step 07: backfill
Depending on your design, you might need to backfill behind your seating wall with either gravel or suitable soil. Backfill serves multiple purposes, providing drainage, stability, and support for the seating wall.
This is where things might get complicated from a DIY perspective, especially for those without previous hardscape experience.
This part of the process is crucial for establishing a firm foundation, preventing the shifting of the seating wall over time, and ensuring proper drainage by sloping the backfilled area away from the seating wall.
Once you take care of the backfill, our installation will be done.
Professional help is always recommended
As you can see, the process of how to build a paver seating wall is not exactly easy – especially when it comes to the drainage of the area. If you need to backfill, for instance, bad drainage can lead to a potential disaster. As we mentioned before, the best course of action is to hire professional help if you’re not 100% sure you know what you’re doing.
We here at JS Brick have been working in the hardscape business for 24 years, and during that time we have seen many disastrous DIY pavers seating wall projects cost tons of time and money for many homeowners.
Trust us – you don’t want that to be you. So, again, find a professional hardscape contractor you can trust around your area to help you with your project if you’re not absolutely sure of what you’re doing. That goes for any hardscape project, but especially for how to build a paver seating wall.
You can always contact us for a free estimate on our services so we can start helping you and add to our long list of satisfied customers!