Learning how to break a concrete paver in half might seem like a job for professionals only – but with the right tools and guidance, it’s a task that experienced homeowners and DIY enthusiasts can handle quite effectively. Whether you’re redesigning a patio, building a garden path, or simply fixing uneven edges, understanding the breaking of a paving stone is essential to take care of those tight corners where a full unit can’t seem to fit, among other design cues that only hardscape lovers will understand.
Well, no worries. In this article, I will walk you through everything you need to know to make precise cuts, avoid common mistakes, and work safely.
You may also like: How to cut pavers for curves? Learn now!
Jump to:
How to break a concrete paver in half: choosing the right tools
Before you begin breaking a paver, it’s important to prepare both your tools and your workspace properly. This not only ensures a clean and accurate break but also keeps the work safe and manageable. There are two common approaches to breaking concrete pavers: manual and powered.
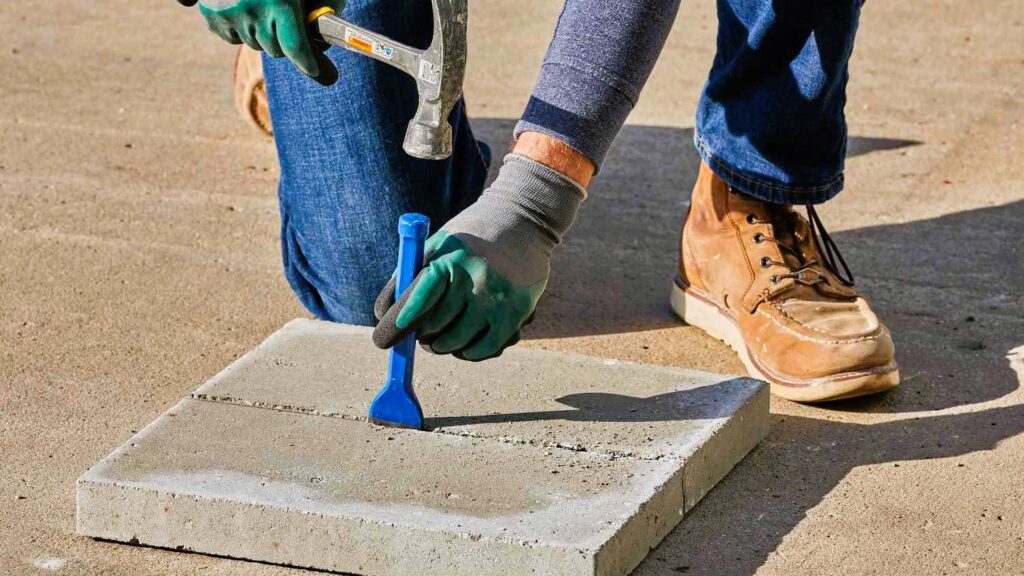
The manual method is ideal for those working on a small number of pavers or when a rugged finish is acceptable. This approach involves using a masonry chisel and a hammer. The paver must be placed on a stable surface, ideally supported close to the cutting line.
This setup minimizes vibrations and keeps the paver from shifting during the process. You’ll also need safety gear like gloves, goggles, and a dust mask to protect yourself from flying chips and fine dust.
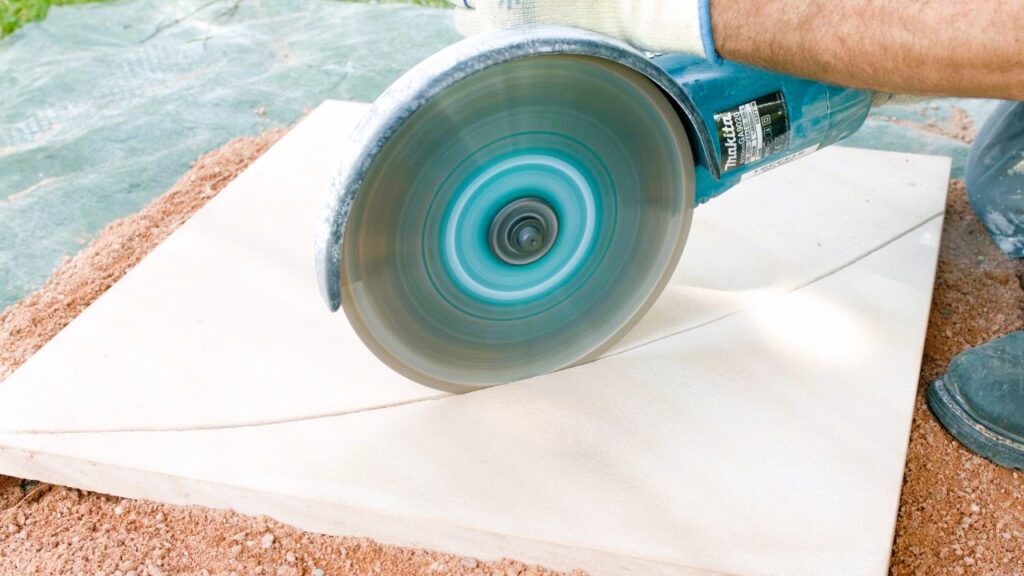
On the other hand, for a more precise and professional finish, powered tools are recommended. A circular saw equipped with a diamond blade or a wet saw can make deeper, straighter cuts.
These tools allow greater control over the depth and direction of the break, resulting in cleaner edges that are especially important when the pavers are used in visible, high-traffic areas. Wet saws have the added benefit of minimizing dust, which is a major plus when working in enclosed or populated environments.
How to break a concrete paver in half: a step-by-step guide
Step 1 – Preparing the Work Area
The first and most overlooked step is setting up your workspace. Choose a flat, stable surface that provides good support and isn’t prone to vibration.
The space should be well-lit (preferably outdoors or in a ventilated area) to manage dust, especially when using power tools.
Before placing the paver, make sure the surface is free of debris. Even small particles can cause instability, which could lead to uneven cuts or even injury. Lay a rubber mat or a piece of foam padding under the paver to protect both the surface and the material from chipping due to sudden force.
Organize your tools nearby, keeping everything accessible so you don’t have to step away mid-process. At a minimum, this includes your chisel, hammer or mallet, and measuring tools, or if using power tools, your saw with the appropriate blade. Put on your protective gear before handling the paver.
Step 2 – Measuring and Marking the Cut Line
Measure twice, cut once. Use a measuring tape to find the exact midpoint or the location where you want to make the break.
Once measured, use a straightedge and pencil or chalk to draw a visible line across the top surface of the paver. If possible, extend the line slightly over the edges of the paver to maintain alignment during cutting or scoring.
Accuracy here is key. A crooked or misaligned line will lead to an uneven break that could ruin the aesthetic and function of the paver in your final layout. For highly visible installations, such as edge stones around a patio or pool, even a few millimeters of error can be noticeable.
If you’re planning to cut multiple pavers the same way, create a simple cardboard template or jig to speed up the marking process while keeping consistency.
Step 3 – Scoring the Paver Surface
Scoring creates a weak point in the paver, guiding the break to follow your intended line. The method you choose depends on the tools you’re using.
If working manually, place your masonry chisel on the line and gently tap it with a hammer. Do this across the entire line, repeating the process 2 or 3 times until a shallow groove forms. The groove should be deep enough to guide the chisel during the final break, but not so deep that it begins to compromise the paver’s structure prematurely.
For power tool users, scoring is more efficient and precise. Set your circular saw or wet saw to a shallow depth, around ¼ inch. Slowly guide the blade along the line, applying light pressure.
Let the tool do the work; forcing it can burn out the blade or chip the surface. After the first pass, inspect the line. If needed, make a second pass to deepen the score to around ½ inch for a cleaner break.
Scoring both the top and sides of the paver improves the chance of a straight, even split. Be mindful of dust while scoring, especially if you’re indoors, concrete dust contains silica, which can be hazardous when inhaled over time.
Step 4 – Executing the Break
With the paver properly scored, you’re ready to perform the actual break. This step requires control and precision.
For a manual break, reposition the chisel into the center of the scored line and begin striking it with increased force. Start with medium strikes and gradually build power as needed.
It’s important to strike evenly across the length of the groove rather than focusing pressure in one spot. Once you hear a change in sound or see the crack propagate, continue working along the groove until the paver separates.
In powered scenarios, the scored cut is often deep enough that you can use simple leverage to break the paver. You may apply gentle downward pressure on both sides of the score or tap along the underside of the groove with a rubber mallet.
If the paver resists breaking, repeat the cutting pass until the groove is slightly deeper, then try again.
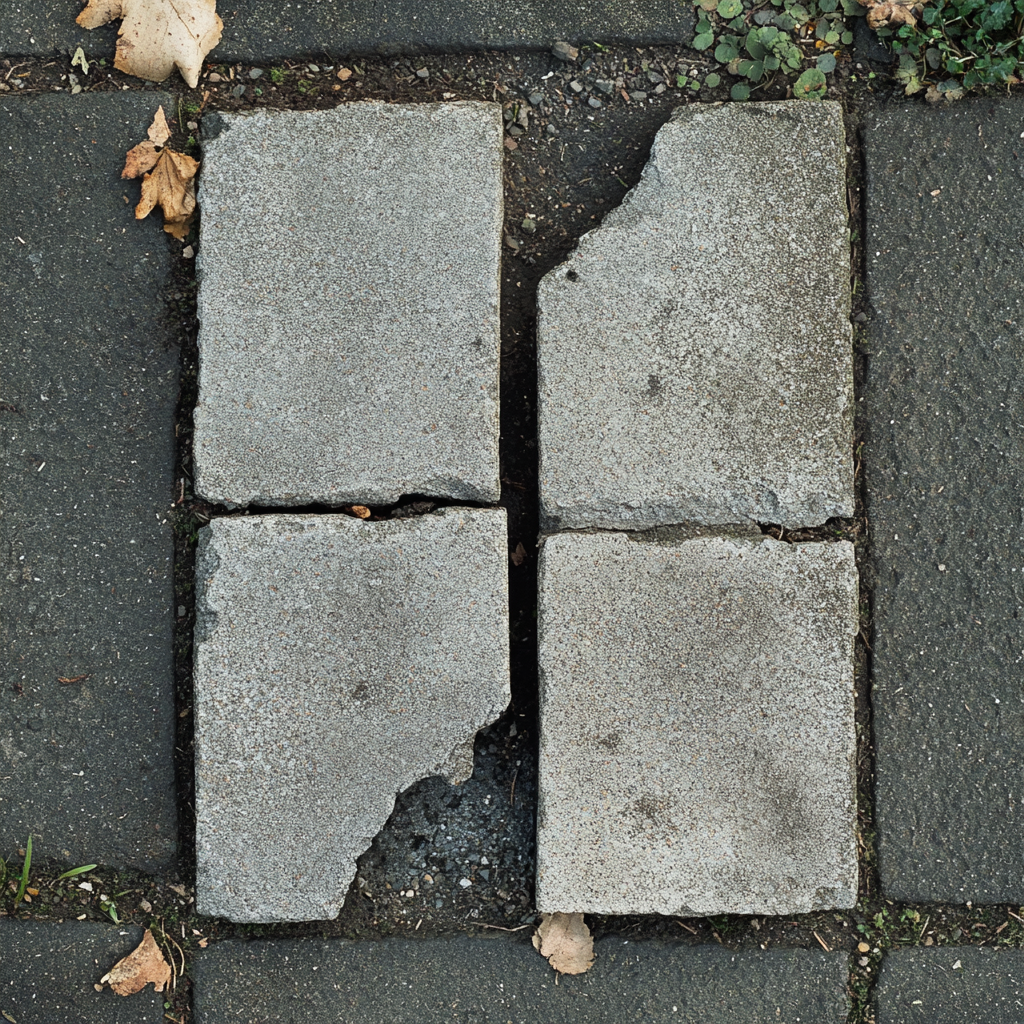
The break should be clean and follow your marked line closely. However, minor surface chipping on the edge is normal, especially with dense concrete or weathered pavers.
Step 5 – Smoothing the Cut Edge
Even a well-executed break can leave behind small chips, rough spots, or sharp edges. Smoothing these is critical for both aesthetics and safety, especially in areas where bare feet or hands may come in contact with the paver.
Using a handheld masonry grinder or an angle grinder with a concrete disc, slowly pass along the broken edge. Focus on the corners first, where roughness is most common, and then blend the center of the edge to create a uniform finish. Keep the grinder moving to avoid heat buildup and unintentional indentations.
Alternatively, a concrete rubbing stone can be used for finer touch-ups. Rub the stone in a circular motion over any irregularities until the surface feels smooth to the touch.
Once finished, wipe the paver clean with a damp cloth or use compressed air to remove dust. Inspect the final edge closely before installation. If you notice any cracks extending from the break, consider re-cutting another paver to avoid structural issues later.
Read also: How to make a curved paver walkway without cutting pavers
Why professional help always matters
Now you know how to break a concrete paver in half – but while that’s something many can handle on their own, as we said, achieving a flawless finish often requires the experience and tools of a professional. That’s where hiring the help of a professional hardscape contractor like me and my colleagues comes in.
And if you happen to be around Sarasota County, in FL, we here at JS Brick are ready to help you. With over two decades of experience, we’ve worked on everything from small backyard patios to large commercial installations, so don’t hesitate to give us a call for anything hardscape-related.