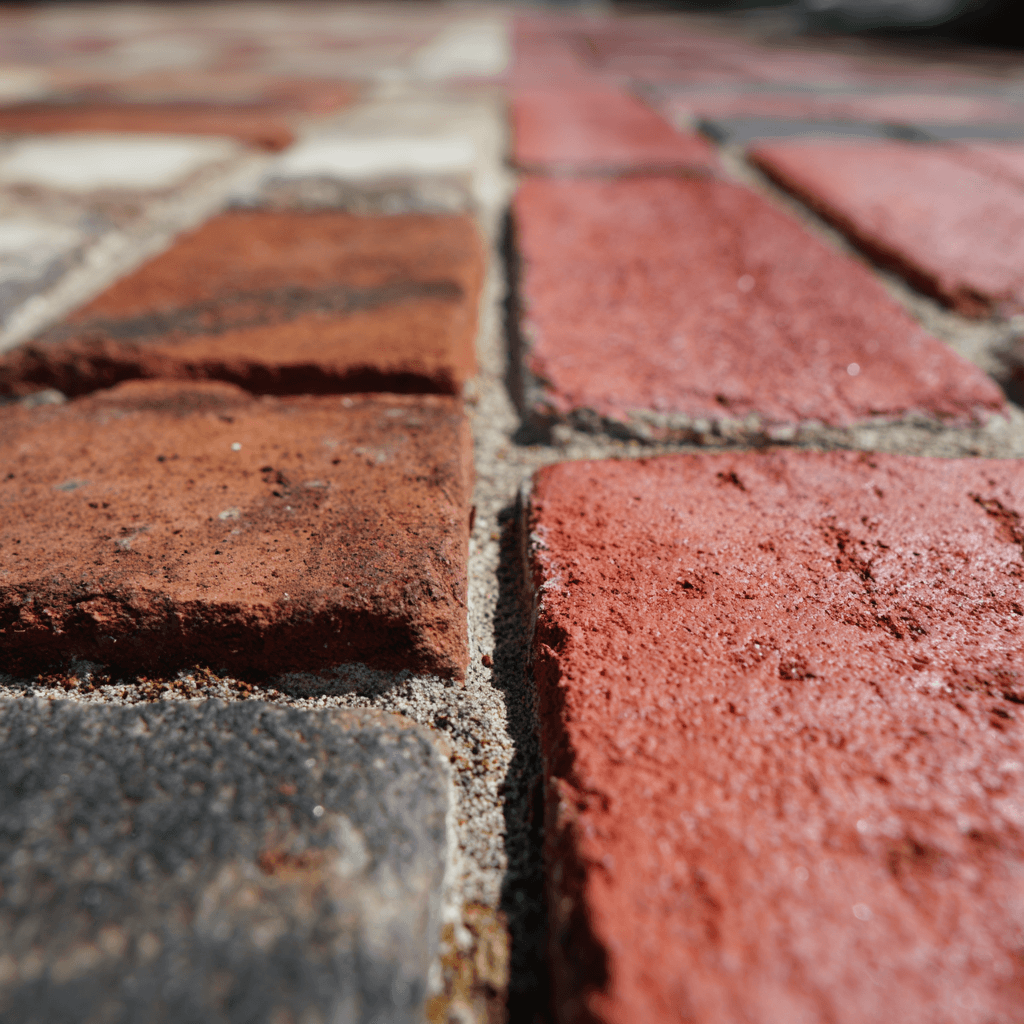
Classics are called classics for a reason. And nothing is more classic in the paver industry than red paver bricks. Today, in this article, we want to take our time to talk about this classic hardscape element.
And when we say classic, we mean it. Bricks are the oldest construction element known to man, dating back to 7000 BC. The first bricks were simply made by making a block of mud that was then dried in the sun.
But how are they made today? Are they still a good hardscape choice in the modern world, or there are better materials? Let’s answer that and many more questions about bricks.
Jump to:
Red Paver Bricks: A Quick History Lesson
We find it that one of the best ways to understand and better appreciate something is to know about its history. So we want to talk a little about the manufacturing process of bricks over time.
As we mentioned, bricks have been made since 7000 BC by making blocks of mud and letting them dry in the sun. However, this was only possible in regions warm climates.
While different cultures used the same basic “dry mud” technique, it was common to make slight alterations to the brick composition. Ancient Egyptians, for example, added straw to the mixture to create a stronger final product.
The biggest leap in brick technology happened around 3500 BC, when fire bricks were developed. Surprisingly, we still use this same technique today.
Fire bricks are mixed and set into molds that are later put in a kiln, where high temperatures cook the brick to the point of removing any moisture and dry bonding it together.
With the invention of the fire brick, the need for warmer climates to produce bricks was no longer required, which made the use of brick expand to colder regions and beyond.
Especially to Ancient Rome, for instance, where they developed a mobile kiln, allowing for the constructions of roads across the entire Roman Empire. Some of the bricks set at that time are still there today. That is a big statement on how good and durable of a hardscape element they can be.
Like anything else, bricks were handmade until the Industrial Revolution. With the advent of brick making machines, the usage of bricks expanded greatly across the entire globe.
Modern brick making techniques have included some new elements in their composition, both to alter the structure to make different colors.
Use of Bricks as Pavers
Nowadays, bricks can also be used as pavers.
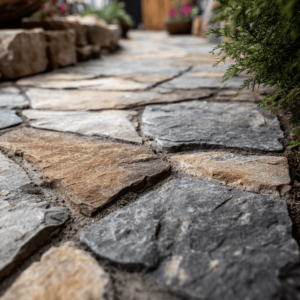
They have a limited range when it comes to shapes and sizes, but offer a great variation of earthly shades and tones. You can find some colorful bricks out there, but they are not very common.
Bricks are considered a very elegant and timeless choice, ideal for more rustic and simple designs. More modern designs don’t incorporate brick that much, though, since it lacks the smooth and pristine surfaces that usually go along with it.
As for durability, bricks can last a lifetime if properly cared for. Maintenance is very important, starting with sealing, which needs to be applied every two years or so. Then, regular sweeps to keep it free from debris and a deep cleaning once every six months.
Usually, bricks cannot withstand very heavy loads, but there are brick variations that are made to support up to 10,000 psi, the same as the powerful Belgian blocks would. Of course, those variations are more pricey.
And speaking of price, brick pavers cost range between $15 and $20 per square foot. They are more expensive than concrete pavers, but you’re paying for the elegance and the timeless look that only brick pavers provide.
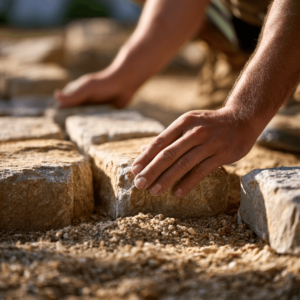
Red Paver Bricks Installation
The best way to install paver bricks is a dry installation. They take advantage of the individual strong pieces to create a malleable structure that can adapt to the weight above and the ground movement below.
Here is a quick DIY guide on how to do a dry installation.
- Step 01 – Dig
In order to do a dry installation, you’ll need to dig a hole of either 7 inches + the thickness of your pavers (for walkways and patios) or 13 inches + the thickness of your pavers (for driveways).
This hole needs to have a slope of 2″, so to every 8 feet of distance, you increase the depth by 2″.
Once the hole is dug, cover its bottom with geotextile fabric. - Step 2 – Base
Now you’re going to fill your hole with road base crushed rocks. We recommend the use of 3/4 gravel. For walkways and patios, you’re to cover 6″ of the entire hole with the gravel. Add the gravel in small increments, compacting each increment as you go. - Step 3 – Sand Base
For that step, you’re going to need two 1″ pipes and a 2×4. You’re going to work in small sections. Place the pipes parallel to each other, at a distance in which the 2×4 can be placed on top of both.
Now, spread bedding sand on top and around the pipes and use the 2×4 to screed the sand. This will create an even 1″ layer of sand. - Step 4 – Place the Bricks
Now is finally time to place the bricks. Gently place the bricks on top of the sand, at a distance of 3 mm (⅛”) of each other. Never shift them in place once they are settled. - Step 5 – Polymeric Sand
Finally, once all the bricks are set, it is time to sand your installation. This is a very important step – it is actually what makes the magic happen. For this step, you’re going to need polymeric sand.
Spread the polymeric sand across your entire installation, filling the joints between the pavers. Sweep gently the sand around with the help of a broom until all the joints are filled.
After that, remove the excess sand as best as possible and slightly mist the installation with a garden hose to activate the sand. - Step 6 – Sealing
Now for a very important piece of information. After the installation, the bricks might produce efflorescence. This is a normal process, it happens with many hardscape elements.
Because of this, the recommendation is that you wait at least 30 days before sealing your installation, since that is usually the time efflorescence needs to fade away.
After 30 days, you can remove the efflorescence and finally seal your pavers.
Professional Help With Red Paver Bricks Installation
As you could see, the installation process is not easy.
If you’re not sure that you can handle it by yourself, your best course of action is to hire professionals to do it for you.
You see, the help of a professional hardscape contractor is pivotal to the success of your project. Despite brick being a very common and easily found commercial resource, experts can help you choose the best materials and give you a hand with the entire installation process. So find a professional in your area you can trust before making any final decisions!
And if you happen to be around our area of activity, the Sarasota and Manatee counties, in Florida, why not give us a call to help you?
We here at JS Brick have 22 years of experience in the field with a huge list of satisfied customers, and we would be glad to add you to this list.
Contact us right now at +1 941 586 9140 or email us at [email protected]. We would be happy to hear from you – and help you with any hardscape project you might have.