Designing an outdoor living space is always a smart way to increase the beauty and value of a home. But when the yard includes a natural incline, many homeowners worry that installing a patio will be difficult or expensive. However, a paver patio on a slope is perfectly achievable, and it can become one of the most visually striking elements of the property.
With the right engineering, skilled professionals, and careful drainage planning, a sloped patio can offer both functionality and elegance. Building on a slope requires more technical attention than a patio built on flat ground, but when done correctly, it results in a long‑lasting, visually dynamic outdoor space.
So let’s get right into this guide so you can learn everything about building a paver patio on a slope.
You may also like: The ultimate DIY paver patio tutorial for homeowners
Jump to:
Paver patio on a slope: turning slopes into advantages
A sloped yard doesn’t need to be flattened to be usable; in fact, slopes open the door to creative landscape design. Instead of seeing an incline as a limitation, homeowners and designers can use elevation to create dimension, visual interest, and functional separation between spaces.
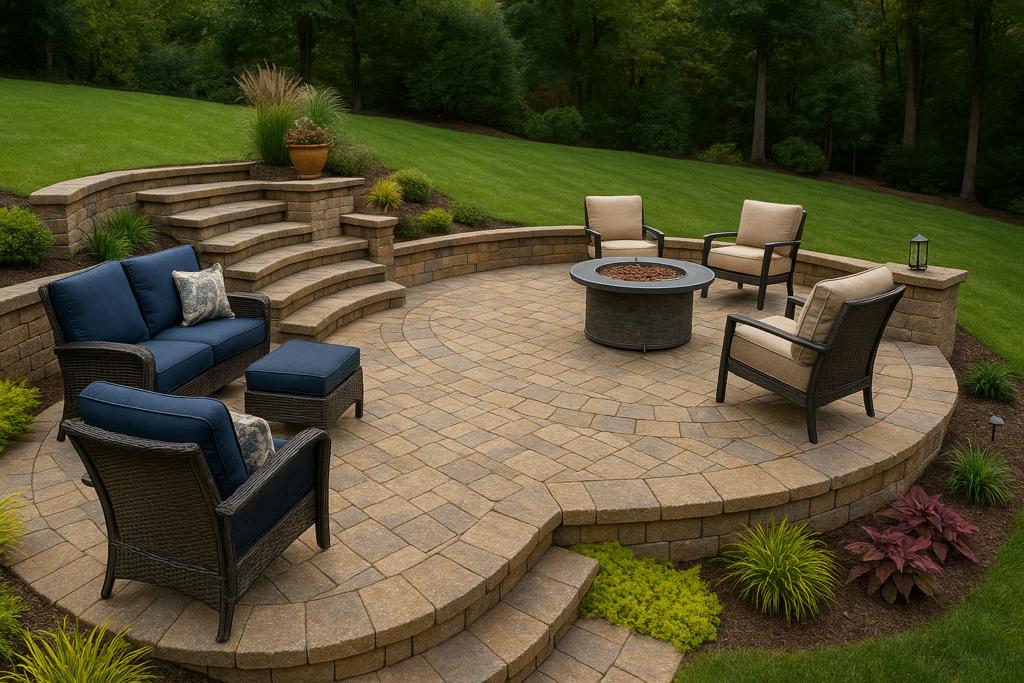
Tiered living spaces
A paver patio on a slope allows the creation of multiple levels, each serving a different purpose. One level may function as a dining space, another as a lounge area, and a third as a spot for a firepit or hot tub. Each surface is stable and attractive, yet distinct.
Integrated landscaping
When a patio follows the natural terrain, it can be paired with features such as garden beds, boulders, shrubs, and accent lighting. The slope helps frame the space, allowing plants to cascade or rise in coordination with the patio layout.
Improved drainage
Unlike flat‑yard patios, a sloped patio naturally supports water flow. With proper grading, runoff moves away from the home and toward intended drainage areas, reducing puddles, erosion, and foundation concerns.
Architectural depth
Even a mild slope can add visual character. Instead of a single flat surface, a sloped patio encourages the eye to travel, making the yard feel larger and more dynamic.
How professionals build on a slope
Constructing a paver patio on a slope is not as simple as cutting into the hillside and adding stones. It requires technical skill, planning, drainage strategies, and reinforcement methods that ensure longevity.
Excavation and grading
The first step is shaping the land. Depending on the angle of the slope, the installer may partially level the soil or create stepped surfaces. The key is to balance natural contours with structural stability while minimizing unnecessary soil removal.
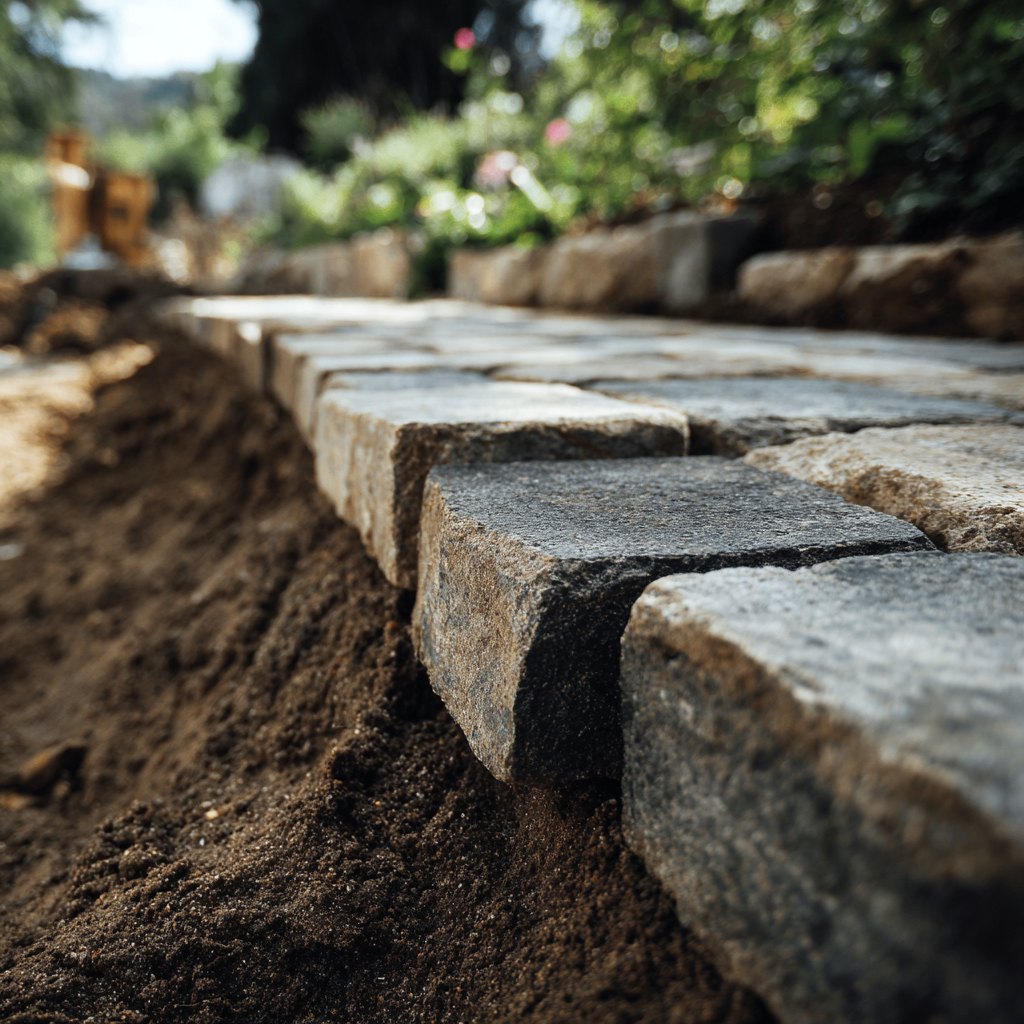
Retaining walls and structural support
When the slope is significant, retaining walls are often essential. These walls prevent soil from shifting and create secure levels for the patio surface. They may be built from concrete blocks, stone, or matching pavers. In some cases, low walls double as seating or serve as natural borders between patio tiers.
Building a proper base
The foundation is the most critical element of any paver patio, and even more so on a slope. The base is created in compacted layers of gravel, followed by bedding sand. Each layer must be properly compressed to prevent settling, shifting, or erosion.
Drainage engineering
Good drainage protects the patio for decades. Professionals establish a subtle pitch, usually around 1/8 inch per foot, to guide water away from structures. Solutions may include permeable pavers, drainage pipes, French drains, gravel trenches, or channel drains.
How a paver installation works on a slope
The installation of pavers on sloped terrain follows a deliberate process designed to ensure strength, flexibility, and long‑term performance.
Step 1: Site assessment
We usually begin by evaluating the slope degree, soil type, water flow direction, and any nearby structures. This determines whether the design will involve leveling, terracing, or a hybrid layout.
Step 2: Preparing the slope
Before installing pavers, the slope is reshaped. The installer may cut into the land, reinforce it with walls, or build a series of stepped platforms. Proper preparation prevents future erosion.
Step 3: Layered base construction
The foundation is formed in layers. Crushed stone is added and compacted, sometimes in multiple depth stages depending on the slope. Bedding sand is spread and leveled as the layer that directly supports the pavers.
Step 4: Installing edge restraints
To prevent pavers from shifting downhill, restraints or border systems are installed. These may be anchored deep into the ground or built as permanent stone edging.
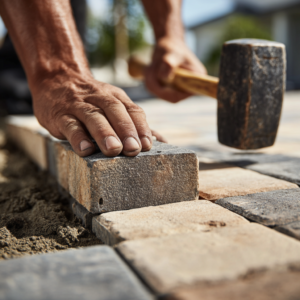
Step 5: Laying the pavers
Pavers are placed in the desired pattern, with joints aligned and spacing consistent. Whether the pattern is herringbone, running bond, or random, installers adjust the placement to maintain even spacing across changing elevations.
Step 6: Joint sand and compaction
Once the surface is laid, sand is swept into the joints, and the entire patio is compacted. This locks the pavers into place and strengthens the surface against movement.
Step 7: Final grading and cleanup
The surrounding soil is graded to promote water flow. Plants, steps, lighting, and other additions are installed as needed.
Design ideas for sloped patios
A paver patio on a slope offers possibilities that simply don’t exist on flat ground. Instead of a single continuous surface, the terrain allows for depth, shape, and visual movement.
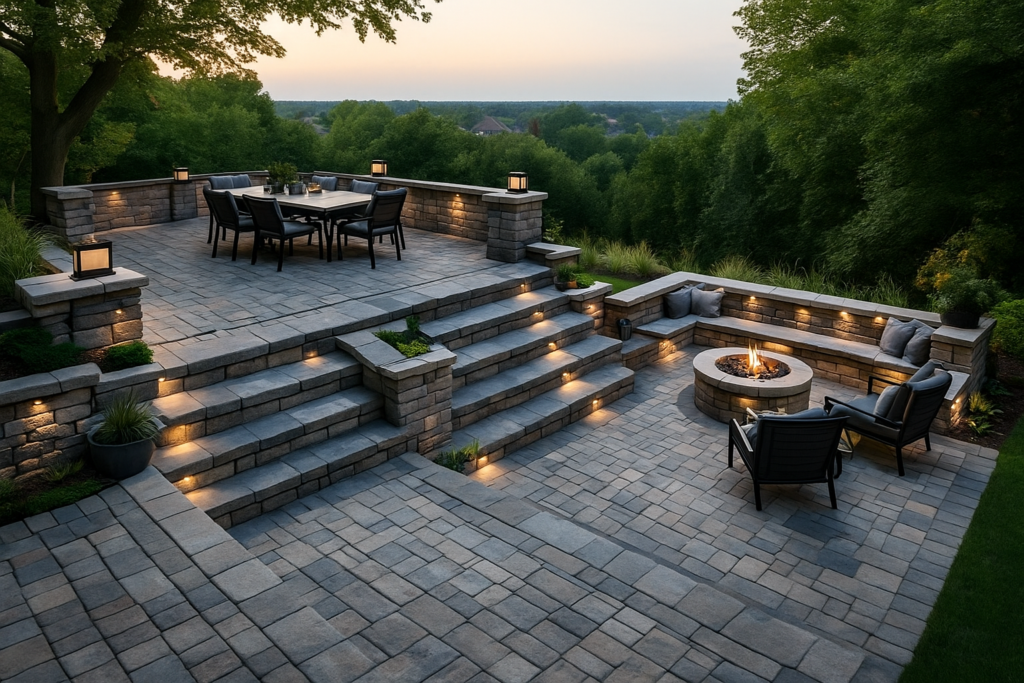
One of the most popular design approaches is the creation of multi‑level patios, where each tier serves a unique purpose, such as an upper dining area overlooking a lower firepit lounge. This style makes excellent use of elevation and gives homeowners natural zones for entertaining, relaxing, and gathering.
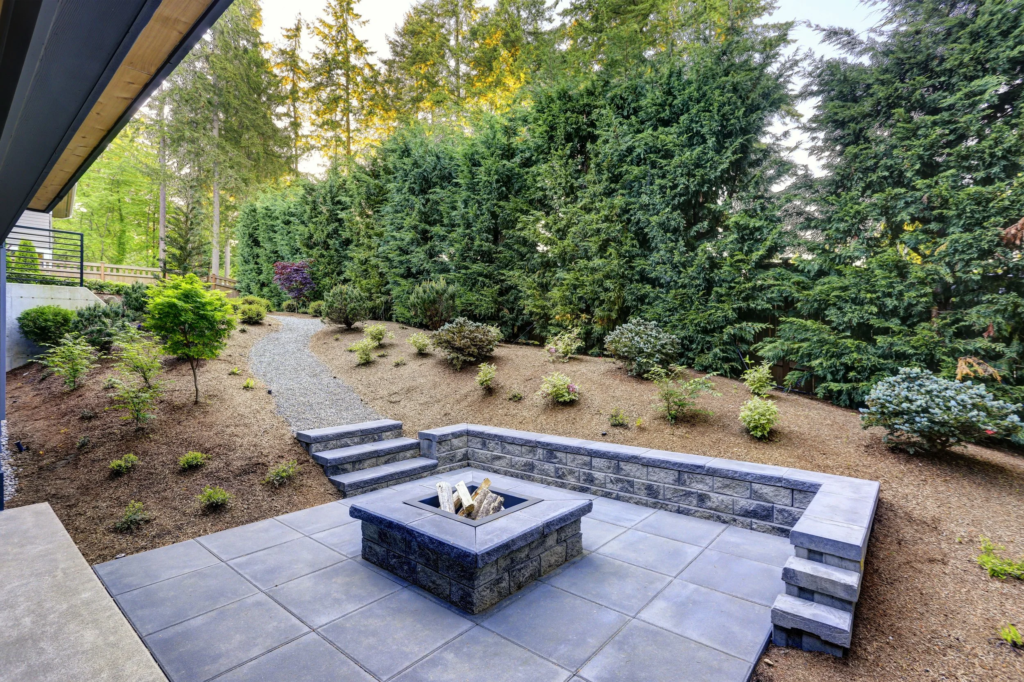
Another way to maximize a sloped patio is by incorporating built‑in seating. Instead of traditional patio furniture, retaining walls become architectural benches, giving the space a clean, permanent look. These seating walls are often designed with capped tops, blending form and function. The result is a patio that remains uncluttered while offering ample seating for guests.
For homeowners who love garden aesthetics, terraced landscaping creates a seamless transition between hardscape and nature. Each level can feature garden beds filled with perennials, herbs, ornamentals, or even small shrubs. The patio feels grounded within the landscape rather than placed on top of it, and the plant selection can reflect color themes, seasonal variation, or lush greenery.
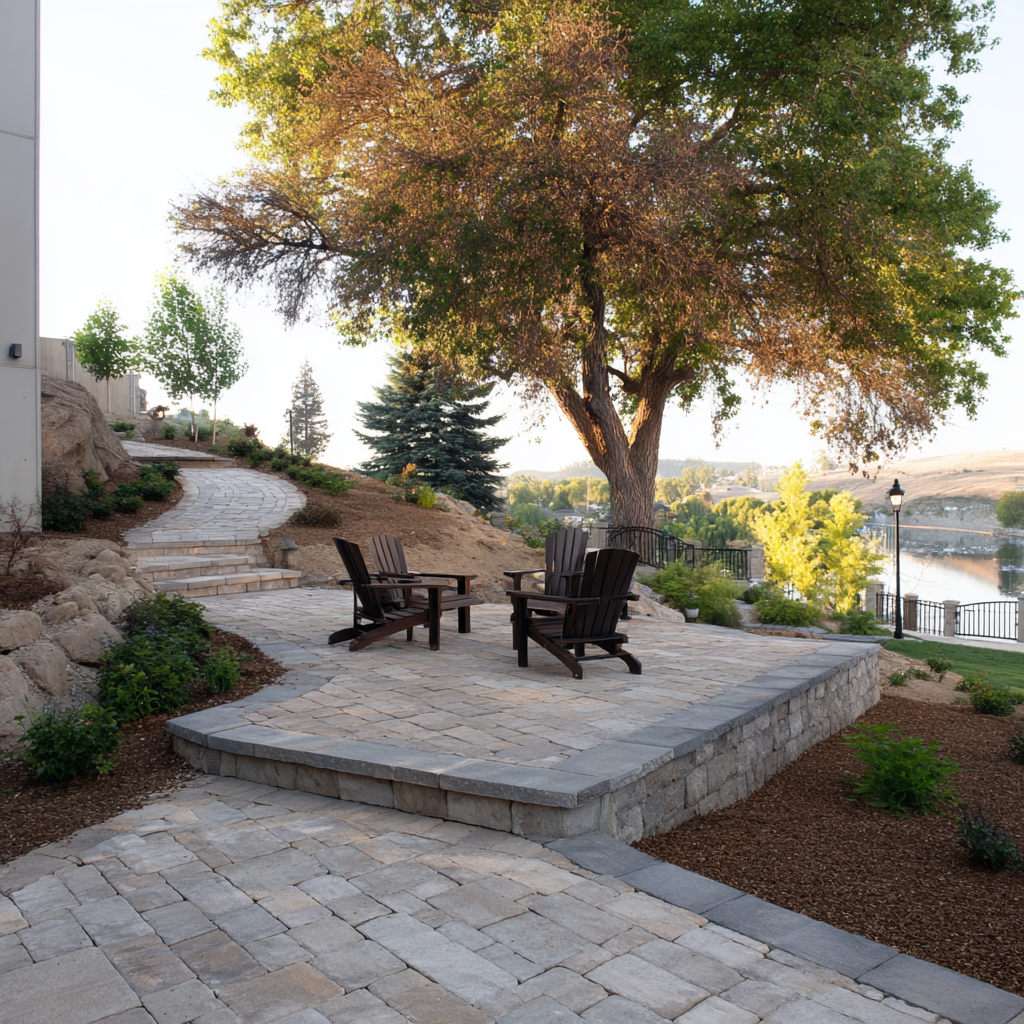
Pathways and steps are also essential features when dealing with slopes. Instead of abrupt elevation changes, stone or paver steps can guide movement between different areas, making the patio feel intentional and inviting.
These steps may be straight, curved, or integrated into planting areas, and when lit at night, they become stunning scenic elements.
Why professional installation matters
Many homeowners are tempted to turn a patio project into a DIY task. While this may work on flat ground, a sloped installation demands professional expertise.
Avoiding structural failure
Improper compaction and base installation can cause pavers to shift, sink, or break apart. On a slope, even slight movement can destabilize the entire structure.
Drainage expertise
Water flowing incorrectly can erode soil, flood areas, or cause long‑term damage. A professional ensures proper pitch and drainage systems.
Correct use of retaining systems
Retaining walls must be engineered, not guessed. A poorly built wall will fail, sometimes catastrophically.
Long‑term value
A professionally built patio increases home value, reduces maintenance, and enhances outdoor living for decades.
Contact JS Brick today to get started!
A sloped yard should never be seen as a limitation. With the right vision and expertise, a paver patio on a slope becomes a functional, elegant, and long‑lasting outdoor space. Instead of fighting the natural grade, the design embraces it, transforming an uneven yard into a standout landscape feature.
The key to success is working with experienced hardscape professionals who understand grading, drainage, and structural reinforcement. And if you are in Sarasota County, in Florida, we here at JS Brick would be glad to help you with your project!
Reach out today for a free estimate on our services and start building the project of your dreams.