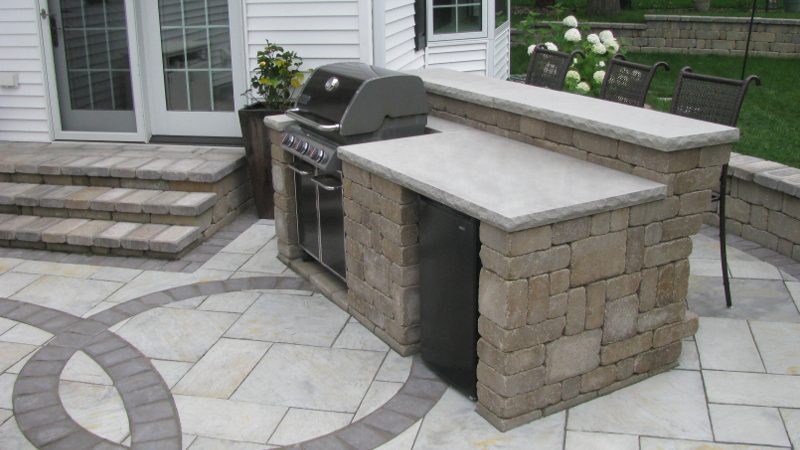
Who doesn’t dream of having a beautiful outside grill for those sunny summer weekends? A paver grill station is perhaps the best way you can approach that. With it, you get safety, functionality and aesthetic appeal all at once. So, how to build one?
Pavers are incredibly versatile, and it is easy to incorporate them into a grill station, or even a complete outside kitchen, project. However, not every paver is safe to be used in high temperatures.
So let’s about the correct paver choice and present you with a quick guide on how you can safely build your own.
Jump to:
Pavers for a Grill Station
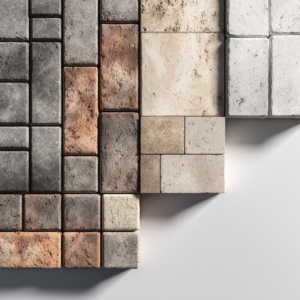
The best pavers you can go for in a grill station project are concrete ones. Size makes all the difference, and we recommend you go with the bigger 7/10,5″ paver variation. If you’re looking for a combination, the minis 7/3,5″ can also be incorporated.
These sizes, of course, are just a suggestion. At the end of the day, it will all depend on exactly what kind of grill station you’re working with. To make things simple, we recommend a simple grill station, without shelves or many elements that will make it difficult to build around.
Building a Paver Grill Station
Planning is the key. Grab pen and paper, take measurements of the height and width of your grill station, and plan the space you want your final project to occuppy.
With the planning done, it is time to mark the place you want your grilling station to be, using lines, chalk, or any other kind of method.
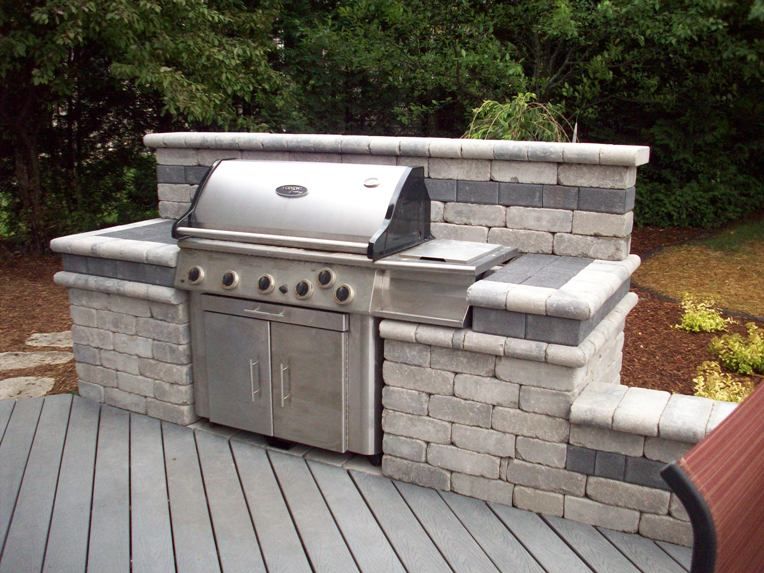
The idea is that you will, essentially, build two “small towers” on both sides of the grill. These small towers will be hollow, so you will start by using your pavers to create a square base, using a masonry square is possible to make sure everything is leveled.
Once you are absolutely sure the pavers are in the position that you want, you can glue them in place using masonry adhesive. You can also use mortar, but masonry adhesive is way easier to use and it performs just fine.
Now, depending on exactly what kind of grill or place you’re working with, you might have to build a small retaining wall to support the back side of the grill. Just be mindful that grills have a space for ventilation in the back, and you don’t want to cover that.
From this point on, simply keep staking rows of pavers on top of each other, always using masonry adhesive to glue them to the previous row. Once the desired height is achieved, your job is done.
Minor Details
The previous guide was a very general one. That will be the basic idea of how to use pavers to build a grill station.
However, we can’t stress enough how the project can greatly vary depending on the model of grill you’re working with. That’s why the planing phase is so important.
Carefully study the movements your grill will need to make. If it has a hood, for example, it needs space in the back to allow for that movement. As for the vents, you can place some loose pavers diagonally at the back of the grill, but never cover them completely.
To finish things off, you can add some countertop at the top of your “towers”, or simply use bigger pavers.
At the end of the day, it is kind of an art form to build a grilling station using pavers. It takes a lot of creativity and adaptability. One option you can maybe go for to make things easier if to work with full sets of outside hardscape elements like the ones Belgard has to offer.
Professional Help
Of course, as always, the best course of action is to hire professionals to help you with your hardscape project.
Specially when there’s a special element like a grill station involved, where something wrong can become a serious hazard issue rather than just a structural or aesthetic one, due to fire and gas involved in the process.
We here at JS Brick have worked on countless paver grill station over the course of our 21 years of experience, so we know how important safety and careful planning are.
So if you happen to be around our service area, the Sarasota County on FL, why not give us a call to help you?
You can contact us any time at +1 941 586 9140 to schedule a free consultation on your project. We would be happy to hear from you.

