In all my years of experience in the hardscape business, I’ve seen countless driveways transformed from dull and grimy to vibrant and pristine with a simple pressure washing. But here’s the truth: knowing how to pressure wash a paver driveway is not as easy as it seems.
Pressure washing pavers isn’t as simple as blasting them with water and calling it a day. Over the years, I’ve learned that technique matters just as much as the tools you use – and today I’ll walk you through the exact process I recommend for cleaning paver driveways.
These methods were refined through trial, error, and years of hands-on experience. You’ll learn how to avoid common mistakes (like washing away joint sand or etching the surface) and discover why even small details, like nozzle selection, can make or break your results.
By the end, you’ll know how to pressure wash a paver driveway safely and effectively.
Read also: What is the best paver cleaner?
Jump to:
How to Pressure Wash a Paver Driveway: Understanding Your Pavers
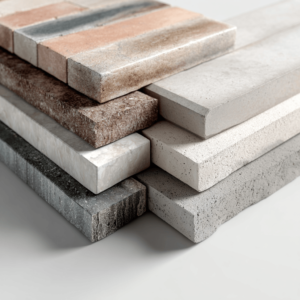
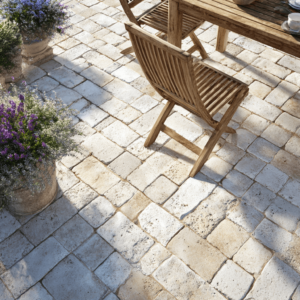
Paver driveways are a blend of beauty and durability, but their porous surfaces and sand-filled joints require careful handling.
High-pressure water can erode the sand between pavers, destabilizing the entire structure. It can also strip the color from softer materials like concrete or clay. That’s why the first rule of pressure washing is to respect the limits of your pavers.
Before starting, identify your paving material. Natural stone (like granite) tolerates higher pressure, while concrete or brick demands gentler treatment. If you’re unsure, test a small, inconspicuous area with a 40-degree white nozzle, which disperses pressure over a wider area. Let the test spot dry completely to check for damage or discoloration.
Step 1: Prep Work: The Foundation of a Successful Clean
- Clear Debris: Sweep away leaves, dirt, and loose sand with a stiff-bristle broom. This prevents debris from clogging your pressure washer or scratching the surface during cleaning.
- Treat Weeds and Moss: Use a screwdriver or joint scraper to remove vegetation growing between pavers. For stubborn roots, apply a biodegradable weed killer, but avoid harsh chemicals that could harm surrounding plants.
- Protect Surroundings: Cover nearby plants with plastic sheeting and close windows to shield your home from overspray. Pro tip: Wetting plants beforehand dilutes any accidental exposure to cleaning solutions.
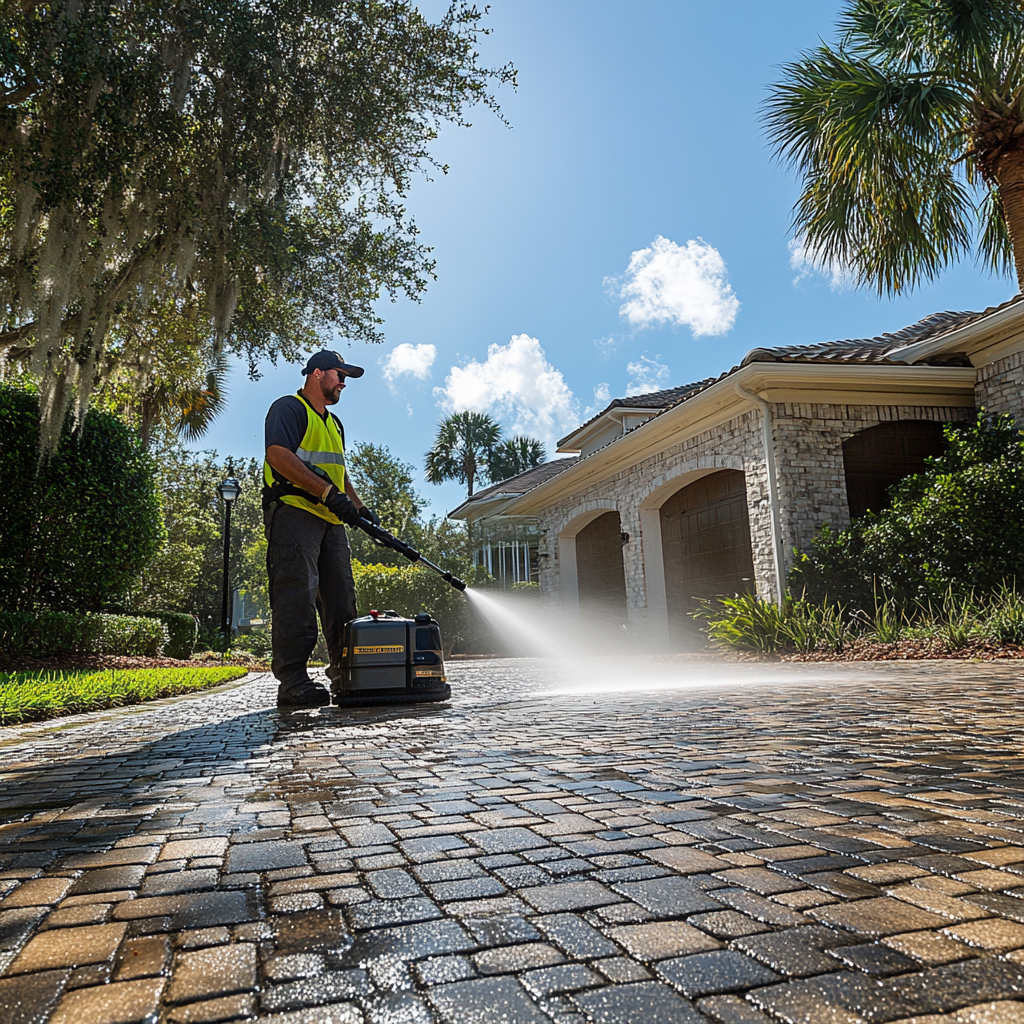
Step 2: Pressure Washing: Mastering the Balance
Here’s where most DIYers go wrong: cranking the pressure too high. Instead, start low and slow.
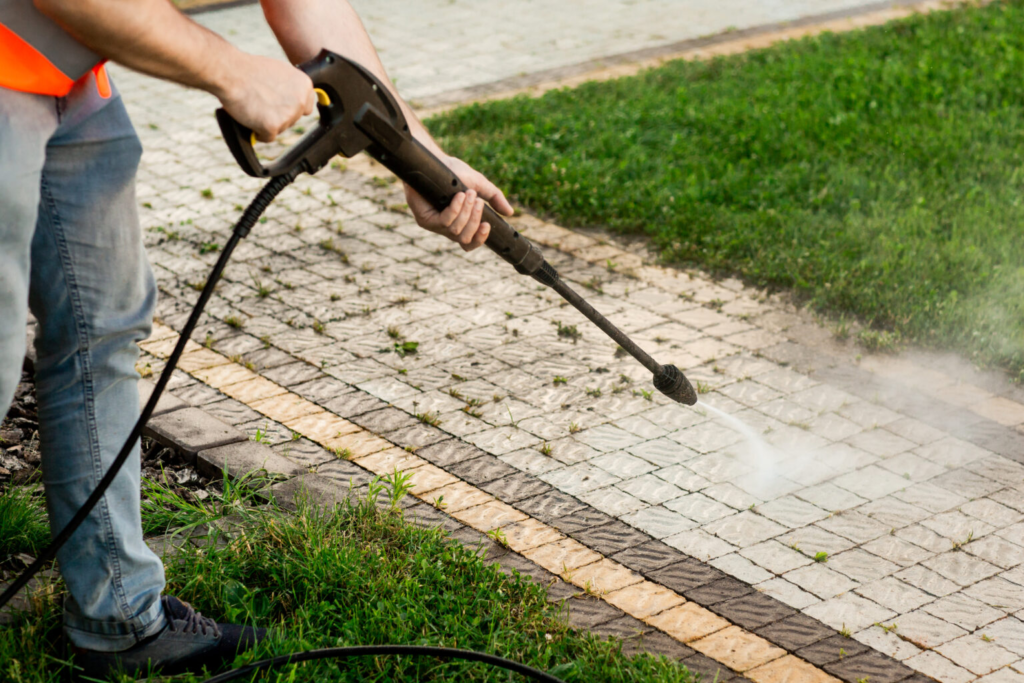
- Choose the Right Nozzle: Attach a 40-degree (white) nozzle to your pressure washer. This wide spray pattern minimizes surface damage. If stains persist, cautiously switch to a 25-degree (green) nozzle, but keep the wand at least 12–18 inches from the pavers.
- Work in Sections: Divide the driveway into manageable 4×4-foot areas. Hold the wand at a consistent angle (15–30 degrees) and move in steady, overlapping strokes. Never linger on one spot; this can create streaks or etch the surface.
- Avoid Joint Lines: Direct spraying into joints will dislodge the stabilizing sand. Angle the spray parallel to the gaps to clean without erosion.
For heavily stained pavers, pre-treat with an eco-friendly cleaner. Mix 1 cup of oxygen bleach (not chlorine) per gallon of water, apply with a pump sprayer, and let it sit for 10–15 minutes before rinsing. This lifts dirt without harming nearby vegetation.
Step 3: Post-Wash Care: Restoring Stability and Shine
- Re-Sand the Joints: After pressure washing, joints often lose sand. Sweep polymeric sand (a mix of fine grains and binding agents) into the gaps. This prevents weeds, deters ants, and locks pavers in place. Lightly mist the area to activate the sand’s adhesive properties.
- Seal for Longevity: While sealing isn’t mandatory after every wash, it’s a game-changer for protection. A water-based urethane sealer repels stains, enhances color, and extends the life of your driveway. Wait at least 24 hours after cleaning to apply, and re-seal every 3–5 years.
When to Call a Professional?
Even with the best intentions, DIY pressure washing can go sideways. While I’m a firm believer in empowering homeowners, there are times when hiring a professional isn’t just smart, it’s cost-effective in the long run.
Let me share a few scenarios I’ve encountered over the years that highlight why expertise matters:
- The Hidden Cost of “Savings”: I had a customer once that tried to remove an oil stain from his travertine pavers using a DIY degreaser. Not only did the stain remain, but the harsh chemicals etched the stone’s surface, leaving a permanent chalky residue. Repairing that damage cost far more than a professional clean would have. Pros use pH-balanced cleaners tailored to your pavers’ material, avoiding irreversible harm.
- Time vs. Results: Pressure washing a driveway properly isn’t a quick weekend project. It takes hours of meticulous work, and rushing leads to uneven cleaning or missed spots. One client admitted she spent an entire Saturday cleaning her 800-square-foot driveway, only to realize she’d missed entire sections because the sun dried the pavers too quickly. Professionals work systematically with commercial-grade equipment, completing the job in a fraction of the time.
- The Domino Effect of Eroded Sand: High-pressure water doesn’t just clean, it can also excavate if you are not careful. I recently inspected a driveway where the homeowner had unknowingly washed away 70% of the joint sand. Over time, the pavers shifted, creating tripping hazards and allowing weeds to take over. Restoring it required releveling the base, replacing sand, and resealing, an almost $2,500 endeavor to fix. Pros use controlled “soft wash” systems that clean without destabilizing joints.
- Invisible Risks: Even if your pavers look fine, improper pressure can fracture the subsurface base, especially in older driveways. One family in learned this the hard way after their DIY wash caused subtle sinking near the garage. Water pooled there every rainstorm, eventually cracking the pavers. Professionals assess the entire system (base, sand, and surface) to avoid hidden disasters.
- The Sealant Trap: Applying sealer seems straightforward, but mistakes are common. Too much product creates a sticky film that attracts dirt; too little leaves pavers vulnerable. A client once applied sealer unevenly, resulting in blotchy streaks that looked worse than the original stains. Pros use spray systems for uniform coverage and know how weather conditions (like humidity or temperature) affect curing.
- When “Clean” Isn’t Enough: Sometimes, discoloration runs deeper. For example, efflorescence, a white, powdery residue caused by mineral deposits, can’t be removed with water alone. I’ve seen homeowners scrub for hours, only to make the haze worse. Professionals use acidic rinses (like diluted vinegar solutions) and mechanical agitation to tackle mineral buildup without damaging pavers.
If you’re still on the fence, ask yourself: Can I afford to replace my driveway if this goes wrong?
For most, the answer is no. That’s why our services include a 5-year warranty in any case: the peace of mind you’ll never get from a rental pressure washer.
Bottom line? DIY makes sense for light maintenance, but when the stakes are high, or the problems are mysterious, trust someone who’s already made (and fixed) every mistake in the book.
At JS Brick Corporation, we specialize in paver restoration. Our soft-wash systems clean deeply without high pressure – which, when done right, revives your home’s curb appeal and adds years to your pavers’ lifespan. If you’re short on time – or confidence – remember that professionals like us exist for a reason.
Reach out to our team in Sarasota, Florida, if you want to invest in a hardscape project of your dreams. We’ll handle the heavy lifting so you can enjoy a driveway that looks brand new without lifting a finger!