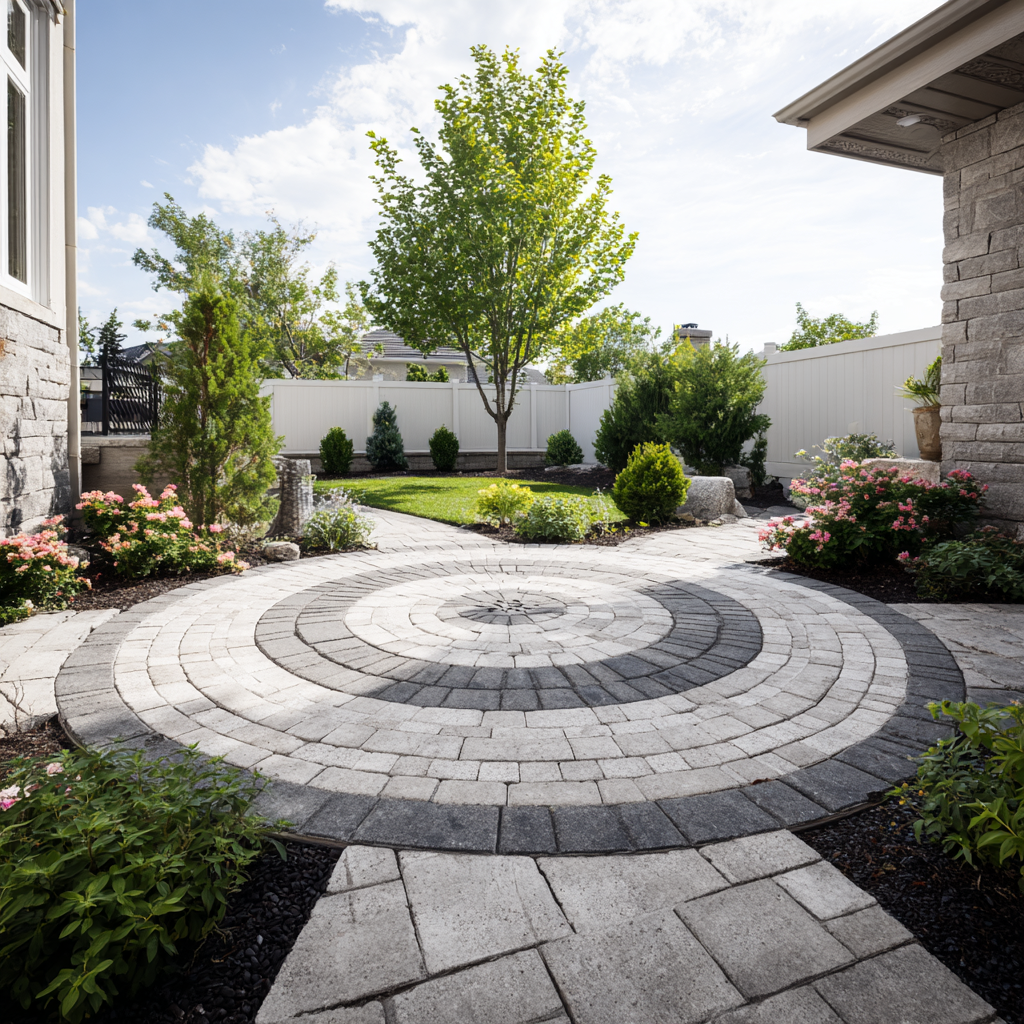
When it comes to making a round patio using square pavers, there’s actually not that much mystery to it, they work just the same as in a regular squared patio.
You can acquire a circle paver pack that is pre-designed to form a complete round patio, but if you only have squared pavers at hand the only difference is that you’ll have to be prepared to cut them if necessary.
Don’t get me wrong, it’s a hard job, that involves time and some specific tools. But it’s not at all complicated.
We will walk you through a step-by-step on how to make a round patio, using both regular squared pavers or a circle paver pack.
Jump to:
How to Make a Round Patio With Square Pavers – Tools and Materials
First, let’s present the list of tools and materials you’re going to need.
- Pavers
Of course, you’re going to need some pavers. And as we mentioned before, square pavers work just fine, but you can also acquire a circle paver pack. Just make sure to pick the right ones to fit your project, both in design and functionality. - A tool to cut your pavers
There are several options to cut squared pavers, one of the most popular being an angle grinder, for example. This article gives you some options on how to cut pavers. - Hand Tamper
A hand tamper is an easiest and cheapest option, but you can also rent a compactor for the weekend. - Hammer, Shovel, Broom, Measuring Tape, and Level
Nothing fancy. Simple tools for a simple job. - Metal Stake (or similar)
You’re going to need something to mark the center of your patio. A metal stake is the best option, but you can usually virtually anything that you can stick to the ground. - Sand, Gravel, and Twine
Again, relatively simple materials, but keep in mind what you’re going to use them for. Look for gravel and sand that are commonly used in hardscape design. - 1″ diameter metal tubbing
Very specific, right? Trust me, is worth it. Its application is going to be clear later. - Snap Edging (with spikes)
Probably the most exotic material you’re going to need, these edgings will allow your patio to be firm and set into place. You’re also going to need the spikes to fit them in place, so don’t forget that when shopping.
Step 1 – Plan Your Layout
Before anything, you need to plan where your patio is going to be located. And the first thing to consider is if you will have to make excavations or not.
Stick the metal stake into the ground, at the center of your patio. Tie a piece of twine to it, equal to the radius of your patio, and circle it all the way around, making a big circle around the stake. That’s where your patio is going to be.
Make sure to add an extra 6 inches around the final circle, to count for the snapping edges. From here you will go in two different directions: excavating or not excavating.
If you don’t need to excavate, your job will be much simpler. and you can skip straight to step three.
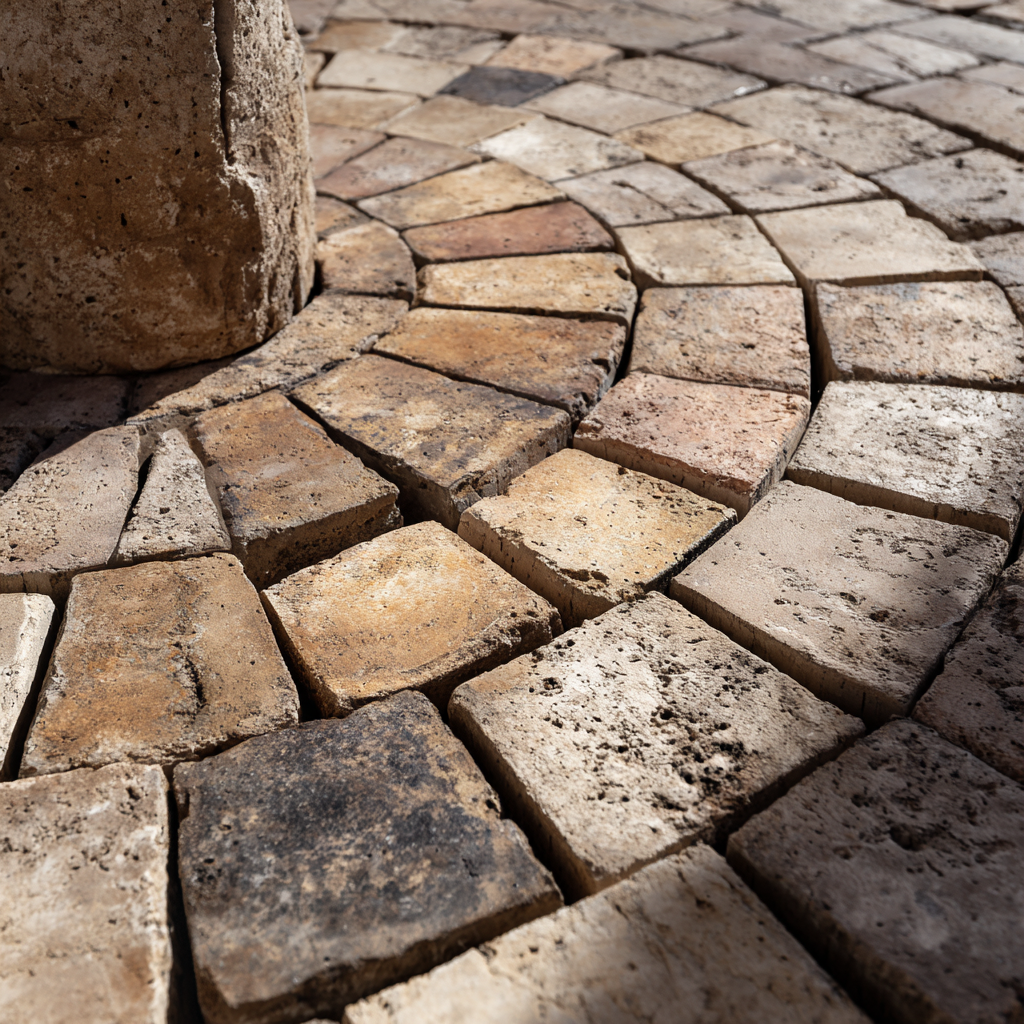
Step 2 – Excavation
If you need to excavate, the depth of that excavation must be equal to the thickness of the pavers your bought plus all the gravel and sand that is going to go beneath it. The gravel and sand together usually add around 5 to 9 inches to your final depth, it really depends on the gravel you’re using.
Make sure to level the ground as you go along. With the excavation finished, add the gravel and compact it using either the hand tamper or the compactor. Check the level constantly during that part as well.
Step 3 – Screed the Sand
That’s where the metal tubbing comes in. Whether you excavated or not, lay the tubes on your patio area, approximately 3 feet apart from each other. Once you’ve done that, pile the sand little by little on top and around the tubes.
Now, using a level (or any straight edge), place them on top of the tubes and spray the sand around. That will ensure your sand layer will be exactly 1″ thick and even all around your patio.
Step 4 – Lay the Pavers
With the sand screed, now it’s time to lay the pavers on top of it.
Always start in the middle and work towards the edges. If you’re using a circle paver pack, your job here is easier, as you just have to follow the instructions. However, if you’re working with regular squared pavers you need to be more careful.
You have some creative freedom to put the pavers any way you want and create your unique design. But remember you will have to cut some pavers along the way, so don’t bite more than you can chew.
Step 5 – Placing the Edges
The edges are very important. They are going to define the final shape of your patio and secure it in place. Installing them is easy, you just place them at the edges of the patio and stick them to the ground using metal spikes.
Step 6 – Final Touches
And you’re finished! By now you have a beautiful round patio. You just finish it by adding a generous amount of sand on top of it and sweeping that sand to the grouts between the pavers.
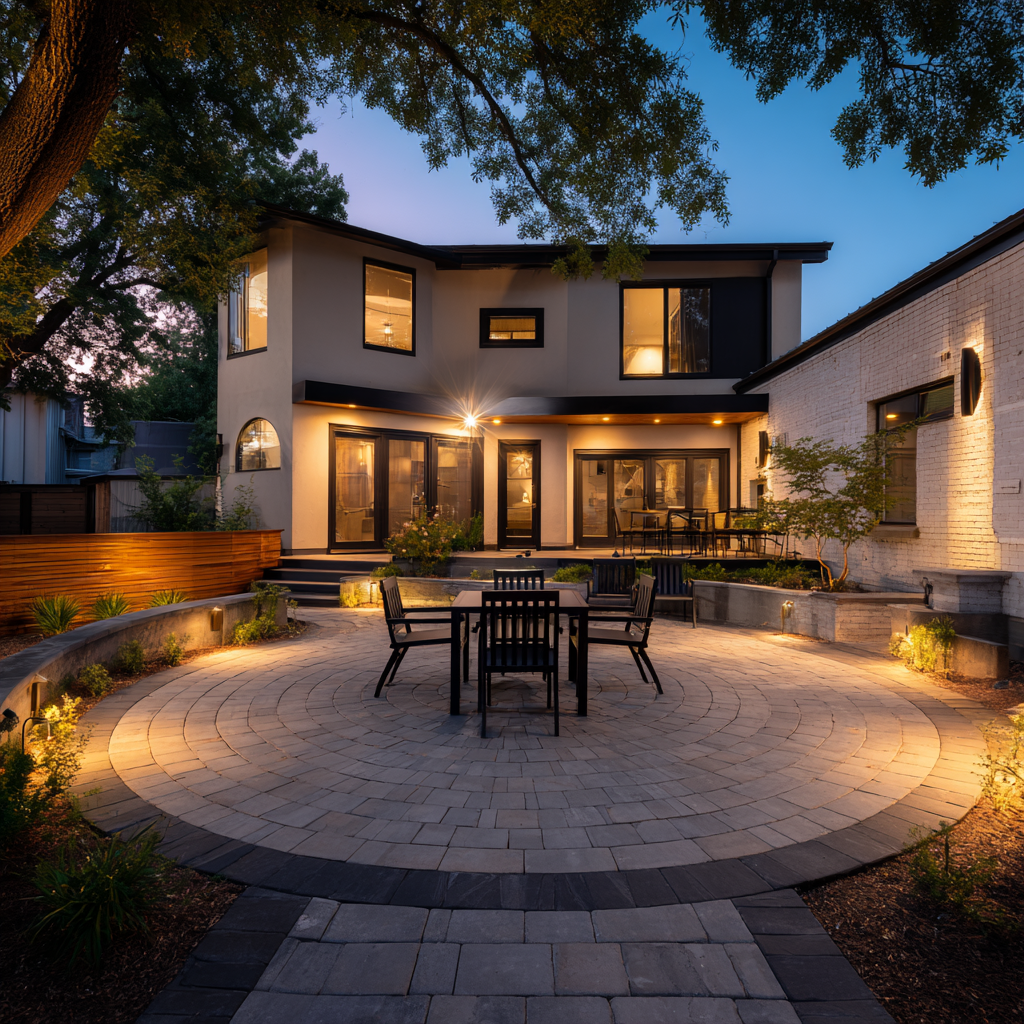
Round Patio With Square Pavers Done by Professionals
As you could see, make a round patio with square pavers, is not that different from doing a regular squared patio.
Of course, the easiest and safest alternative is always to ask for the help of professionals. Although it’s fun to adventure in a DIY project like that, if you want the best possible job with pristine finishing, professionals are still the best option.
If you happen to be around Sarasota, FL, JS Brick is your best bet when it comes to quality and professionalism. Give them a call right now at +1 941 586 9140 to start your project.

