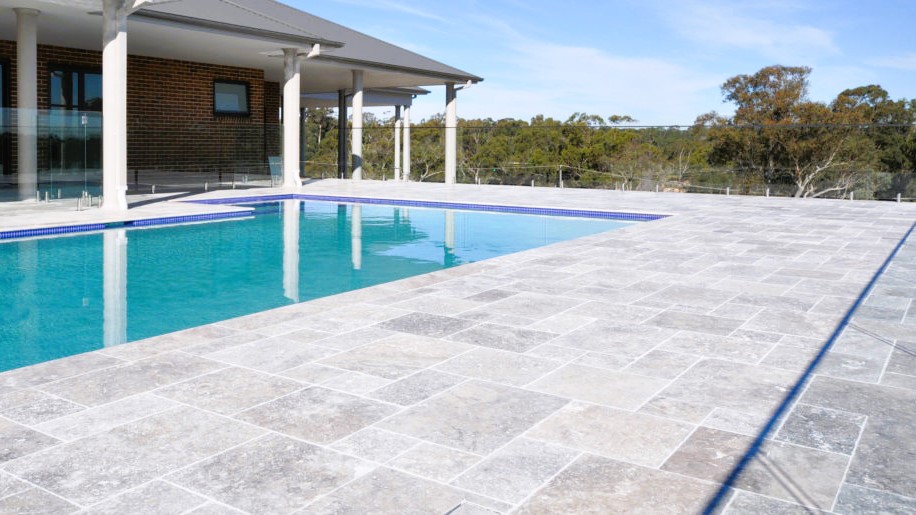
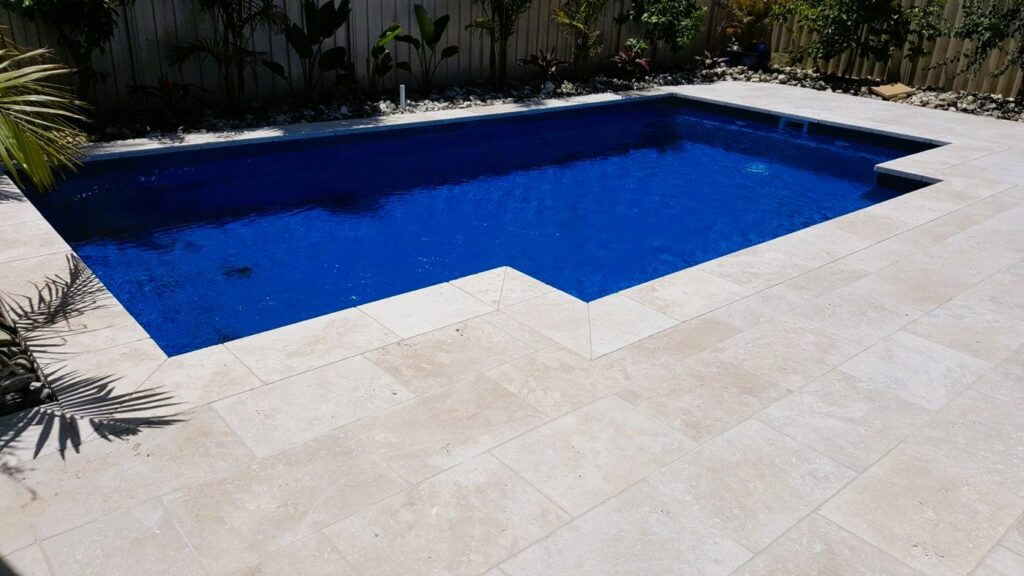
Travertine pavers are a popular choice for outdoor paving due to their natural beauty, durability, and versatility. Whether you’re creating a patio, walkway, or pool deck, knowing how to lay travertine pavers is essential to ensure a long-lasting and visually appealing surface.
In this in-depth guide, we will walk you through every detail of the process of laying travertine pavers, covering everything from preparation to finishing touches. By following these instructions, you can achieve amazing results and transform your outdoor space into an elegant and inviting area!
Jump to:
How to lay travertine pavers: planning and preparation
Before even choosing your pavers, you’ll have to plan and prepare for the whole project.
Planning and preparation are essential steps in any paver installation project. By focusing on design and layout, measurements and materials, as well as gathering the necessary tools and materials, and ensuring proper excavation and site preparation, you can set a solid foundation for a successful project.
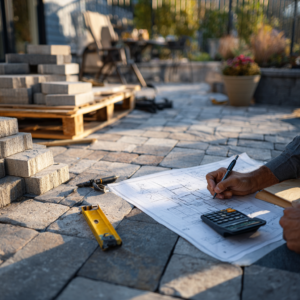
Thoroughly visualizing and planning the pattern and layout of your paver installation is the first step.
You can start by sketching your ideas on paper or utilizing software to create a digital representation. Take into account factors such as the shape of the area, traffic flow, and any existing structures. This careful consideration will help you create a visually appealing and functional design.
Accurate measurements are crucial for determining the amount of materials required. So measure the dimensions of the area carefully, taking into account length, width, and any irregularities.
This step will enable you to calculate the necessary quantity of travertine pavers, sand, gravel, and other materials. It’s recommended to add approximately 5% extra material to account for cuts and potential breakage during installation.
Ensure you have all the tools and materials necessary for the project. This includes both the paver installation materials and the essential equipment. Some important tools and equipment to have on hand include:
- Safety gear (gloves, goggles, etc.)
- Tape measure
- String line
- Level
- Rubber mallet
- Plate compactor or hand tamper
- 2×4
- Broom
- Garden hose
Also, of course, you’re going to need your materials:
- Travertine pavers of your choice
- Gravel
- Masonry sand
- Polymeric sand
How to lay travertine pavers: excavation
This is, by far, the most important moment of the entire installation.
Sadly, many people underestimate the importance of an appropriate depth and slope for a paver base. No matter how good your pavers are, they are only as good as the base which they are placed upon, so pay very close attention to this aspect.
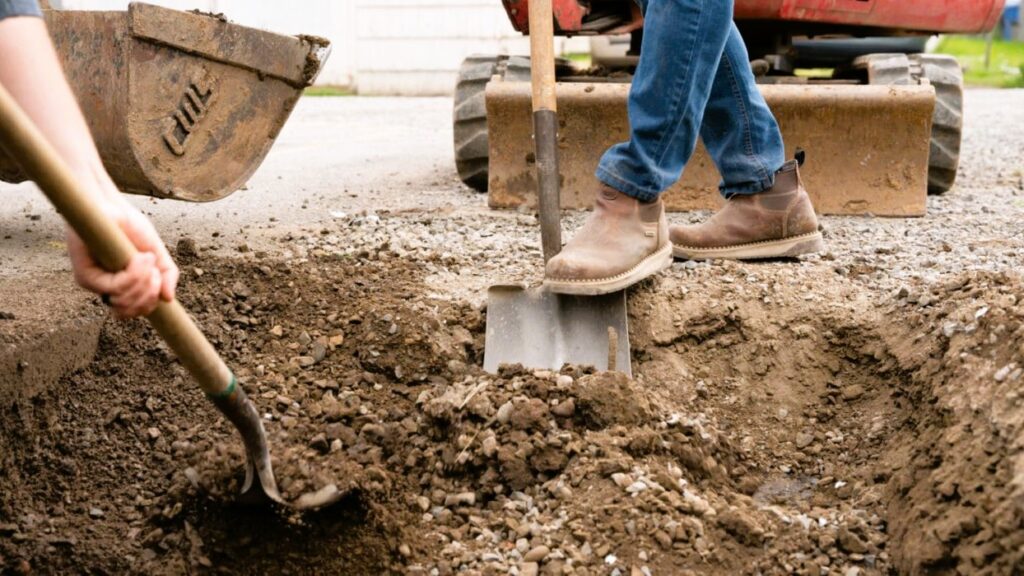
Start by clearing the installation area of any vegetation, rocks, or debris. Remove any plants, shrubs, or grass within the designated space. Mark the area where your paver will be installed, in whatever way you prefer, to serve as a guide during the excavation process.
Depth of the excavation
The depth of paver bedding, also known as the paver base or sub-base, depends on various factors such as the type of soil, the expected load on the pavers, and the climate conditions in the area.
Generally, a typical recommendation for the depth of paver bedding is around 4 inches (for pedestrian usage) to 6 inches (for cars and heavy objects usage). However, it’s essential to consider the following guidelines:
- If the existing soil is loose or has poor drainage, it may be necessary to excavate deeper and replace it with a suitable base material.
- In areas with freeze-thaw cycles, it’s important to provide a deeper bedding layer to minimize the risk of shifting or heaving due to frost action. A depth of 6 to 8 inches might be recommended in such climates.
- Always consult local building codes or regulations, as they may specify specific requirements for paver bedding depth.
In addition to the paver bedding, you should also consider the depth of the paver sand or fine aggregate layer that is placed on top of the bedding. This layer is typically 1 inch in thickness and helps to provide a level surface for the pavers.
Don’t miss: How to Clean Travertine Pavers
Slope
The slope is what we call the slight declination of soil in a paver installation. Creating a slope for a paver installation is pivotal to ensure proper drainage and prevent water pooling.
Typically, you’ll want to slope the pavers away from structures and toward a suitable drainage area, such as a gutter, drainage channel, or permeable area. Use stakes, string, or marking paint to outline the boundaries of the slope. The markings should indicate the desired slope angle and direction.
The best way to establish slope is to simply increase the depth of your excavation by 1 inch every 4 feet as you move towards the suitable drainage area. Imagine you are creating “stairs” – as your excavations descend away from any structures.
We want to be thorough here and remind you once again of the importance of the slope. So do not skip this step. Bad drainage in a paver installation can be catastrophic – and is something you want to avoid at all costs.
How to lay travertine pavers: creating a base
Honestly, the excavation is the hardest part of any paver installation. With that done, the rest should be fairly easier.
Start by laying a geotextile fabric over the excavated area to prevent weed growth and promote stability. Using a shovel or wheelbarrow, distribute a layer of gravel evenly over the compacted base.
To know the recommended thickness for the gravel layer, you must do the following calculation:
- Add the thickness of your pavers of choice plus 1 inch for the sand layer you’re going to spread in the future.
- Subtract that amount from the depth of your excavation.
- The number you have left is how much gravel you’ll need to spread.
For example: let's say I'm planning a 6 inches installation, using pavers with a thickness of 2 inches. I add 1 inch for the sand base. I subtract that from my total depth, which is six, and I'm left with 3 inches. That will be the depth of the gravel layer.Be sure to spread the gravel across the entire area, extending it beyond the edges of where the pavers will be placed. Start small, with only a 1-inch layer. Once the gravel is spread, use a rake to distribute it evenly across the surface.
After that, compact it using a plate compactor or hand tamper. Once you finish compacting, repeat the process, adding one more 1-inch layer of gravel. Repeat that until you reach your desired depth.
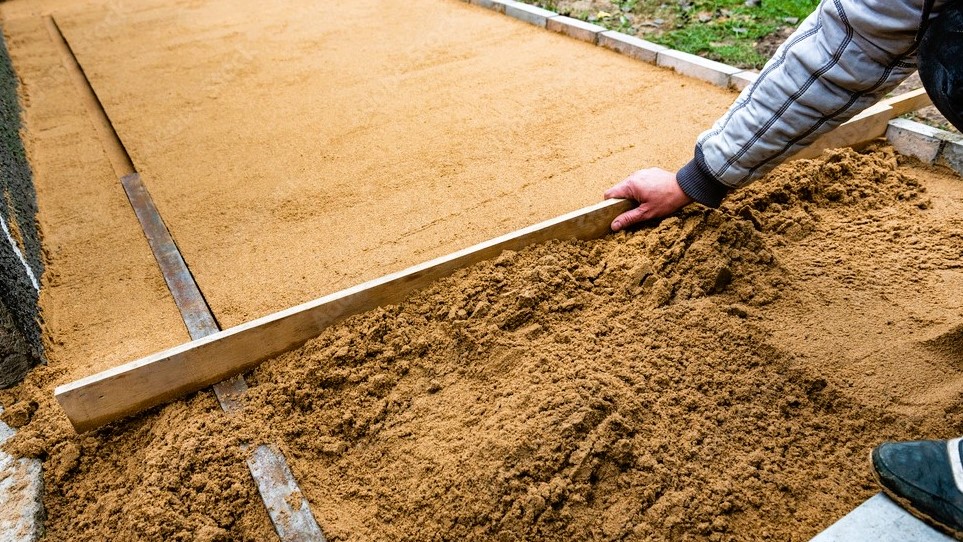
Now is the time to spread a layer of bedding sand evenly over the compacted base. Use the rake again to spread it evenly, but this time don’t compact it. Instead, you’re going to screed the sand with the help of the 2×4.
Laying the travertine pavers
Now for finally laying the pavers, and maybe you’ll be surprised to know that this is the easiest part.
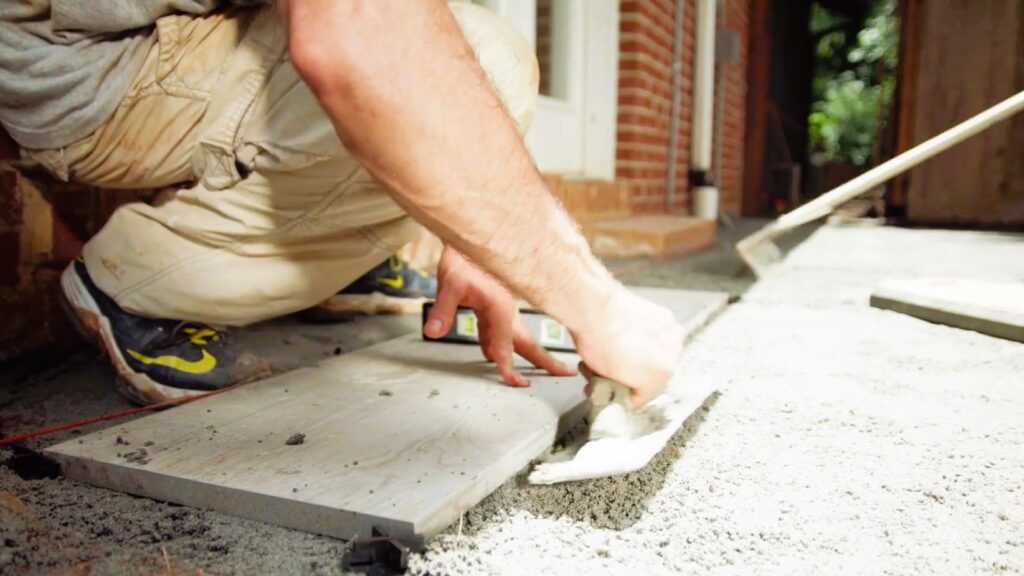
First, choose a fixed point as your starting position. It could be a corner or an edge of the area where you’re laying the pavers. This will serve as your reference point.
Place the first paver at the chosen starting point. Gently press it into the sand bed, making sure it sits firmly and level with the surrounding area. You can wiggle it slightly to help it settle into the sand.
Align the subsequent pavers next to the first one, making sure they are snugly fitted together. Leave a small gap, usually around 1/8 to 1/4 inch, between each paver to allow for jointing sand later.
Use a level to ensure that the pavers are aligned in straight lines. This will help create a clean and visually pleasing pattern. Adjust the pavers as needed to maintain the level.
Once all the pavers are laid, fill the gaps between them with polymeric sand. Pour the sand over the paver surface and use a broom or brush to sweep it into the joints. Continue adding sand and sweeping until the joints are filled.
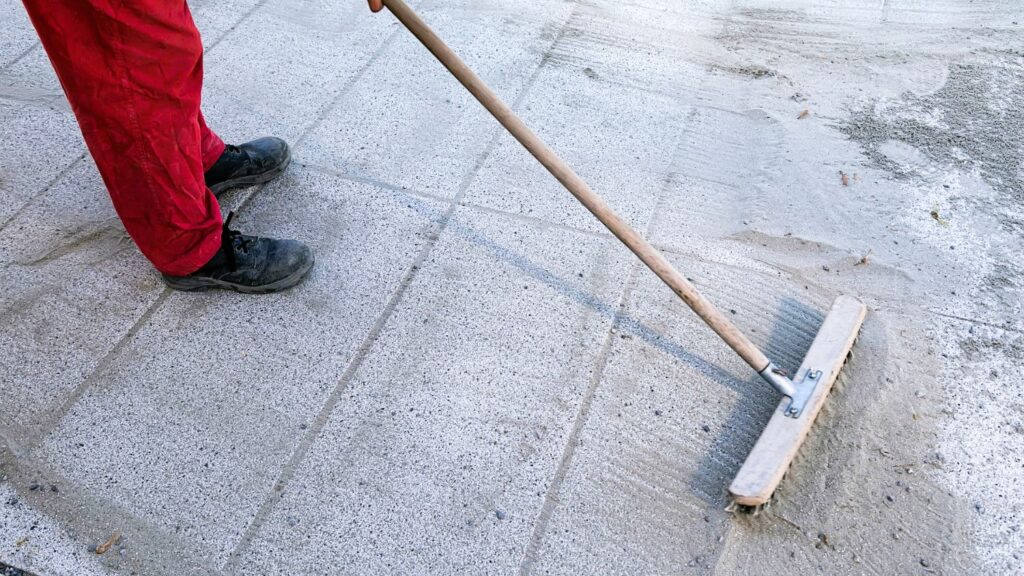
Once the joints are completely filled, use a broom or leaf blower to remove any excess polymeric sand from the surface of the pavers. Sweep diagonally across the joints to prevent dislodging the sand from the joints.
Now you need to activate the polymeric sand. You should always the manufacturer’s instructions to do that, but the instructions will typically involve lightly misting the sand with water. Ensure that the water evenly saturates the sand, but avoid excessive water that could wash it away.
Wait at least 48 hours until the polymeric sand completely cures. Until then, avoid any type of traffic (pedestrians and vehicles), in the area. Once that period is over, you resume use as normal.
It is highly recommended that you seal your installation afterward. This other article can give you more information about sealing.
Make your installation today!
And that should do it! Now you know how to lay travertine pavers, or any type of paver, for that matter.
Laying travertine pavers can be a rewarding and satisfying DIY project when done correctly. By following the step-by-step instructions provided in this guide, you’ll be well-equipped to achieve excellent results and create a stunning outdoor space.
Remember to dedicate ample time to planning, preparing the site, and executing the installation process with precision.
But, of course, nothing beats a paver installation done by professionals in the hardscape business. So maybe your best course of action is to hire professionals in your area you can trust to help you with your project.
We here at JS Brick have been providing that kind of service around Sarasota County, in FL, for the past 23 years, so know how important it is to be precise and know every step of the way when it comes to installing pavers.
So if you happen to be around our area of activity, you can contact us anytime for a free estimate on our services. Maybe we can help you start your project today!