When you choose the Herringbone style for your pavers, the most asked question is “how to lay herringbone pavers?”. That’s because installing the pattern is a little complicated.
The Herringbone pattern is an arrangement of rectangular blocks or bricks. The name Herringbone originated from the resemblance to the bone structure of a herring fish.
In today’s article, we’re gonna talk more about the Herringbone pattern. If you are wondering how to lay herringbone pavers, read more about it below!
Jump to:
How to lay herringbone pavers?
Before you learn how to lay herringbone pavers, you have to know that there are two main styles for laying it: the 90° and 45° Herringbone Pattern.
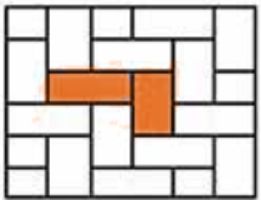
90° Herringbone Pattern
This is the simpler of the herringbone patterns to install. Decide on a “base-line” that will be the start of the pattern. This is usually taken to be a line along the main direction of travel or one that is parallel or at right angles to the house or other building. If there is a right-angle corner, the setting out can be based on the two lines.
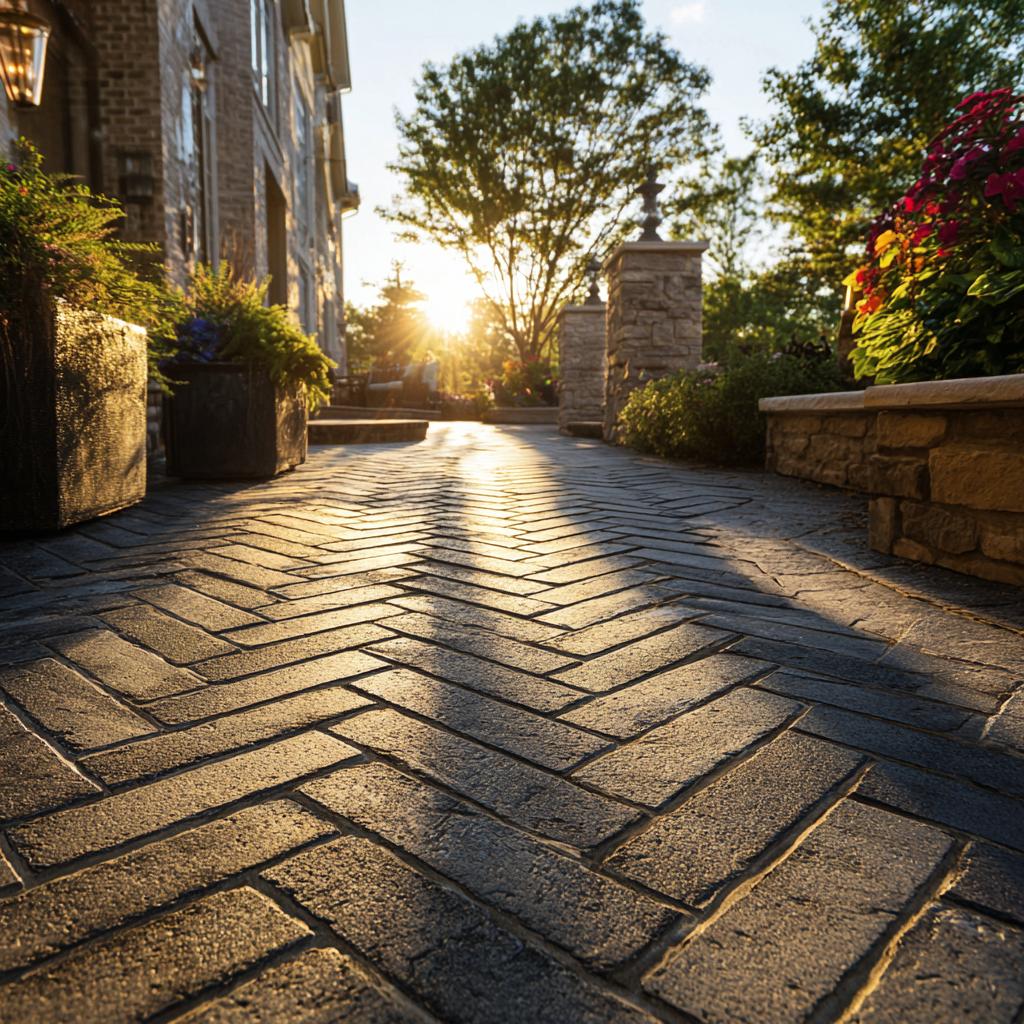
45° Herringbone Pattern
This pattern is identical to the 90° Herringbone Pattern, except that it has been rotated through 45°.
At first, this method may seem complicated but is particularly valuable for ensuring that the alignment is not drifting out of what it should be with subsequent courses of blocks. When installing the 45º pattern, the best visual effect is achieved by laying the blocks in a way that runs along with the principal direction of traffic or the length of the driveway.
Now that you know the difference between the two patterns, you’re gonna need some tools and equipment to install them.
The materials you’re going to need for laying herringbone pavers are the same as those used on a regular installation with only a few additions.
- Rectangular pavers
- Paver restraints
- Rope
- Strings
- Wooden stakes (to pound on the floor)
- 12” steel spikes
- Gravel
- Sand
- Carpenter level
- Rubber mallet
- Straight lumber
- Straightedge
- Plate compactor
- Masonry saw
- Safety equipment
- Pencil
- Measuring tape
All set with the necessary materials? Now you can start the pavers installation!
- Step 1: Outline the area you want to add pavers with a rope. Outline it in a way you can see the shape of your project.
- Step 2: Pound stakes on the edges of the area you outlined. Wind strings around them at ground level and ties it tightly. The strings will mark the height at which your pavers’ surface will be in the future. They will be our reference for the excavation. Then, create a slope of one inch to every 4 feet of length to allow drainage. Attention while creating the slopes. They should be added only in the direction you want the water to flow to.
- Step 3: Prepare the ground by excavating approximately 4 to 6 inches (for foot traffic area) or 12 inches (for driveways or any type of surface that needs to hold a lot of weight) into the soil. Don’t forget to pack down the soil with the plate compactor making sure the ground below is well compacted so it won’t shift in the future.
- Step 4: Lay 3 to 4 inches of gravel on top of the compacted soil. In this step, you can adjust the height of the finished project and to ensure you don’t have any dips or bumps. If necessary, slightly increase or decrease the thickness of the gravel base.
- Step 6: Install paver edge restraints. You can place them around the perimeter of your project area, securing them into the ground using pounding 12” spikes. Edge restraints are important to help avoid sand shifting, paver loosening, and holding the shape of your project over the years.
- Step 7: On the top of the gravel base, lay 2 inches of clean sand. The sand is the material that holds your pavers in place. Level the sand carefully with a straight board and, with the plate compactor, compact down again.
- Step 8: Measure and mark a 45-degree angle on the corner of one brick paver. Then set out nine bricks. Line up the leading corners of the brick with a straightedge. Then measure the distance between the 45-degree line and the straightedge, and note it.
- Step 9: Using the measurement earlier step, stake a line inside and parallel to the edge restraints. Lay the first two bricks so the outside corner of one and the inside corner of the other fall on the line. Lay two more bricks and square them. Then, continue laying bricks on this starter row, making sure their inside and outside corners are lined up. Leave approximately ½ inch of space between each paver.
- Step 10: Continue to lay the pavers, and don’t forget to check after each row, if necessary, cut bricks to fit the edges. Once all the rows of pavers are placed, use a plate compactor to tamp the pavers into the sand.
- Step 11: Dump stone dust on top of the pavers once they are in place and use a wide broom to sweep the dust into the gaps.
Can I lay herringbone pavers myself?
As you’ve noticed, although it’s not impossible to do it yourself, the process installation needs a lot of attention and experience, the pattern is also very hard to do and many things can go wrong if not done cautiously and ultimately cause your paver patio to be uneven. The best option here is to hire professionals to do this job for you.
JS Brick is a company that specializes in the supply and installation of pavers. Whatever you need, we’ve got your back. If you live near Sarasota and Manatee, call us right now for a free estimate for your herringbone pavers.