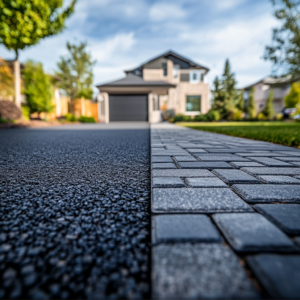
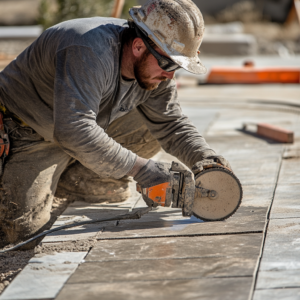
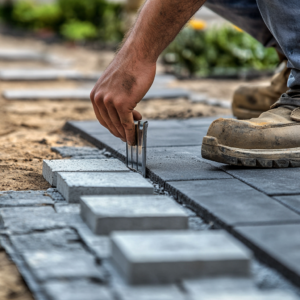
If you are looking to enhance the aesthetics of your outdoor space, the combination of grass and pavers can be an excellent way to create a beautiful and functional patio, walkway, or garden area. But how to install pavers on grass?
This DIY project adds a touch of sophistication to your lawn, providing a stable surface for various activities. In this step-by-step guide, we’ll walk you through the process of installing pavers on grass, turning your green expanse into a stylish outdoor retreat.
Don’t miss: Large concrete pavers – Outdoor spaces with style and durability
Jump to:
How to install pavers on grass
Embarking on a paver project requires careful planning to ensure a successful and visually appealing outcome, so that’s the first step to take before doing anything else.
To meticulously plan every aspect of the project, we are going to start by identifying the specific area where you intend to install the pavers. Whether it’s a pathway, patio, or driveway, a clear understanding of the space will guide your design choices.
Begin the planning process by sketching a rough design of the intended project area. Consider the overall aesthetic you want to achieve, taking into account the architectural style of your home and the surrounding landscape.
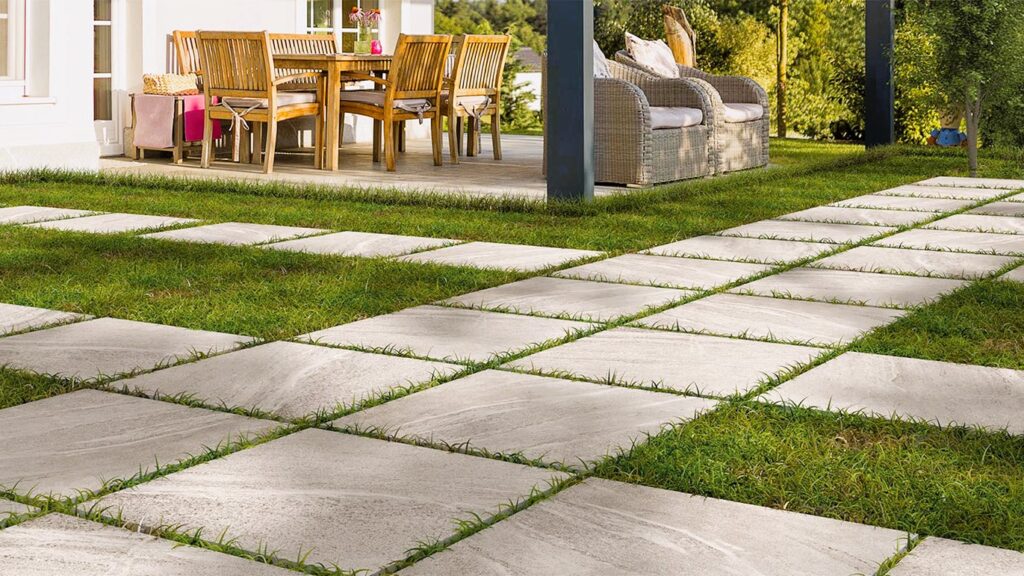
When determining the shape, size, and pattern of the pavers, consider both functionality and aesthetics. The shape of the pavers can range from classic rectangles to more intricate shapes, such as hexagons or irregular stones.
The size of the pavers should be proportional to the space and the surrounding features. Experiment with different patterns, like herringbone, basketweave, or running bond, to find one that best suits your design vision.
Accurate measurements are paramount to the success of your project. Take precise measurements of the project area, including length, width, and any irregularities in the shape of the space. This data will enable you to calculate the quantity of materials needed, such as pavers, base materials, and joint sand.
As you plan, consider potential challenges such as slopes, drainage issues, or existing structures. Addressing these factors during the planning stage will help you develop solutions and avoid complications during the installation process.
Step 01: marking the area
Start by placing wooden stakes at the corners of your project area. Use a mallet or hammer to drive the stakes firmly into the ground, ensuring they are level and secure. If your project has curves, use additional stakes to mark key points along the curves.
Once the stakes are in place, tie one end of the string to one stake, and then stretch it to the adjacent stake. Make sure the string is taut and level. Repeat this process for all sides of the installation area, connecting the stakes with string to create a visual boundary.
For better visibility, especially if you’re working on a larger project, consider using marking paint to trace the outline directly on the ground. This will serve as a clear visual guide during the subsequent steps.
Step 02: excavating the grass
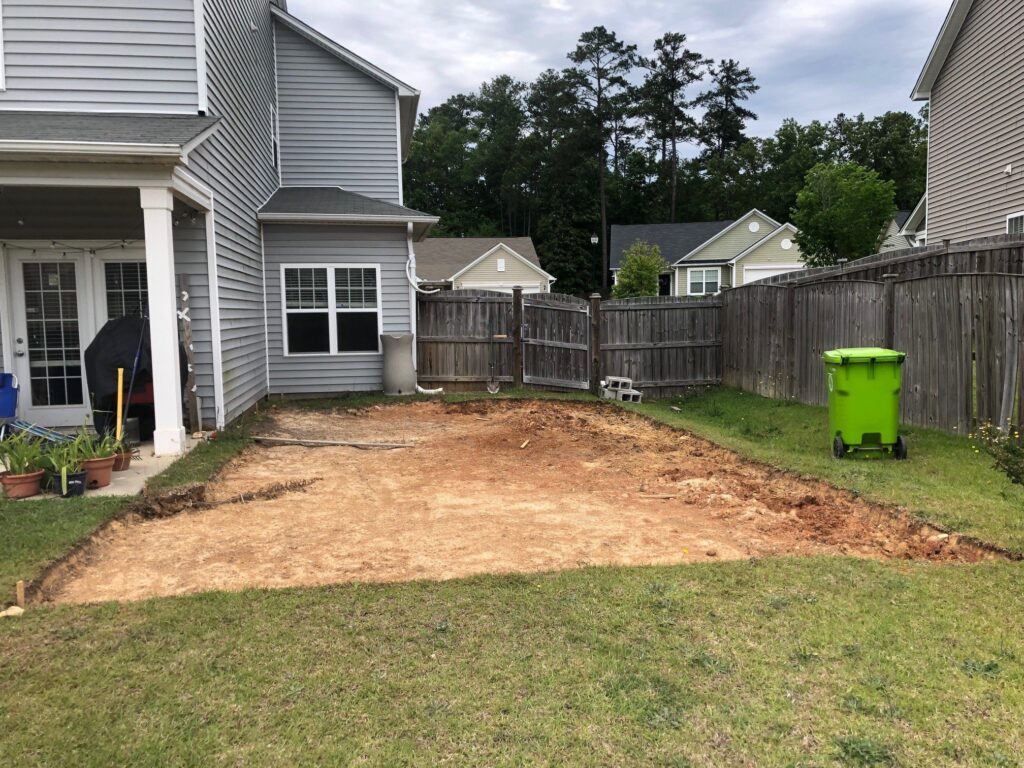
Start by using the shovel to cut through the grass along the marked lines. Lift and roll the sections of turf away to expose the underlying soil. Dig down to a depth of approximately 6 inches, allowing ample space for the subsequent layers of base materials and pavers.
As you excavate, periodically check the depth using a tape measure or a dedicated leveling tool. Ensure an even depth throughout the area to prevent uneven settling of the pavers in the future. Level the ground as you go, breaking up any clumps of soil and smoothing out the surface.
Take a moment to inspect the subsoil for compaction. If the soil is too loose, consider compacting it with a hand tamper or a mechanical plate compactor. This step enhances the load-bearing capacity of the soil, providing a more robust base for the pavers.
Step 03: base preparation
The first layer of your base is a high-quality landscape fabric. It serves as a crucial barrier to inhibit weed growth, fostering a low-maintenance and aesthetically pleasing outdoor space. Opt for a durable fabric that allows water and nutrients to penetrate the soil while preventing the growth of unwanted vegetation.
Once the fabric is in place, anchor it securely by using landscape staples. These staples should be spaced evenly along the edges and within the interior of the fabric, ensuring a secure and taut fit. This not only prevents the fabric from shifting but also enhances its ability to withstand various weather conditions.
Following that, it is time to add the second layer to your base: the gravel layer.
Pour a layer of gravel into the excavated area, distributing it evenly across the space. Choose a gravel size appropriate for your project, such as crushed stone or angular gravel. The recommended thickness for this layer is typically between 2 and 3 inches.
Use a rake to spread the gravel evenly, ensuring a uniform thickness throughout the entire area. Pay attention to corners and edges, making sure the gravel is consistently distributed. This step is crucial for achieving a level surface.
To establish a stable base, compact the gravel using a plate compactor. Start from one end and work your way systematically across the entire area. This process not only compacts the gravel but also helps to settle it into place, reducing the risk of future settling and uneven surfaces.
Periodically check the levelness of the gravel surface using a straightedge or level tool. Adjust any uneven areas by adding or removing gravel as needed. A consistently level base is essential for the success of the overall project.
Finally, time to add the sand layer, the last one in the base.
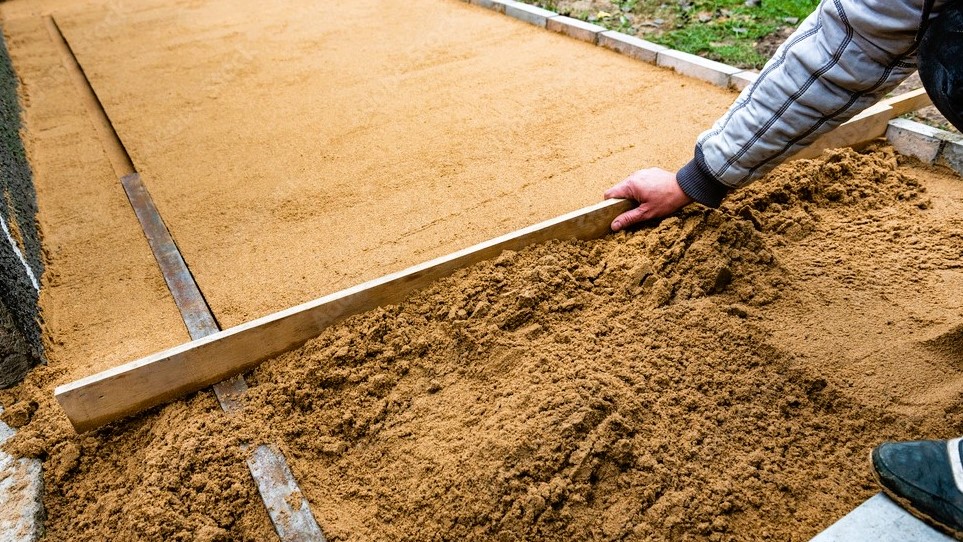
Evenly distribute a 1-inch layer of sand over the compacted gravel surface. Use a shovel to dump piles of sand in different areas, making it easier to spread and level.
Use a rake to spread the sand evenly across the entire surface. Make sure the depth remains consistent throughout the area. Once spread, use a straight board or a screed board to smooth and level the sand. Move the board in a back-and-forth sawing motion to achieve a flat and uniform surface.
Step 04: placing the pavers
The next step on how to install pavers on grass is to actually place the pavers themselves.
When laying the pavers, it is essential to adhere to your predetermined design with precision and attention to detail. Begin the installation process by placing each paver in its designated position, ensuring a snug fit within the pattern you’ve envisioned.
As you progress, maintain a consistent and deliberate pace, carefully aligning the edges of each paver with the adjacent ones. A meticulous approach during this phase guarantees a uniform and professional appearance, creating a visually pleasing surface that will withstand the test of time.
To promote stability and prevent shifting, it is crucial to leave a small gap of approximately 1/8 inch between each paver. This space serves as an allowance for the introduction of jointing sand, a key element in the interlocking system that fortifies the entire pavement.
Step 05: sanding and sealing
Choosing high-quality jointing sand is paramount, as it should possess the right granular consistency to effectively fill the gaps between the pavers.
Once the pavers are in position, carefully sweep the jointing sand over the entire paved surface, ensuring that it adequately fills the spaces between each unit. Utilize a broom or a specialized tool to work the sand into the joints, allowing it to settle evenly.
As the last step, you may want to consider applying a sealant to provide an additional layer of protection.
A quality sealant not only safeguards the pavers from the effects of weather, UV rays, and other environmental factors but also enhances their color and appearance. Choose a sealant that is suitable for the specific type of pavers you have installed, whether they are concrete, clay, or natural stone.
When applying the sealant, follow the manufacturer’s instructions carefully. Typically, this involves using a brush or roller to evenly distribute the sealant across the surface of the pavers. Be sure to work in small sections to achieve consistent coverage!

How to install pavers on grass: get professional help today!
If this entire process sounded too complicated, you’re not wrong – it actually is.
Paver installations are much more complex than people give them credit for and are especially demanding DIY tasks that not everyone is ready to deal with. Besides that, pavers are a costly investment, and you want to make the most of it.
That’s why the best course of action is always to hire professional hardscape contractors to help you with your installation.
We here at JS Brick have been providing that service around Sarasota County, in FL, for the past 23 years, so we know how important it is to perform the best job possible when it comes to paver installations.
So find a professional you can trust in your area to help you. Or, if you’re around our area of activity, you can contact us anytime for a free estimation of our services.

