Concrete pavers are a popular choice for driveways, patios, walkways, and other outdoor spaces due to their durability, versatility, and aesthetic appeal. However, over time, these pavers can accumulate dirt, stains, and weathering – which can detract from their beauty and functionality. That’s why sealants exist: to restore their appearance and protect them for years to come.
However, one pivotal factor comes first: knowing how to clean concrete pavers before sealing is also essential.
This article will guide you through the process of cleaning concrete pavers before sealing, ensuring that your pavers look their best and are ready to receive the protective benefits of sealing. Keep up with our tips to make sure your hardscape project remains beautiful!
And don’t miss: How to fix loose pavers steps – your guide to repairing
Jump to:
How to clean concrete pavers before sealing
Sealing concrete pavers without proper cleaning can trap dirt, stains, and debris beneath the sealant, leading to a dull and uneven finish. Cleaning ensures that the surface is free of contaminants, allowing the sealant to adhere properly and provide maximum protection.
Additionally, cleaning helps to remove mold, mildew, and efflorescence (a white, powdery residue caused by mineral deposits), which can compromise the integrity of the pavers if left untreated.
By taking the time to clean your concrete pavers thoroughly, you not only enhance their appearance but also extend their lifespan, saving you time and money in the long run.
1. Remove Loose Debris
The first step in cleaning concrete pavers is to remove any loose debris, such as leaves, dirt, or sand, from the surface. This can be done using a stiff-bristle broom or a leaf blower. Pay special attention to the joints between the pavers, as debris can accumulate in these areas and interfere with the cleaning process.
2. Inspect for Stains and Damage
Before proceeding, inspect the pavers for any stubborn stains, oil spills, or damage. Identifying these issues early allows you to address them with the appropriate cleaning methods. For example, oil stains may require a specialized degreaser, while efflorescence can be treated with a mild acidic solution.
3. Apply a Paver Cleaner
Choose a high-quality paver cleaner that is specifically designed for concrete surfaces. Avoid using harsh chemicals or bleach, as these can damage the pavers and harm surrounding vegetation.
Apply the cleaner evenly across the surface using a garden sprayer or a watering can. For best results, follow the manufacturer’s instructions regarding dilution and application.
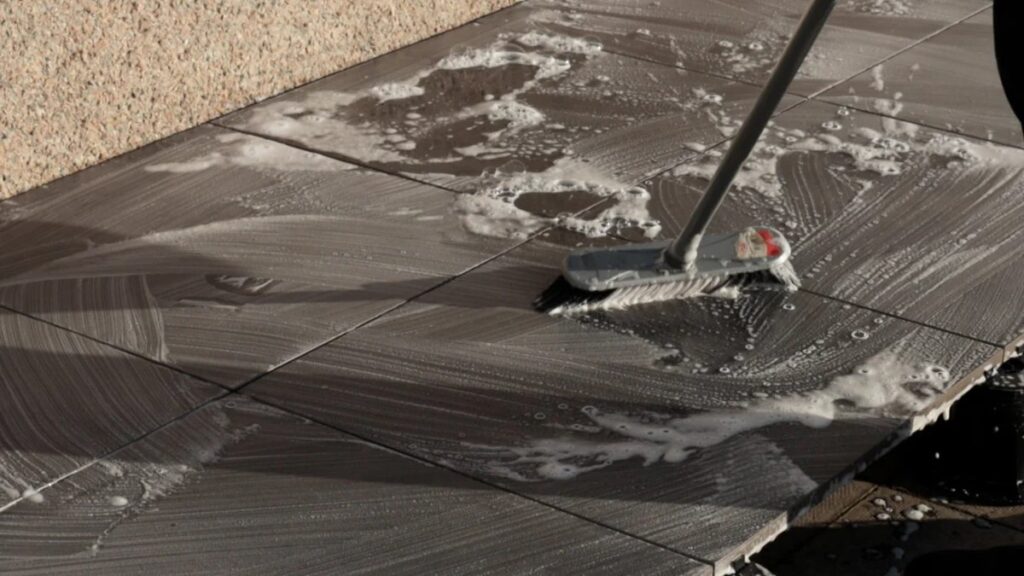
4. Scrub the Surface
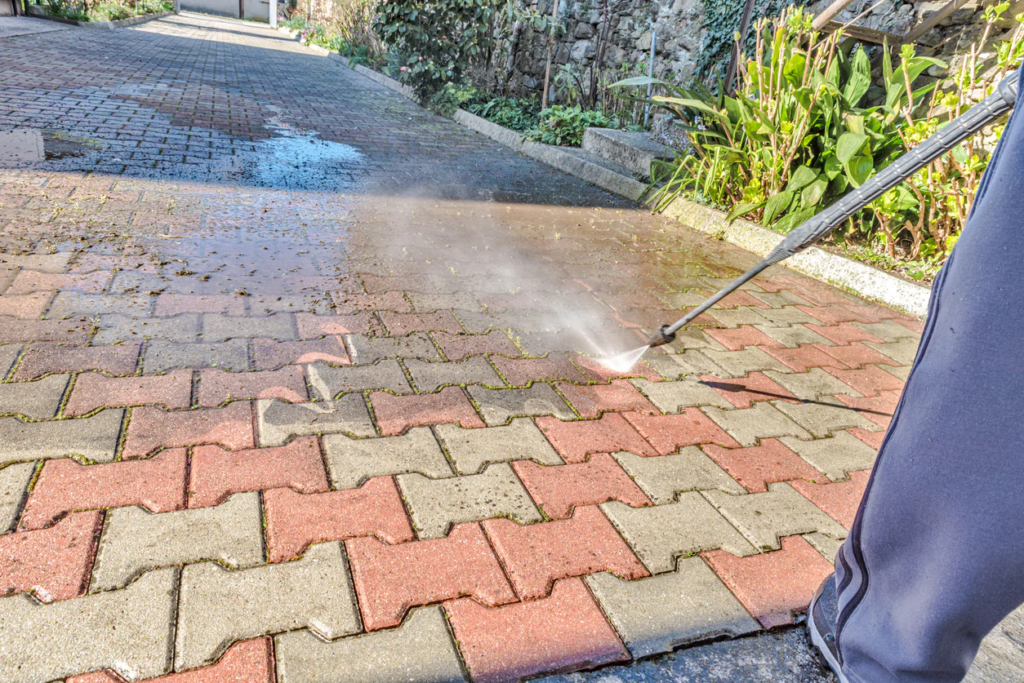
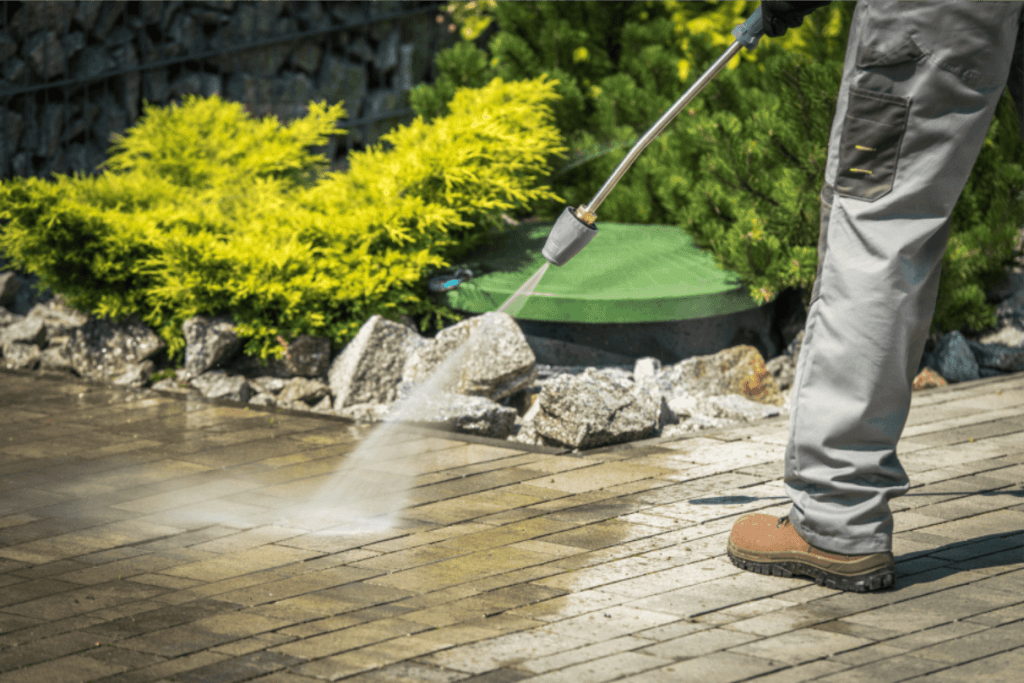
After applying the cleaner, use a stiff-bristle brush or a power washer to scrub the surface. A power washer can be particularly effective for removing deep-seated dirt and stains, but it should be used with caution to avoid damaging the pavers or displacing the joint sand.
If using a power washer, maintain a consistent distance and angle to ensure even cleaning.
5. Rinse Thoroughly
Once the pavers have been scrubbed, rinse them thoroughly with clean water to remove any remaining cleaner and debris. A garden hose or power washer can be used for this step. Be sure to rinse the joints between the pavers, as leftover cleaner can affect the adhesion of the sealant.
6. Allow the Pavers to Dry
After rinsing, allow the pavers to dry completely before applying any sealant. This typically takes 24 to 48 hours, depending on the weather conditions. Sealing damp pavers can result in a cloudy or uneven finish, so patience is key.
Read also: Clean Pavers With Pressure Washer: A Complete Guide
Tips for maintaining your concrete pavers clean
Regular maintenance is essential to keep your concrete pavers looking their best and to ensure they remain in excellent condition for years to come. Here are some expanded tips to help you maintain clean and beautiful concrete pavers.
- Sweep Regularly
Make it a habit to sweep your pavers at least once a week to remove loose dirt, leaves, and debris. This prevents dirt from settling into the joints and staining the surface over time. A stiff-bristle broom or a leaf blower can make this task quick and efficient. - Address Stains Immediately
Stains from oil, grease, or organic materials like food and beverages can become permanent if left untreated. As soon as you notice a stain, clean it using a paver-safe cleaner or a mixture of water and mild detergent. For tougher stains, such as oil, use a specialized degreaser. Prompt action ensures that stains don’t penetrate deeply into the pavers. - Prevent Weed Growth
Weeds and moss can grow in the joints between pavers, especially in damp or shaded areas. To prevent this, apply a weed inhibitor or use polymeric sand when installing or repairing pavers. Polymeric sand hardens when wet, creating a barrier that discourages weed growth. - Control Efflorescence
Efflorescence, the white powdery residue caused by mineral deposits, can appear on concrete pavers over time. While it’s not harmful, it can be unsightly. To remove efflorescence, use a mild acidic solution or a specialized efflorescence cleaner. Regular cleaning and sealing can also help prevent its recurrence. - Reapply Joint Sand
The sand between the pavers can erode over time due to weather and foot traffic. Replenish the joint sand periodically to maintain the stability of the pavers and prevent shifting. Polymeric sand is a great option as it provides added durability and resistance to erosion. - Avoid Harsh Chemicals
When cleaning your pavers, avoid using harsh chemicals like bleach or ammonia, as they can damage the surface and harm surrounding plants. Opt for pH-neutral or paver-specific cleaners that are safe for both the pavers and the environment. - Protect Against Heavy Loads
While concrete pavers are durable, excessive weight from vehicles or heavy equipment can cause them to crack or shift. Avoid parking heavy vehicles on your pavers, and use protective mats or boards if necessary. - Reapply Sealant Every 2-3 Years
Sealing your pavers not only enhances their appearance but also provides a protective barrier against stains, weathering, and UV damage. Reapply sealant every 2 to 3 years, or as recommended by the manufacturer, to maintain their protection and longevity. - Inspect for Damage
Regularly inspect your pavers for cracks, chips, or uneven surfaces. Addressing minor issues early can prevent them from becoming major problems. If you notice significant damage, consider consulting a professional for repairs. - Seasonal Maintenance
Different seasons bring different challenges. In the fall, keep pavers free of leaves to prevent staining and mold growth. In winter, avoid using de-icing salts, as they can damage the pavers. Instead, use sand or a paver-safe ice melt product.
Why choose professional services for hardscape maintenance
Now you know how to clean concrete pavers before sealing! That said, although it can be a DIY project, remember that hiring a professional ensures that the job is done correctly and efficiently.
Professionals have the expertise, equipment, and high-quality products needed to achieve superior results. So, if you’re ready to take your pavers to the next level, consider reaching out to professionals you can trust around your area to help you – like us!
If you happen to be around Sarasota County, FL, we here at JS Brick are ready to help you. Our team is passionate about helping homeowners and businesses create stunning outdoor spaces that stand the test of time. Contact us today to learn more about our services and schedule a consultation.