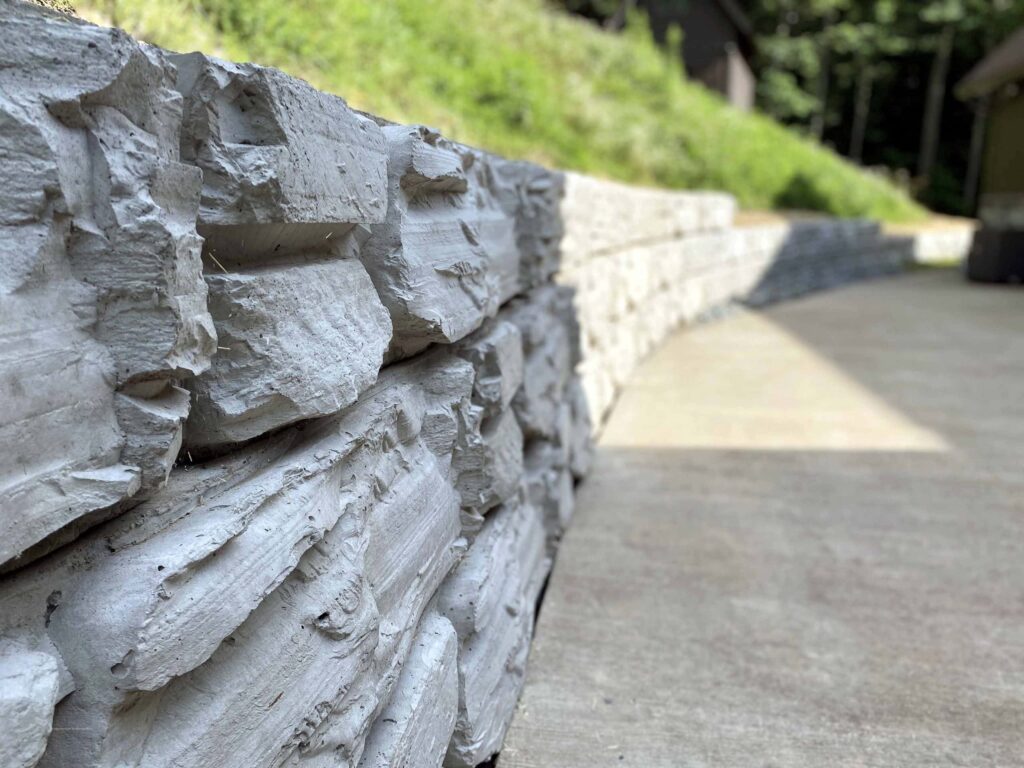
The hardscape industry has many incredible features at its disposal to create the perfect setting to compliment a house. The goal of this article is to teach you how to build a retaining wall, one of the most characteristic of these elements.
Working with retaining walls is not exactly a walk in the park. They are made out of very big and heavy blocks of concrete or natural stone, and managing a retaining wall project from a DIY perspective can be too much for just one person to handle.
However, if you do have some people to help you, the process is not impossible. There are many things you need to know before deciding to tackle the project, so we recommend you read our entire guide before making any final decisions.
So let’s get right into it for a guide on how to build a retaining wall.
Jump to:
How to Build a Retaining Wall: Choosing the Right System
Everything starts with planning. Planning in the hardscape industry is extremely important, as materials are often non-refundable and considerably expensive.
The more time you spend on the planning phase, the more your installation is going to succeed. So be very clear on what is the objective of your project and choose your retaining wall system accordingly.
There are three retaining wall system in the market today: regular systems, block systems, and interlocking lip systems.
A regular system consists of very basic blocks simply stacked together on top of each other.
A block system uses pins to secure the heavy pieces in place. It makes the job easier and much more safe.
And then there’s the interlocked lip system, which comes with specific cuts that together create a flange on the blocks. This makes the entire installation process easier, as it turns everything into simply following a specific set of rules.
If you don’t know how to properly choose, we highly recommend you get in contact with a qualified professional before making any choices.
Explain your project and the particularities of your terrain, and your professional of choice will be able to help you make the best possible choice.
How to Build a Retaining Wall: 5 Easy Steps
Step 01 – Outlining Your Project
The first order of business is to, quite literally, draw your layout on the floor.
To do that, you can use any method you desire, but the most popular ones are spray-painting it or using a stick or something similar to mark the ground.
Be careful when it comes to curved wall and corners. Tying a string to a stake and using it as a fixed spot, creating a rudimentary compass, can help you make perfect curves.
To determine how many blocks you’ll need to buy per row, simply divide the length of the wall by the length of your block of choice.
The same goes for height. Simply calculate your ideal height by the height of the individual blocks. But this time, don’t forget to add an “extra height” of half a block, to account for the base.
Step 02 – Digging
Now is finally time to start digging. Get your shovel and get ready.
The exact depth of the trench to be dug will depend on the height of your block. Divide the height of the block by half and add 3 inches. That’s how deep you’re supposed to dig.
As for the width of the trench, it works the exact opposite. The trench should have twice the width of the block.
There’s a very important aspect when it comes to digging: the slope.
The slope will make sure no water is accumulating at the bottom of your wall, and creating one is really simple. All you have to do is add 1 inch in depth for every 4 feet of distance.
To do that, you can create a simple torpedo level. Just make sure the blocks of your retaining wall will all be at the same height and perfectly leveled.
Step 03 – Base
Your next step is to compact the ground of your trench using a hand tamper or similar tool. Following that, you’ll add about 3 inches of paver base, spreading it evenly and also compacting it at the end, always making sure everything is leveled.
Step 04 – Laying the First Row of Blocks
The first row is the most important one. It will be the base for all other rows, so it must be absolutely perfect, both in level and placement.
Start at the end of the course, at the lowest point, and slowly work your way up. Place the first block and check for level. Add the next one and also check for level, this time using the previous block as a base.
If at any point any block is uneven, add a little more base at its bottom or adjust it by slightly hammering it down with a rubber mallet.
After the first row is placed, sweep it thoroughly, no dirt of any kind can stay on the top of it, as it can greatly damage the following rows of blocks.
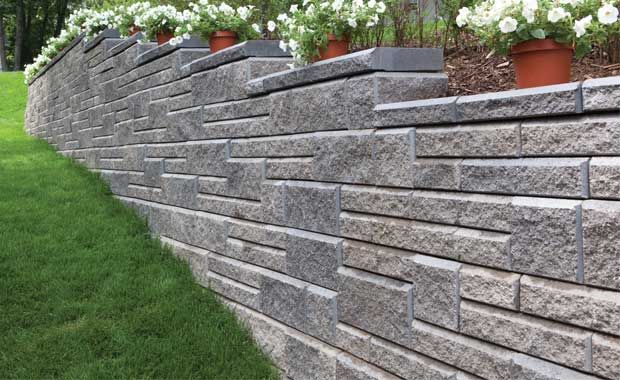
Step 05 – Building the Layers
The previous initial steps are pretty much standard to build any type of retaining wall. However, the actual building of it, in laying blocks on top of each other, can greatly vary according to the system you acquired.
Some blocks, as we previously mentioned, come with an interlocked system to it, others suggest you use construction adhesive between each layer to keep things in place.
There are many ways you can go from here, but these ways are usually very well explained in the instructions of the product you end up acquiring. So, as long as you follow it, things will turn out alright.
But, in case you don’t have these instructions, here’s a quick guide of our own to help you.
We always recommend you stagger the joints between each row of pavers. That means you won’t place the blocks directly on top of each other.
Instead, you’re going to place them in a way that the joint between two blocks on the top stay at the middle of a block at the bottom.
We also recommend the use of construction adhesive to glue the blocks in place.
How to Build a Retaining Wall: Professional Help
Things can get tricky with retaining walls. Unlike pavers, which are pretty straightforward when it comes to installation, retaining wall can serve a wide array of purposes and be placed with many designs in mind.
Working closely with professionals is always the best option when acquiring retaining walls. They can guide towards a choice of system in which you can do it by yourself or help you with one that you can’t quite perform alone.
We here at JS Brick offer that amongst many other services in the installation and maintenance of hardscape products. For 20 years, we have been providing top quality work around the Sarasota and Manatee Counties, in FL.
If you’re in the area, why not give us a call at +1 941 586 9140 or email us at [email protected]. We would be happy to hear from you and help in any way we can.

