Edging a paver patio is an essential step to transform your backyard or front porch into a polished, durable outdoor living space for years to come. It not only enhances aesthetics by giving clean lines but also ensures structural integrity by preventing pavers from shifting and base materials from washing out over time, whether you are installing a curved seating area or a rectangular garden terrace.
Understanding this very concept can mean the difference between a project that lasts decades and one that settles or deteriorates prematurely!
In this article, I’ll walk you through all you need to know: choosing materials, installation techniques, and maintenance tips long after edging a paver patio is complete.
Read also: How to use a concrete paver saw to perfection
Jump to:
Why you should edge a paver patio
Long story short, without proper edging, pavers can gradually move outward under regular foot traffic or freeze‑thaw cycles. Gaps can form, joints collapse, and the overall visual coherence of the patio may deteriorate – structural performance suffers, and weed intrusion becomes increasingly likely.
Edging a paver patio creates a clear delineation between hardscape and surrounding landscape elements. This boundary prevents grassroots, mulch, or garden soil from spilling into the joint sand and helps keep pavers clean. Edging also defines mowing lines, making lawn maintenance simpler around the patio edges.
There are three primary materials to consider when edging a paver patio: plastic, metal, and pavers (that can be concrete, brick, or natural stone)
Plastic edging is flexible and affordable, especially effective on curved patios. It’s easy to cut and install, and it prevents lateral movement of pavers as long as the installation is correct.
Metal edging, typically steel or aluminum, provides more rigidity and a slender profile, and is ideal for modern or smooth-curved patios. It is resistant to warping and visually more discreet than plastic.
Paver edging offers a more permanent, low-maintenance solution that ties into mowing strips or curbs. Brick or natural stone edging adds a classic and rustic appeal. Brick edging is usually laid in a concrete footing for strength or set flush with pavers.
Stone such as flagstone or granite offers unique textures and natural finishes, though often requiring skilled installation for uniform consistency across the project.
In my experience, edging a paver patio correctly enhances longevity and reduces maintenance needs. I’ve seen many success stories and failures during my years here at JS Brick – and edging is nearly always the deciding factor for durability and long-term curb appeal.
Read also: Concrete driveway with paver edging – why choose it
Edging a paver patio like a professional: a step-by-step guide
Step 1 – Planning and Layout
The first step is mapping out the patio shape. Mark the perimeter using a garden hose or chalk line, staking the curve or straight lines so you can visualize the final form.
After that, you excavate a trench around the perimeter wide enough for the edging material, plus enough room to backfill later.
Depth varies with material: plastic or metal restraints require around 2–3 inches from the base surface, while concrete edging may require full-depth excavation of the base plus edging thickness, down into the gravel base.
Make sure to also remove any sod and vegetation to eliminate roots or debris that could interfere.
Step 2 – Base Preparation
After excavation, your next goal is to compact the base and spread landscape fabric if you want extra weed resistance. Then add a compacted bedding layer of sand or fine gravel. For edging installation, it’s important that the restraint sits level and solid on the base, rather than wobbly in loose sand.
Step 3 – Installing the Edging
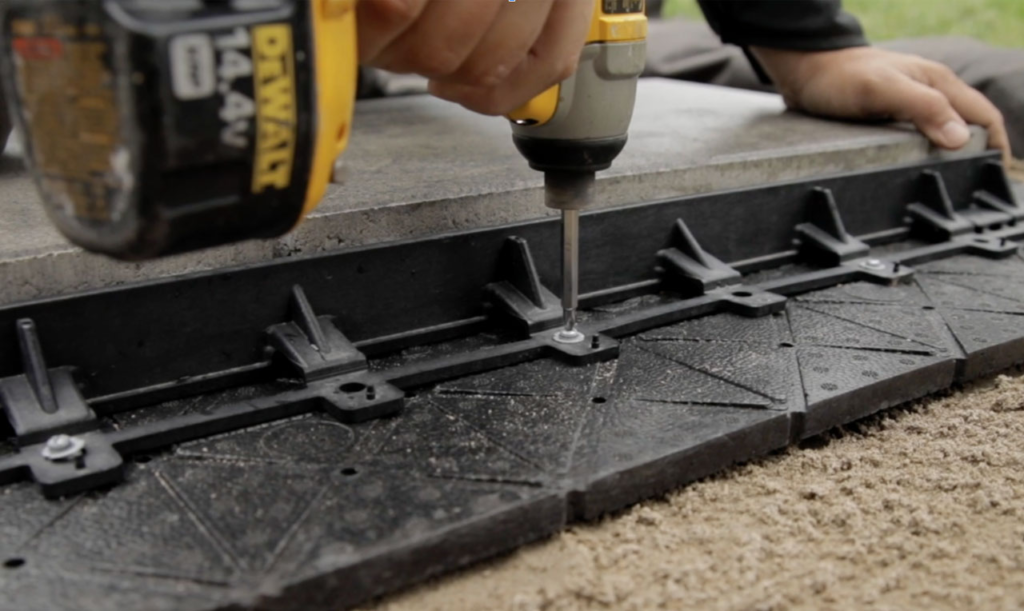
If edging a paver patio with plastic or metal restraints, first you need to scrape away the bedding sand along the edge to seat the restraint closer to the gravel base, then press the plastic edge straight against the pavers.
Next, drive spikes (typically every 8 inches for driveways or every foot for pedestrian patios) through the holes in the bottom flange into the gravel base. Once properly anchored, cover the restraint with sand, gravel, or even sod to protect it from warping in direct sun exposure.
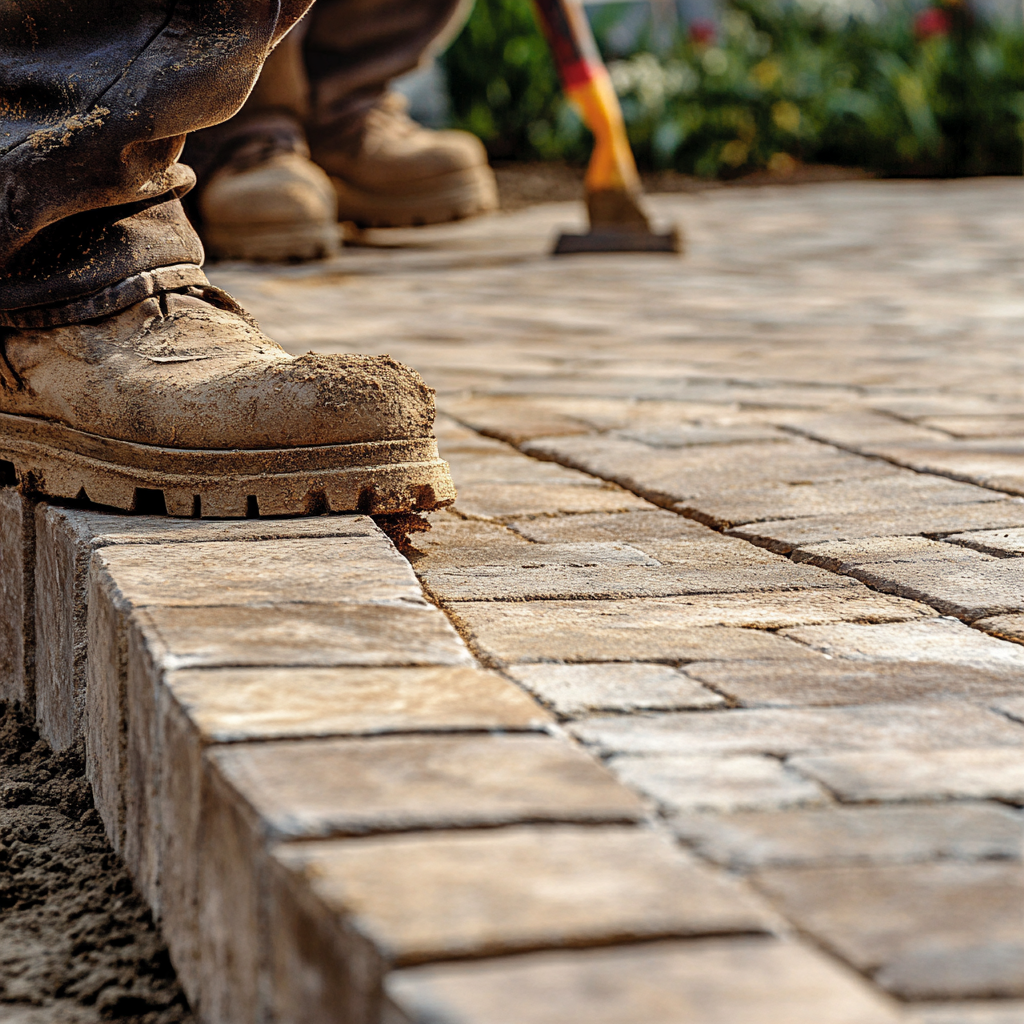
If you’re edging a paver patio using pavers themselves, after excavating and compacting the base layer, prepare a dedicated trench for the edging pavers, slightly deeper than the base layer of the rest of the patio. This trench ensures the edging pavers sit slightly below or flush with the patio surface once bedding sand is added.
Lay the edging pavers directly onto a compacted base of gravel, just like the main patio, but secure them more aggressively. I often bed them into a thin layer of mortar or concrete for added strength, especially on driveways or high-traffic patios. If mortar isn’t used, I make sure to tightly compact and level the bedding sand to prevent settlement.
Step 4 – Paver Placement and Compaction
Once edging is secure, lay the pavers inside the perimeter, adjusting for proper spacing and joints. If possible, compact the entire patio surface with a plate compactor.
Step 5 – Joint Filling and Clean‑Up
Finally, fill the joints between pavers with polymeric sand – fine jointing sand works, too, though I tend to prefer the first. After sweeping it in and compacting by hand or plate compactor, lightly mist the surface with water to activate the polymeric sand curing process.

Once cured, use a leaf blower to remove excess residue for a crisp finish. Then backfill the outer trench around the edging with soil, mulch, or grass to integrate the patio into the landscape and hide any visible edging seams.
You may also like: Designing the perfect paver outdoor entertainment area for you
Count on JS Brick for professional help tailored to your custom patio
At the end of the day, edging a paver patio is a crucial step that ensures your outdoor hardscape remains stable, attractive, and built to last. Whether you choose plastic restraints, sleek aluminum, or the classic reliability of pavers, the key lies in proper planning, precise installation, and thoughtful ongoing care.
That’s why it is always a good idea to leave paver installations to hardscape professionals near you!
If you happen to be around Sarasota, in FL, we here at JS Brick are ready to help you with top-tier materials to deliver expert paver installation that complements your house, backed by true professionalism and customer care.
So – are you ready to elevate your patio with edging that unites beauty and function? We would be glad to assist. Contact us right now for a free estimate for your project, and let’s make sure your paver patio remains flawless and built to impress!