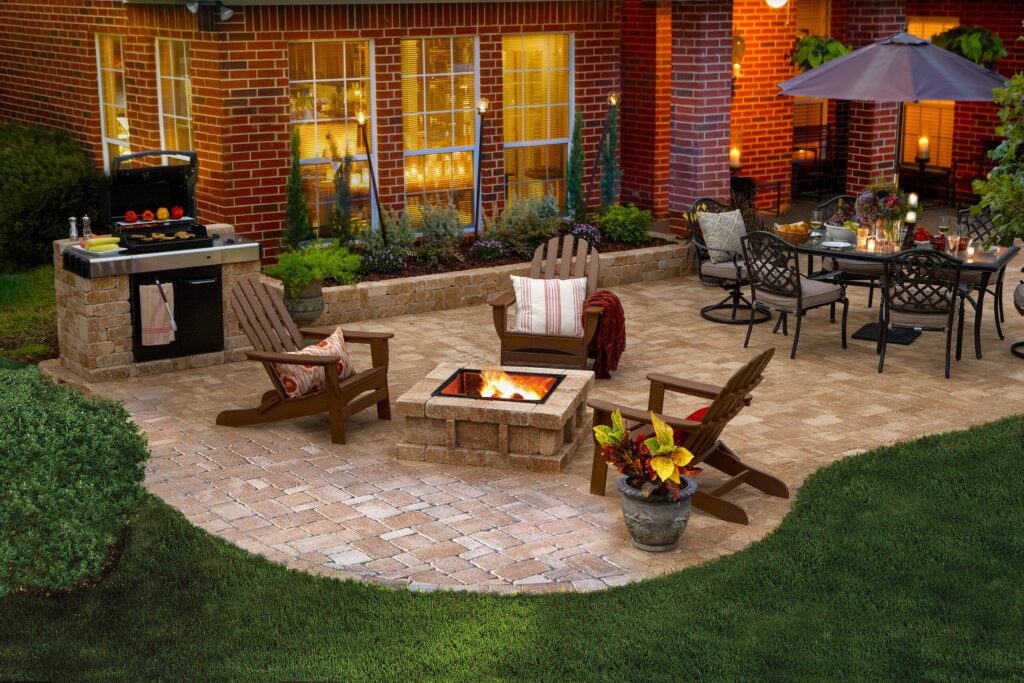
Everybody knows that a fire pit is a wonderful addition to any backyard, providing a cozy gathering spot for family and friends. If you’re considering building your own fire pit, a square design with pavers is an excellent choice. But what are the exact steps when it comes to building a square fire pit with pavers?
Fire pits not only add an aesthetic appeal to your outdoor space but also offers durability and ease of construction. In this comprehensive guide, we will walk you through the step-by-step process of building a square fire pit using pavers. So grab your tools and let’s get started!
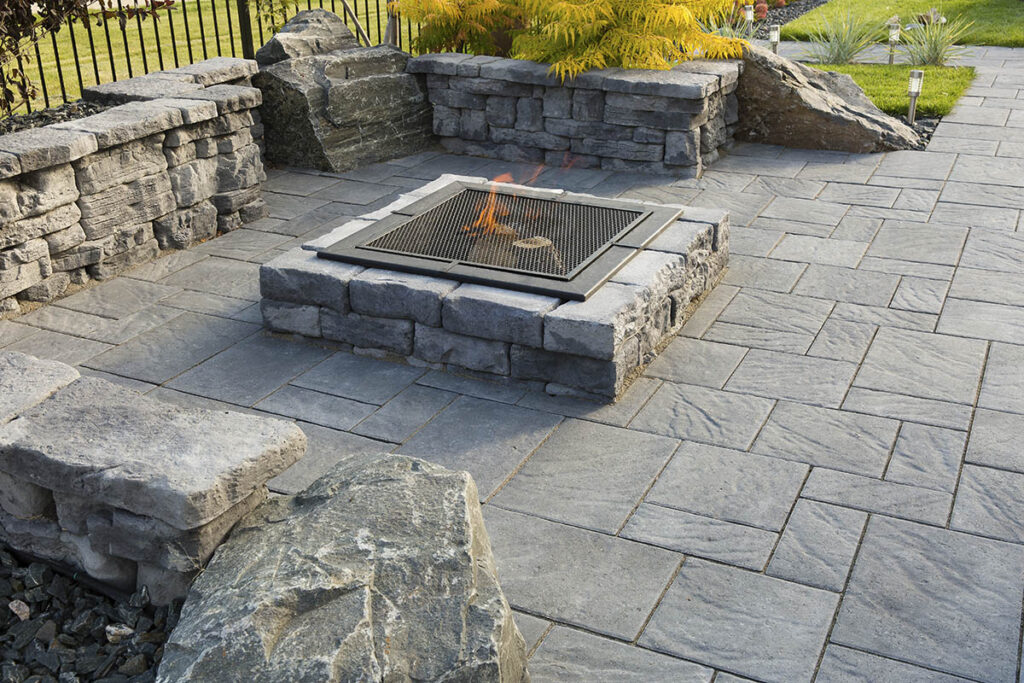
Building a square fire pit with pavers: what to do before starting?
Before diving into the construction process, it’s important to plan and prepare properly and gather the right materials.
Actually, there’s an even more important step to take before everything. It is to consult your local authorities or homeowner’s association to ensure compliance with any regulations or restrictions regarding fire pit installations.
Before starting any construction, consult your local authorities, such as the fire department or building permits office, to understand any specific regulations or permits required for building a fire pit in your area.
Select a suitable location for the fire pit. It should be at least 10 to 20 feet away from any structures, fences, or overhanging trees. Ensure there are no flammable materials nearby, such as dry leaves or firewood stacks.
Maintain proper clearance around the fire pit. Clear a minimum of 6 to 10 feet of non-combustible material around the pit, such as gravel or pavers. This helps prevent accidental fires from spreading.
Always opt for fire-resistant materials for constructing the fire pit. Common choices include concrete, stone, brick, or metal. Avoid using flammable materials like untreated wood or plastic.
Overall, the materials you’re going to need for the job are:
- Pavers of choice. Firebricks are the best option, but concrete pavers work as well. You can also find fire pits ready to be assembled by simply following the manufacturer’s instructions, which facilitates the process a lot;
- Gravel;
- Sand;
- Shovel;
- Level;
- Tape measure;
- Rubber mallet;
- Hand tamper;
- Safety equipment (gloves and goggles).
Building a fire pit in 7 steps
After you checked all the regulations and prepared all the materials, it is time to start building your fire pit. The process can be divided into 9 steps.
- Step 01 – Size of the fire pit
Decide on the dimensions of your square fire pit based on the available space, safety measures, and, of course, preferences. A common size is around 3 to 4 feet on each side. Be careful not to make it either too small, so it won’t provide enough heat when used, or too big, so it can risk making fires too big to be controlled. - Step 02 – Mark the fire pit area
If you’re going to build your fire pit directly on the ground, use a tape measure and stakes to mark the desired dimensions of your fire pit. If you must build it over a paver installation, we recommend you remove the specific pavers and follow the same procedure.
However, if you don’t want to remove the pavers or are building your fire pit over a poured concrete installation, you can do those marking using chalk. Either way, ensure the corners are at perfect right angles for a square shape. - Step 03 – Excavate the area
Begin digging out the marked area to a depth of about 6 to 8 inches. Remove any vegetation or debris, ensuring the area is level and free from roots or rocks.
Of course, if you’re building your fire pit over a concrete installation, you don’t have to excavate anything. In that case, we recommend you go to step 5 first and add a few layers of pavers, enough to reach around 5 to 6 inches, and then come back to step 4. - Step 04 – Add a gravel base
Pour a 2 to 3-inch layer of gravel into the excavated area. Use a tamper to compact the gravel firmly, providing a stable and level foundation for the fire pit. - Step 05 – Lay the first layer of pavers
Start by placing the pavers along the perimeter of the excavated area. Use a level to ensure they are level and adjust as needed.
If you’re making this installation directly on the ground, you don’t need to worry about fixing this first layer to the ground. But in case of an installation over concrete, the first row already needs to be glued to the floor using mortar or construction adhesive. So make sure everything is in the right place before moving on. - Step 06 – Build subsequent layers
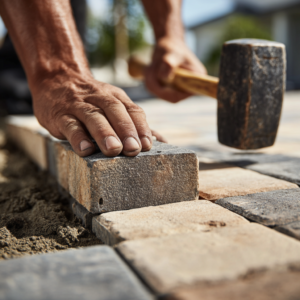
Continue stacking the pavers on top of each other, creating additional layers. Use a rubber mallet to gently tap each paver into place, ensuring a snug fit. Check for levelness after every layer.
You must add the second layer, and every subsequent layer, using the stacking method. That means placing the next paver in a way that it’s directly on top of the joint between two pavers on the previous row. That way, the entire structure becomes more sturdy and safe.
And speaking of safe, every two rows should contain four gaps of about 2″ between the pavers, one for each “wall” of the fire pit. That functions as an exhaustion escape, very important to not overload the fire pit with heat. - Step 07 – Install a fire pit liner
For added safety and protection, you should consider installing a fire pit liner made of metal or heat-resistant material. Place it inside the paver structure, which will be ready at this stage. This step is optional, although highly recommended for safety and to make your fire pit last longer.
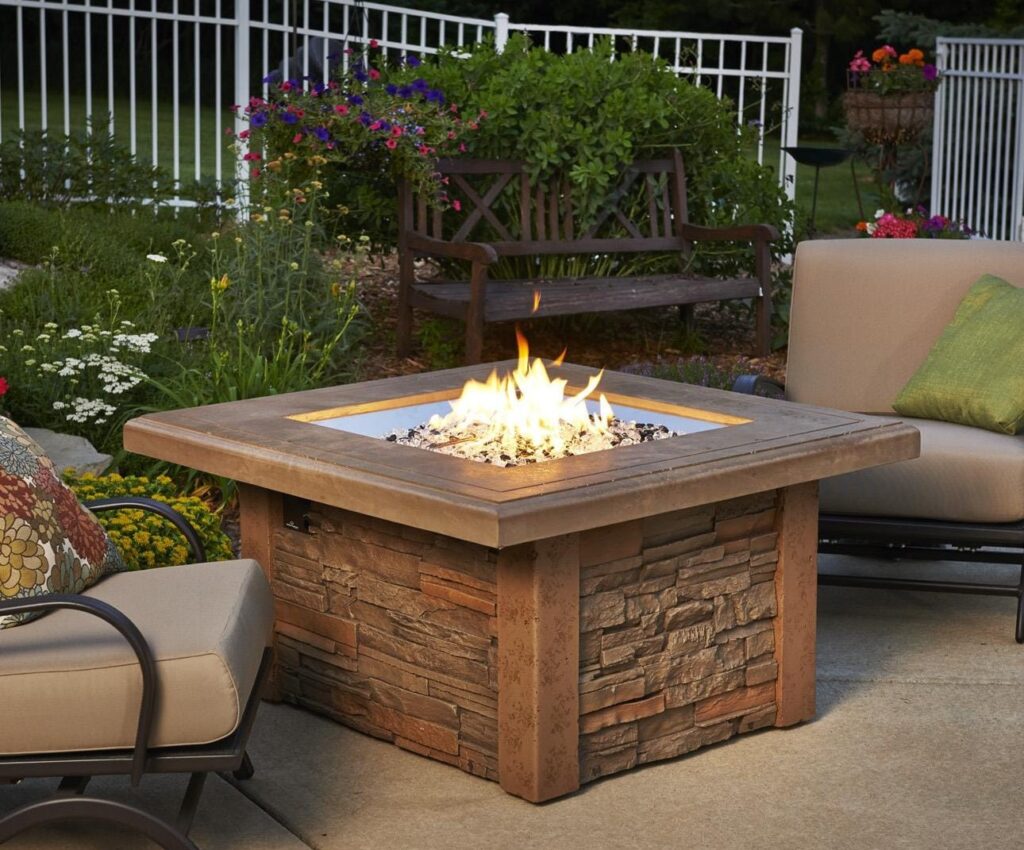
And that ends it. Your fire pit is done!
Now you only need to add some fire rocks, or any kind of big rock, at the bottom, place the right kind of wood as fuel, and enjoy it!
Build your fire pit today!
Building a square fire pit with pavers is a rewarding and enjoyable DIY project that adds warmth and charm to your outdoor space. By following the step-by-step guide provided above, you can create a beautiful and functional fire pit that will be the focal point of your backyard gatherings. Remember to prioritize safety at all times and adhere to local regulations regarding fire pit installations.
As fun as it is to build a fire pit as a DIY project, it can be a little bit tricky for people who don’t have a lot of experience working with pavers. If that’s your case, it is highly recommended that you look for a hardscape professional you can trust in your area to help you with your project.
Not only they can help you choose the right materials for the job but also guide you through all the safety measures and regulations involved.
We here at JS Brick have built countless fire pits over our 23 years of activity, so we know how things can get out of hand for some people. And, of course, if you live around our area of activity, the Sarasota County, in FL, you can always get in contact with us to help you out.
Now, gather your loved ones, roast some marshmallows, and enjoy the cozy ambiance of your new square fire pit!
