Paver steps have become a popular choice for outdoor spaces, whether leading to a patio or front door, surrounding a pool, or framing a garden. Just like any outdoor installations with pavers, though, these steps can shift, become loose, or even sink over time. So how to fix loose pavers steps?
Faulty steps can be caused by a range of factors – from soil erosion to the simple effects of weather. When paver steps become loose, they don’t just diminish the appearance of your outdoor area – they can also pose a safety risk.
In this guide we’ve prepared, you’ll discover a straightforward process on how to fix loose paver steps, preserving both safety and style. We’ll cover the reasons why pavers come loose, the tools and materials needed, a step-by-step repair process, and essential tips to prevent future loosening!
Read also: How to build patio paver steps
Jump to:
Why do paver steps become loose?
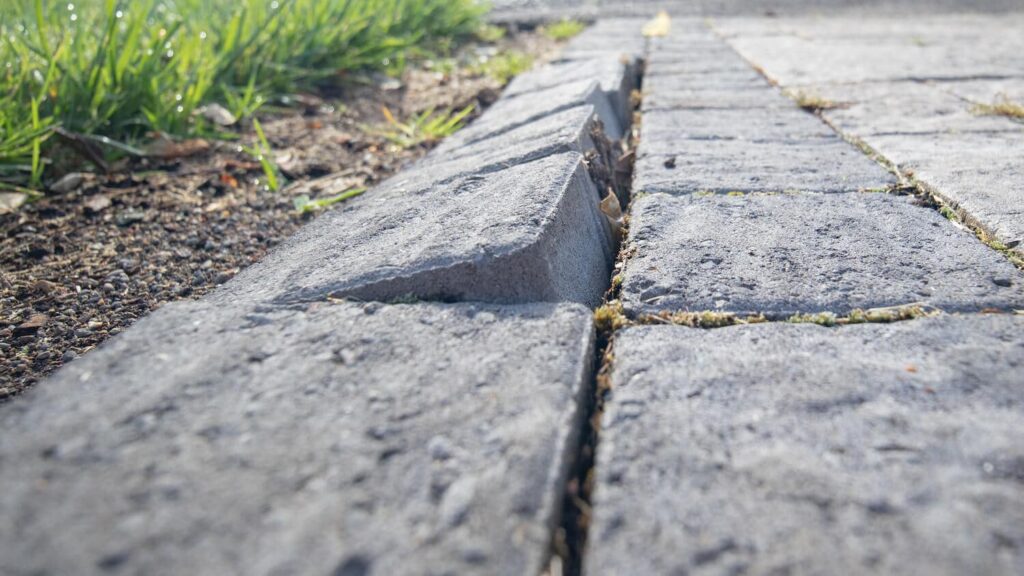
Understanding the causes of loose pavers can help prevent future problems. Here are a few common reasons why paver steps may become loose:
- Ground Settlement: Over time, the soil beneath the pavers can shift or settle, which causes the pavers to move out of place. This is especially common in regions with significant rainfall or fluctuations in temperature.
- Water Erosion: Poor drainage or heavy rain can cause water to seep into the foundation beneath the pavers, leading to erosion that loosens them over time.
- Lack of Edge Restraints: Proper edge restraints are necessary to keep the pavers in place. Without them, pavers are more likely to shift and become unstable.
- Improper Installation: If the pavers were not correctly installed – such as if the base was not compacted or leveled – issues may arise sooner rather than later.
With these factors in mind, it’s time we guide you through how to fix loose paver steps and ensure they remain stable for years to come.
How to fix loose paver steps: a full tutorial
Of course, before starting the repair, gather the following tools and materials. Many of these items are available at home improvement stores, and having them on hand will make the process more efficient.
Materials:
- Sand (preferably polymeric sand for extra stability)
- Gravel or crushed stone
- Edging restraints (if needed)
- Replacement pavers (if any are damaged)
Tools:
- Rubber mallet
- Flathead screwdriver or pry bar
- Level
- Broom
- Tamping tool (manual or mechanical)
- Water hose (if using polymeric sand)
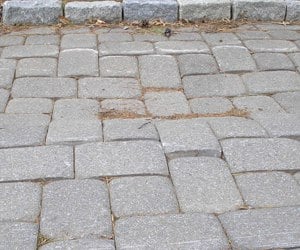
Step 1: Assess the condition and prepare the area
Start by identifying the loose pavers and examining their condition. Determine if the loose pavers are simply out of place, or if they’re cracked and need replacement. To ensure a uniform look, you may want to inspect the pavers surrounding the loose area as well.
Once you’ve identified the problem pavers, clear the area of any debris or weeds. Sweep away any loose dirt or sand around the pavers, which will give you a clean workspace and help you see the areas that require the most attention.
Step 2: Remove the loose pavers
Using a flathead screwdriver or a pry bar, carefully lift the loose pavers. Insert the tool gently along the edge of each paver to avoid chipping or damaging the surface. Once they’re loose enough, lift them out and set them aside.
Take care to avoid disturbing neighboring pavers that are still in place, as this can prevent the issue from spreading or causing further instability.
Step 3: Check and adjust the base
After removing the loose pavers, inspect the base layer beneath them. Look for areas where the ground may have eroded, settled, or compacted unevenly. For smaller gaps, a layer of sand may be enough to fill and level the area. However, for larger gaps or areas of significant erosion, add gravel or crushed stone, and compact it with a tamper to create a stable foundation.
Once the base is level, add a thin layer of sand, roughly 1/4 inch thick. Smooth it out with a trowel or your hand to make an even surface. This sand layer helps distribute weight and provides added stability for the pavers when they’re replaced.
Step 4: Reinstall the pavers
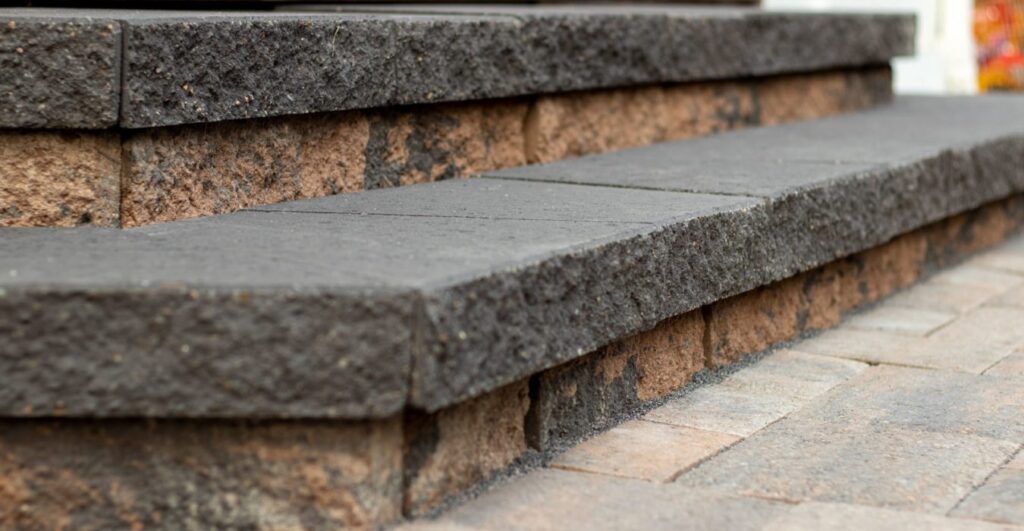
Carefully place the pavers back in their original positions. Use a rubber mallet to gently tap them into place, ensuring they sit flush with the surrounding pavers. Check with a level to make sure the pavers are even; any uneven surfaces can create trip hazards or cause pavers to come loose again.
If any pavers are damaged or cracked, replace them with matching pavers to maintain a cohesive look.
Step 5: Fill the joints with sand
After the pavers are securely in place, spread sand over the surface to fill the gaps between them. For optimal durability, use polymeric sand, which contains additives that harden the sand once wet, providing extra stability to the paver joints.
Use a broom to sweep the sand into the joints, filling each gap completely. This step is critical because properly filled joints prevent movement and discourage weeds from growing between the pavers.
Step 6: Compact and set the sand
Once the joints are filled, use a tamper to compact the sand and pavers. This process helps lock the pavers into place. After tamping, add another thin layer of sand and repeat the sweeping process to ensure all joints are filled.
If using polymeric sand, lightly mist the surface with a water hose to activate the binding agents. Be cautious not to over-wet, as this can wash away the sand. Let the sand dry according to the product instructions for a stable finish.
Additional tips to keep paver steps secure
To extend the life of your paver steps and prevent future loosening, there are a few maintenance tips that you should consider.
For starters, regularly sweeping and cleaning is of pivotal importance. Keeping debris out of the joints helps maintain the integrity of the sand filling, which is essential for stability.
You should also regularly check the area around the pavers after heavy rain to make sure drainage is functioning properly and that no erosion is occurring near the pavers.
If your pavers don’t already have edge restraints, consider adding them. This will prevent the pavers from shifting over time and keep the structure solid.
Over time, the joint sand can erode or shift. Refill the joints as needed to keep them stable and secure.
You may also like: Can I replace wood steps with paver steps?
Restore and maintain your paver steps for long-lasting results!
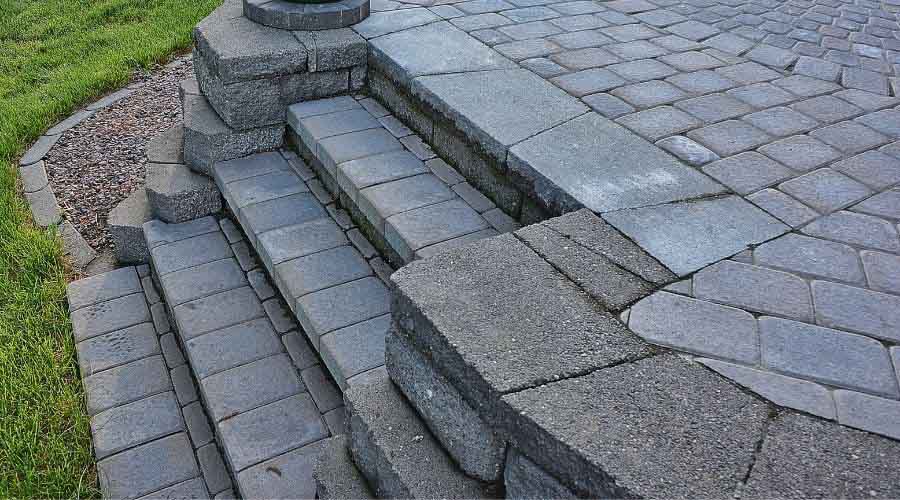
At the end of the day, loose paver steps don’t just detract from your hardscape’s appearance – they can also be a tripping hazard. By following these steps, you learn how to fix loose pavers steps to their original stability and beauty, adding both safety and aesthetic appeal to your outdoor space.
That said, if you prefer a professional touch or need assistance with more extensive hardscape projects, hiring a qualified hardscape contractor is a wonderful alternative. As we always say, professionals like ourselves can bring the expertise and precision needed to create durable and elegant paver installations.
So, in case you are around Sarasota County, FL, we here at JS Brick are ready to help you with that and any other hardscape needs you might have. Get in contact today for a free estimate on our services so we can start putting our 24 years of experience at your service!

